Class Description
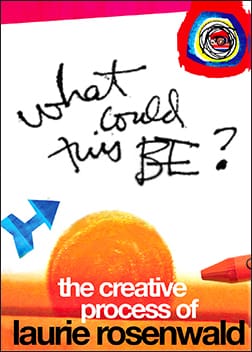
WHAT COULD THIS BE?
The Creative Process of Laurie Rosenwald
An Instant-Access Class!
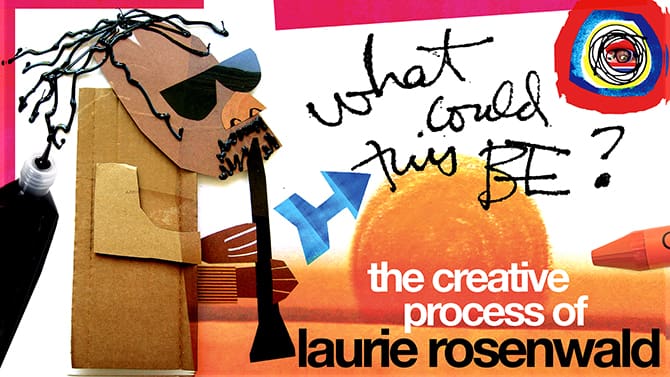
What Could This Be?
In this class prolific illustrator Laurie Rosenwald shares her creative process. Laurie writes:
i want to share this fast, carefree way of working because it made my life easier, more fun, and
i know i’m not alone in hating to be alone with a blank piece of paper. this technique is a way to get out of your own way — away from worrying about results.
Laurie has worked this way professionally for over 30 years and it is the foundation of all of her art, from magazine illustrations to animations to children books and more… Please join us as she shares her creative process!
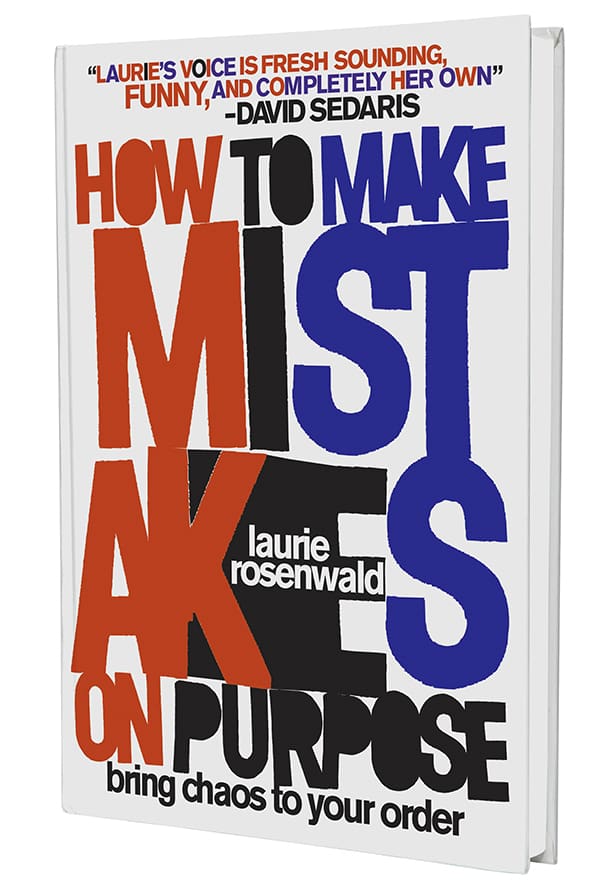
Bring chaos to your order and
reclaim your human brain.
ERRARE HUMANUM EST!
 Now available instantly as a self-study class! This class is a little different than usual as we won’t be running it “live” and therefore won’t have dedicated forums… but you are welcome to upload any drawings to the “Carla Sonheim Presents – Share Your Work” FB page!
______________________________________
Class Itinerary
Lesson 1: Dry Media
Quick and sloppy wins the race! We’ll start by drawing many, many drawings using dry media like charcoal, pencil, and markers. We won’t try to make one good thing. but make a whole bunch of stuff in a hurry. Make 100 or 1000 things! Draw along with me. We are making an archive of pictures, letters, textures, lines, blobs, backgrounds, circles, etc. Try to keep up, but it doesn’t matter. Nobody’s keeping track!
Lesson 2: Wet Media
In this Lesson we will draw and paint with wet media… AND, squeeze bottle painting! This is REALLY FUN. when you try this technique, you will immediately, easily create swooping, elegant lines. Do squiggles, write words, make lines and shapes galore. Keep going and waste some paper —because drawing is the best, most noble way to use paper — NOTHING is wasted. Keep all your drawings! No editing allowed.
Lesson 3: Preparing Collage Papers
Making your own COLLAGE elements and colored papers will give you an incredible resource. If you use BOTH the handmade colored paper and store bought — it gives your work DEPTH and SOUL. ‘Don’t Let the Perfect Be the Enemy of the Good.’ SHOW your brushstrokes, let the grain of the paper show through. Make MANY colored papers, to cut up and use any time you want.
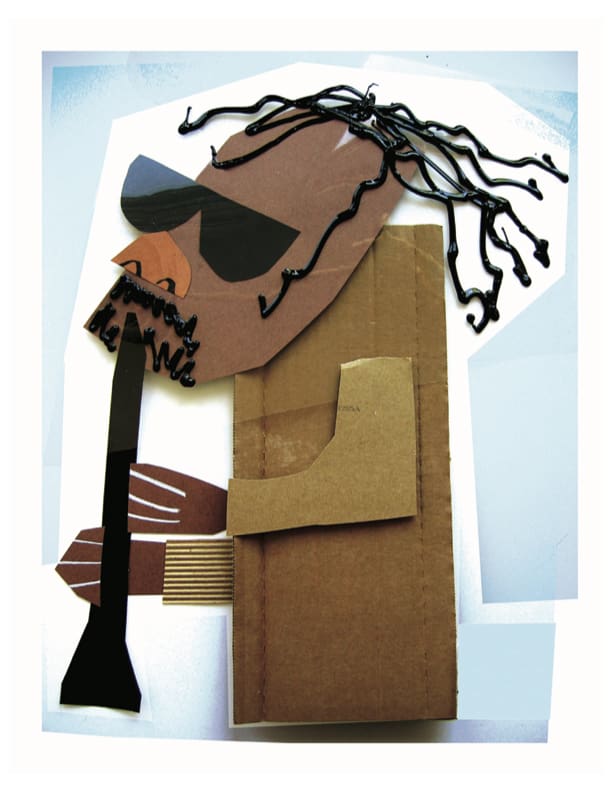
Lesson 4: Black & White Collage
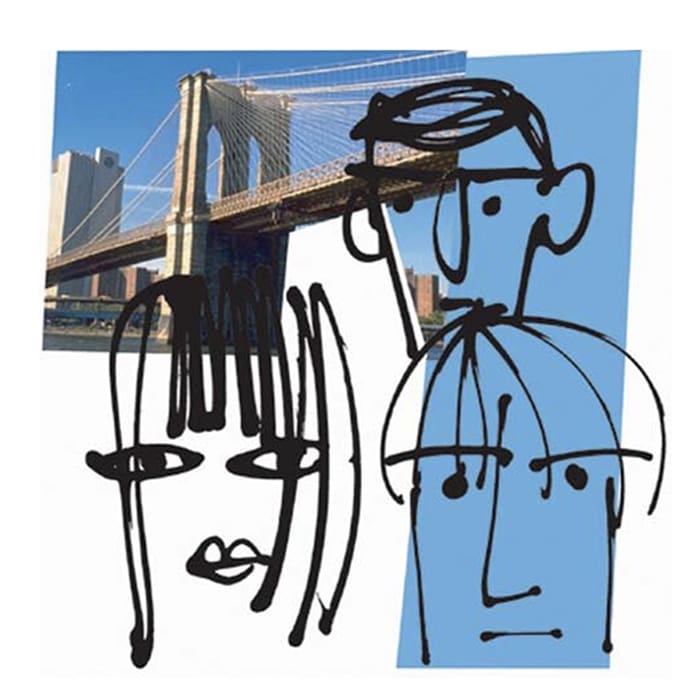
Start cutting out bits you like from your pages — your archive of marks, blobs, pictures and letters created in Lessons 1 & 2. Don’t decide where you’re going, but just pick a few elements and let them tell YOU what they could become… let’s say you have three elements — play around with them —and ask yourself, WHAT COULD THIS BE?
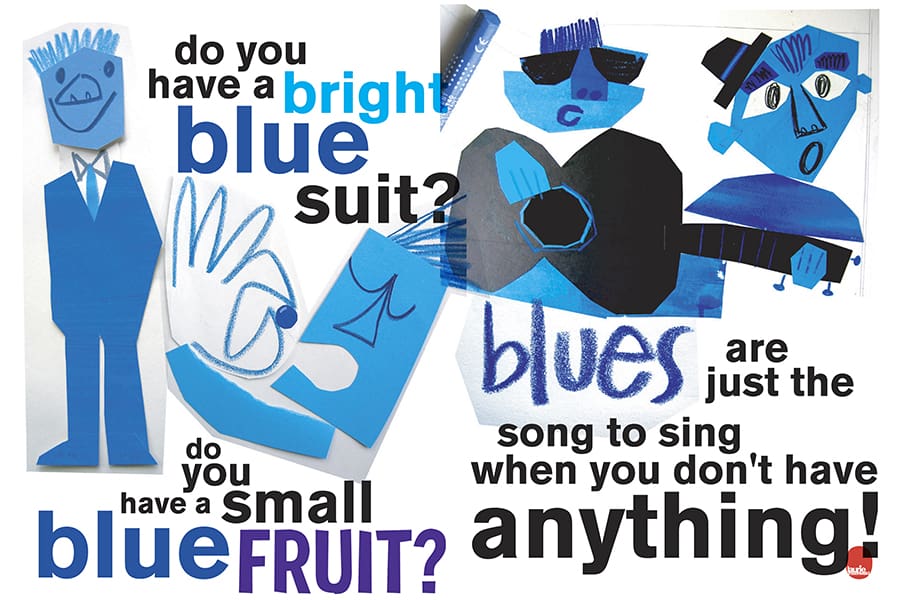
Lesson 5: Color Collage
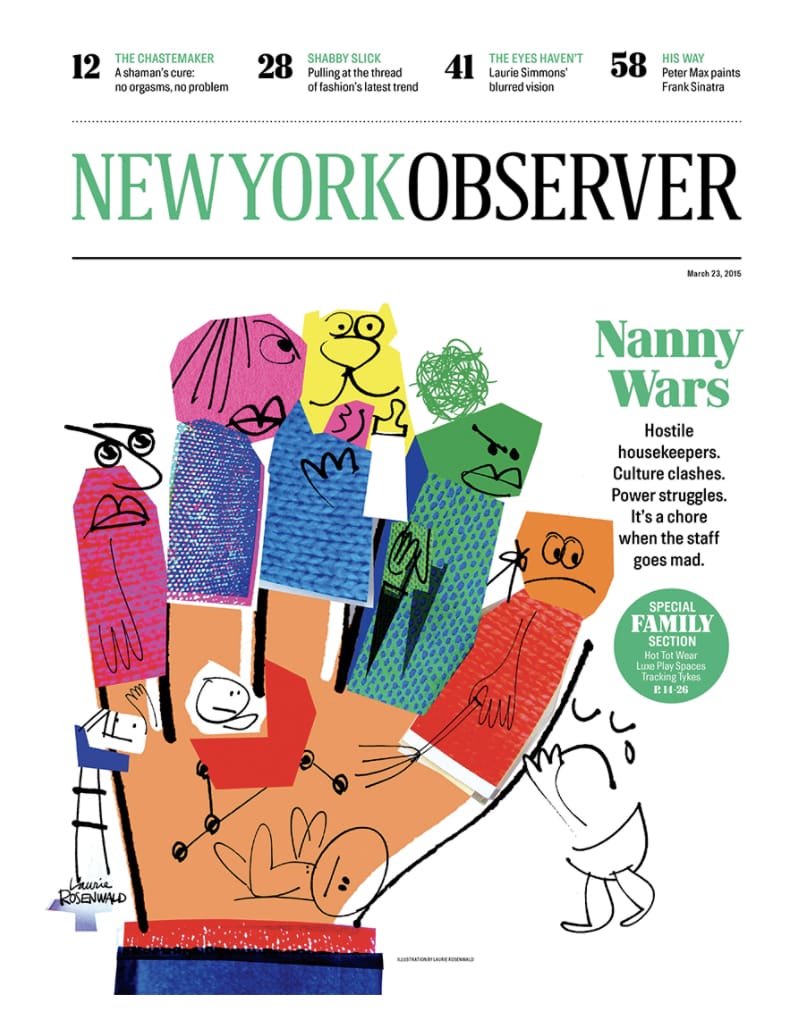
Part 1: Make a bunch of colored bits with colored mark-making tools and papers: alphabets, numbers, noses, etc. Part 2: Work toward a goal — a collage you can GLUE DOWN. Let the elements tell you a story. When it looks right after playing with these elements, then glue that version down, if you want!
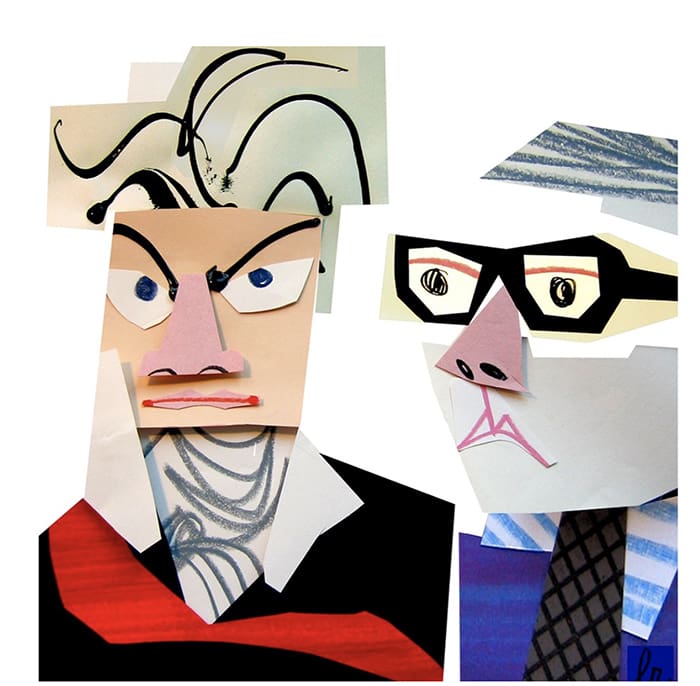
Lesson 6: Portrait
Until now we’ve focused on letting the elements we’ve created TELL US what they want to be. Now, we’ll put our illustrator caps on and create a portrait of a person of your choice. We’ll look at some reference photos, then “forget” them. We’ll approach everything with the same level of freedom, but this time we are trying to get from A to B!
_____________________________________
For a full list of the supplies you will need, see the tab titled “Supplies” located just under the video screen above.