
Class Description
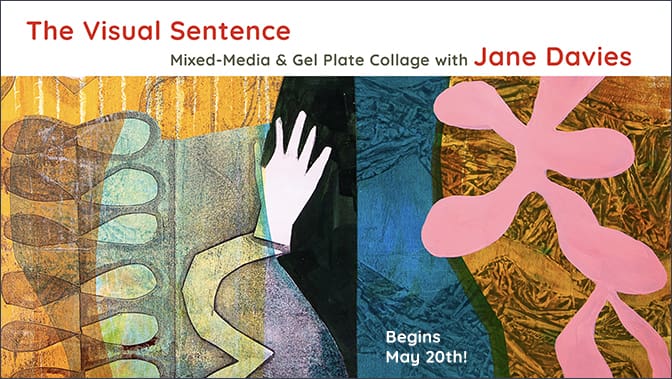
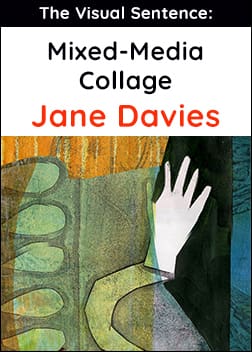
The Visual Sentence: Mixed-Media Collage
Instructor: Jane Davies
5 Lessons
Self-Study with Forever Access.
Discover a fresh approach to art when you remove the boundaries of the ‘canvas’, or substrate. I think of this process as stringing together little gems of visual yummies like words in a sentence!
We’ll begin by making many boldly colored and textured prints using one of my favorite art tools: the gel plate! We’ll explore masking, stenciling, textures, layering and more in the first two lessons.
Once we have a nice stack to choose from, our next step will be to develop our prints with paint and collage into parts, or “visual words.” That is, each print is a potential part of a whole, and need not stand alone as a finished composition. This gives you a lot of freedom in creating interesting bits, all of which generate possibilities for creating complete images.
Next we’ll combine the gel prints in various ways—horizontally, vertically, overlapping, etc.—and continue with painting, collage, and drawing to create fresh and unexpected works of art. By combining techniques and materials, and working without a rigidly defined substrate, you will discover a whole world of new possibilities for creative expression! By the end of the class you will come away with two unique mixed-media collages and will have played with printmaking, mark making, color, texture, collage, composition, design and more.
I hope you can join me!
Jane
_____________________________
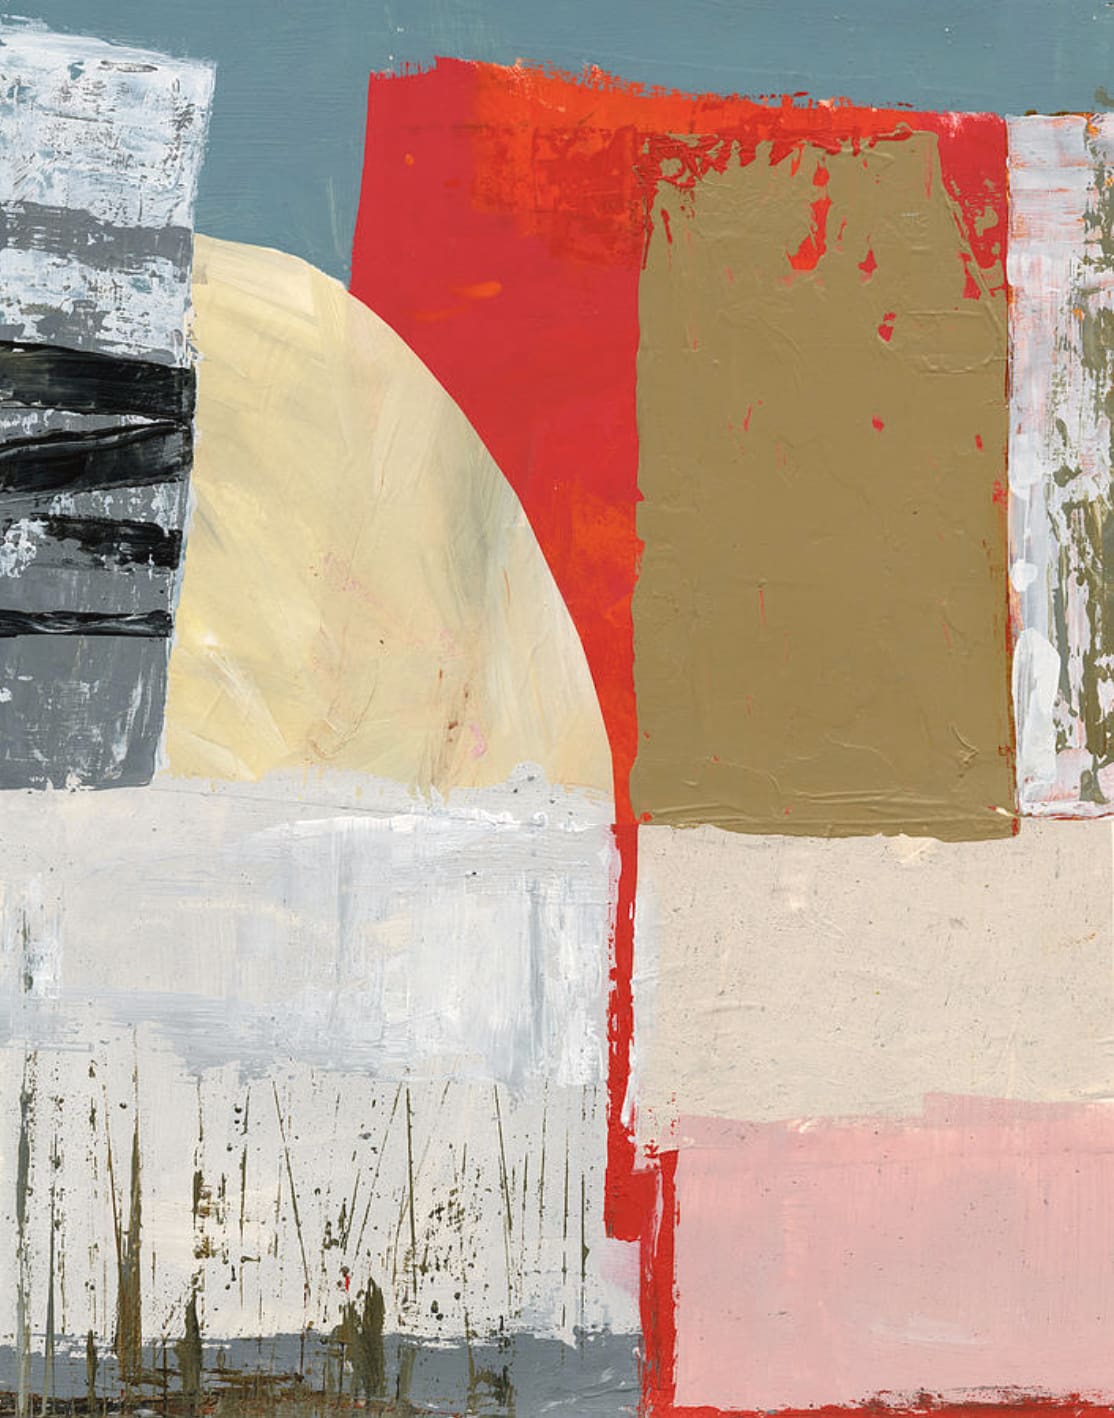
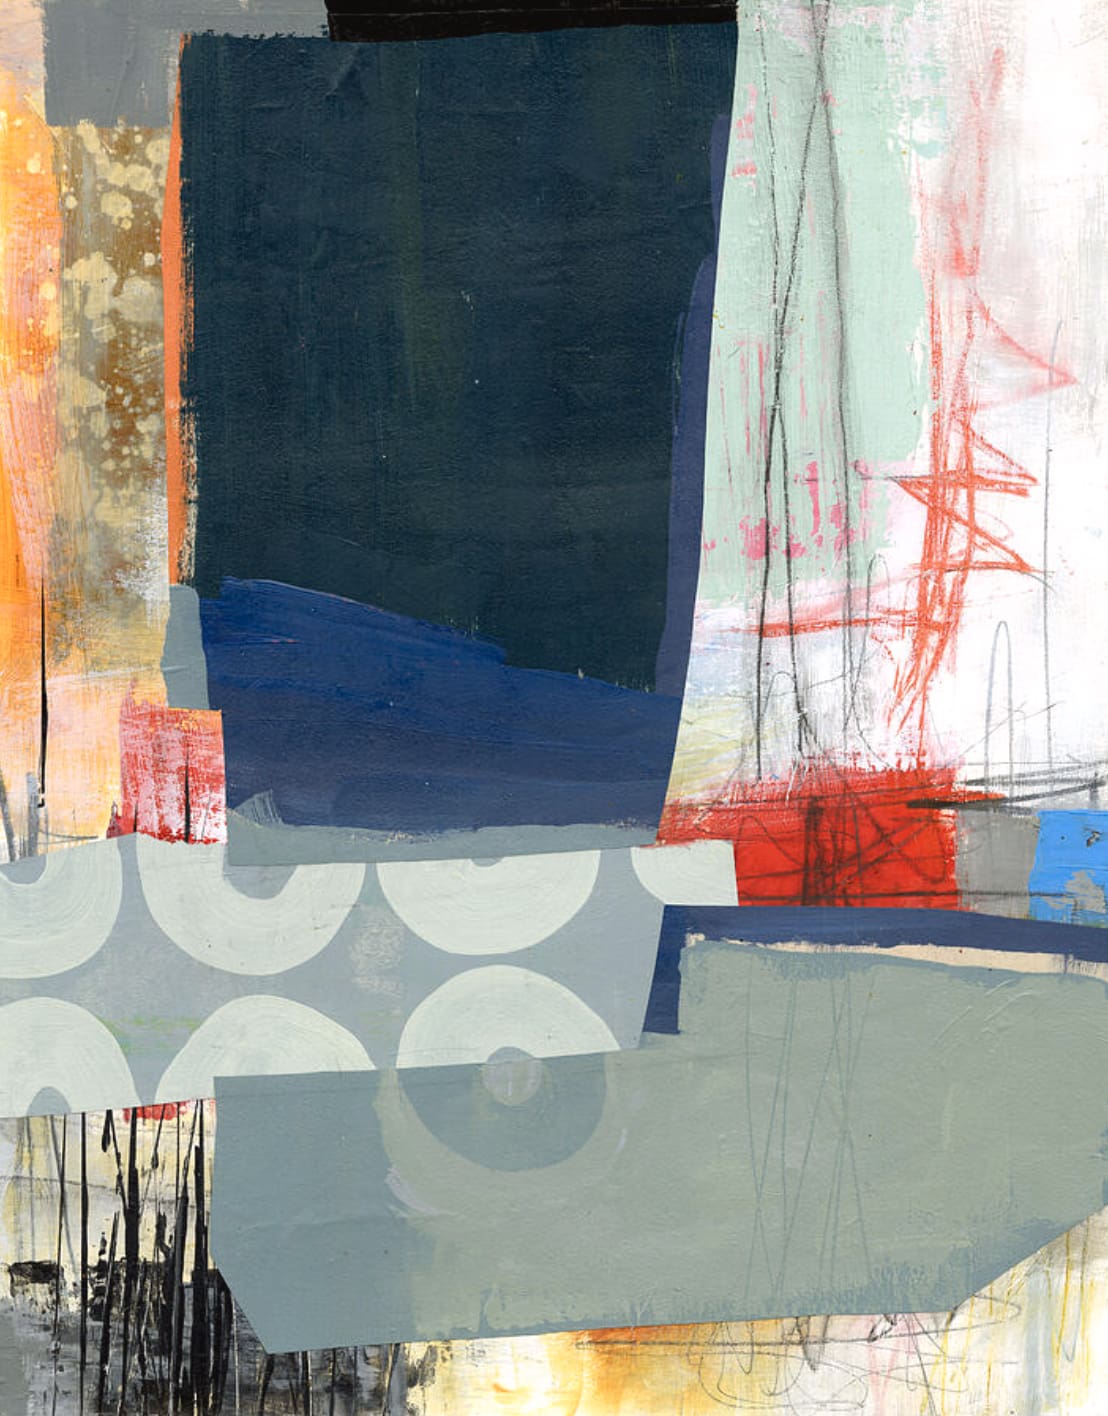
Some example of “Visual Sentences”:
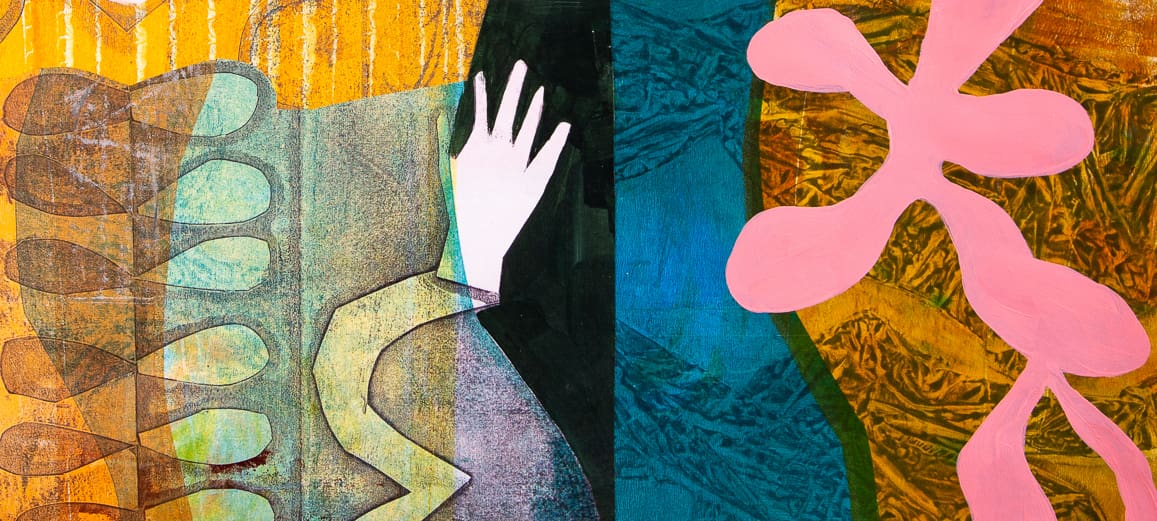

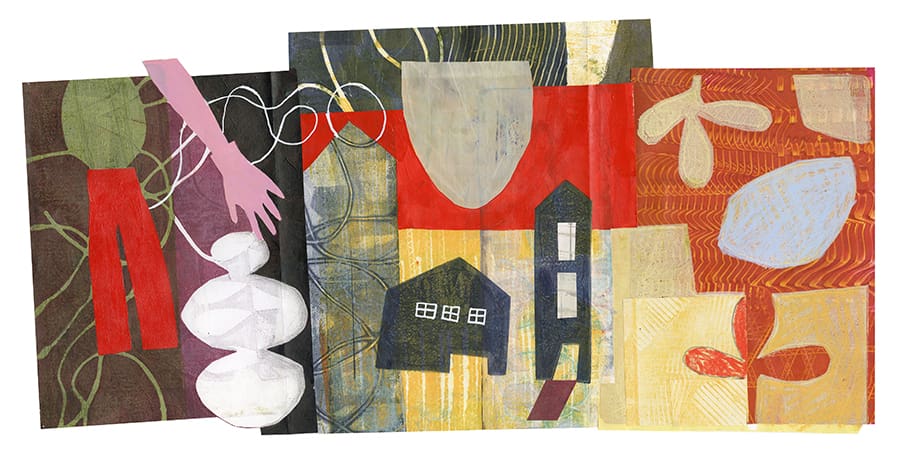
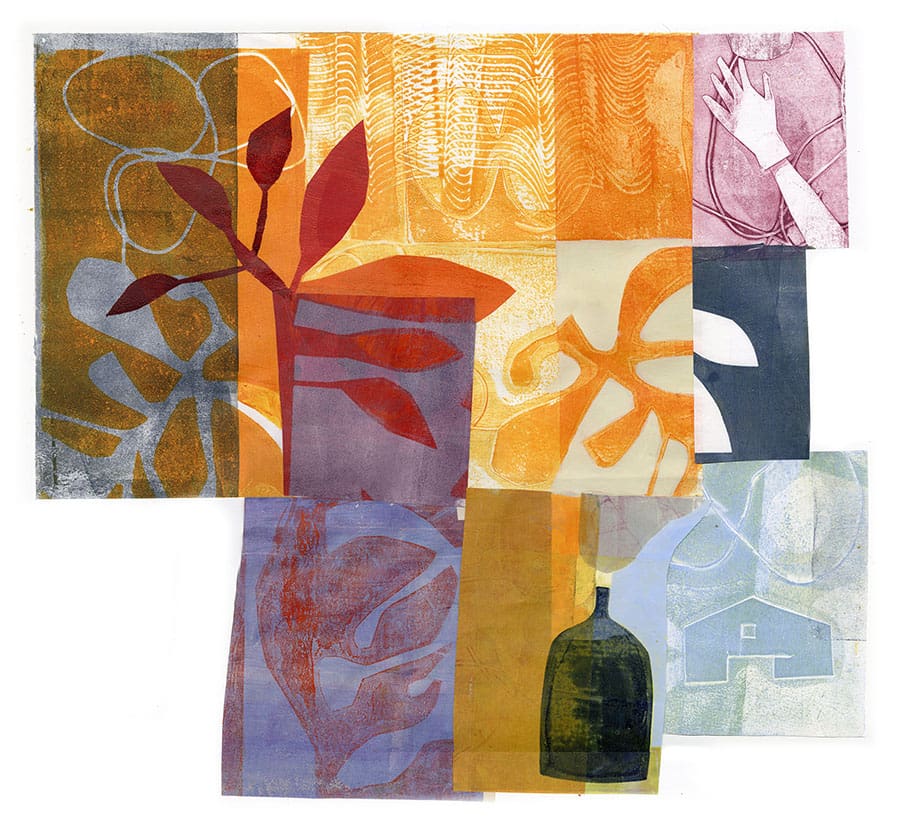
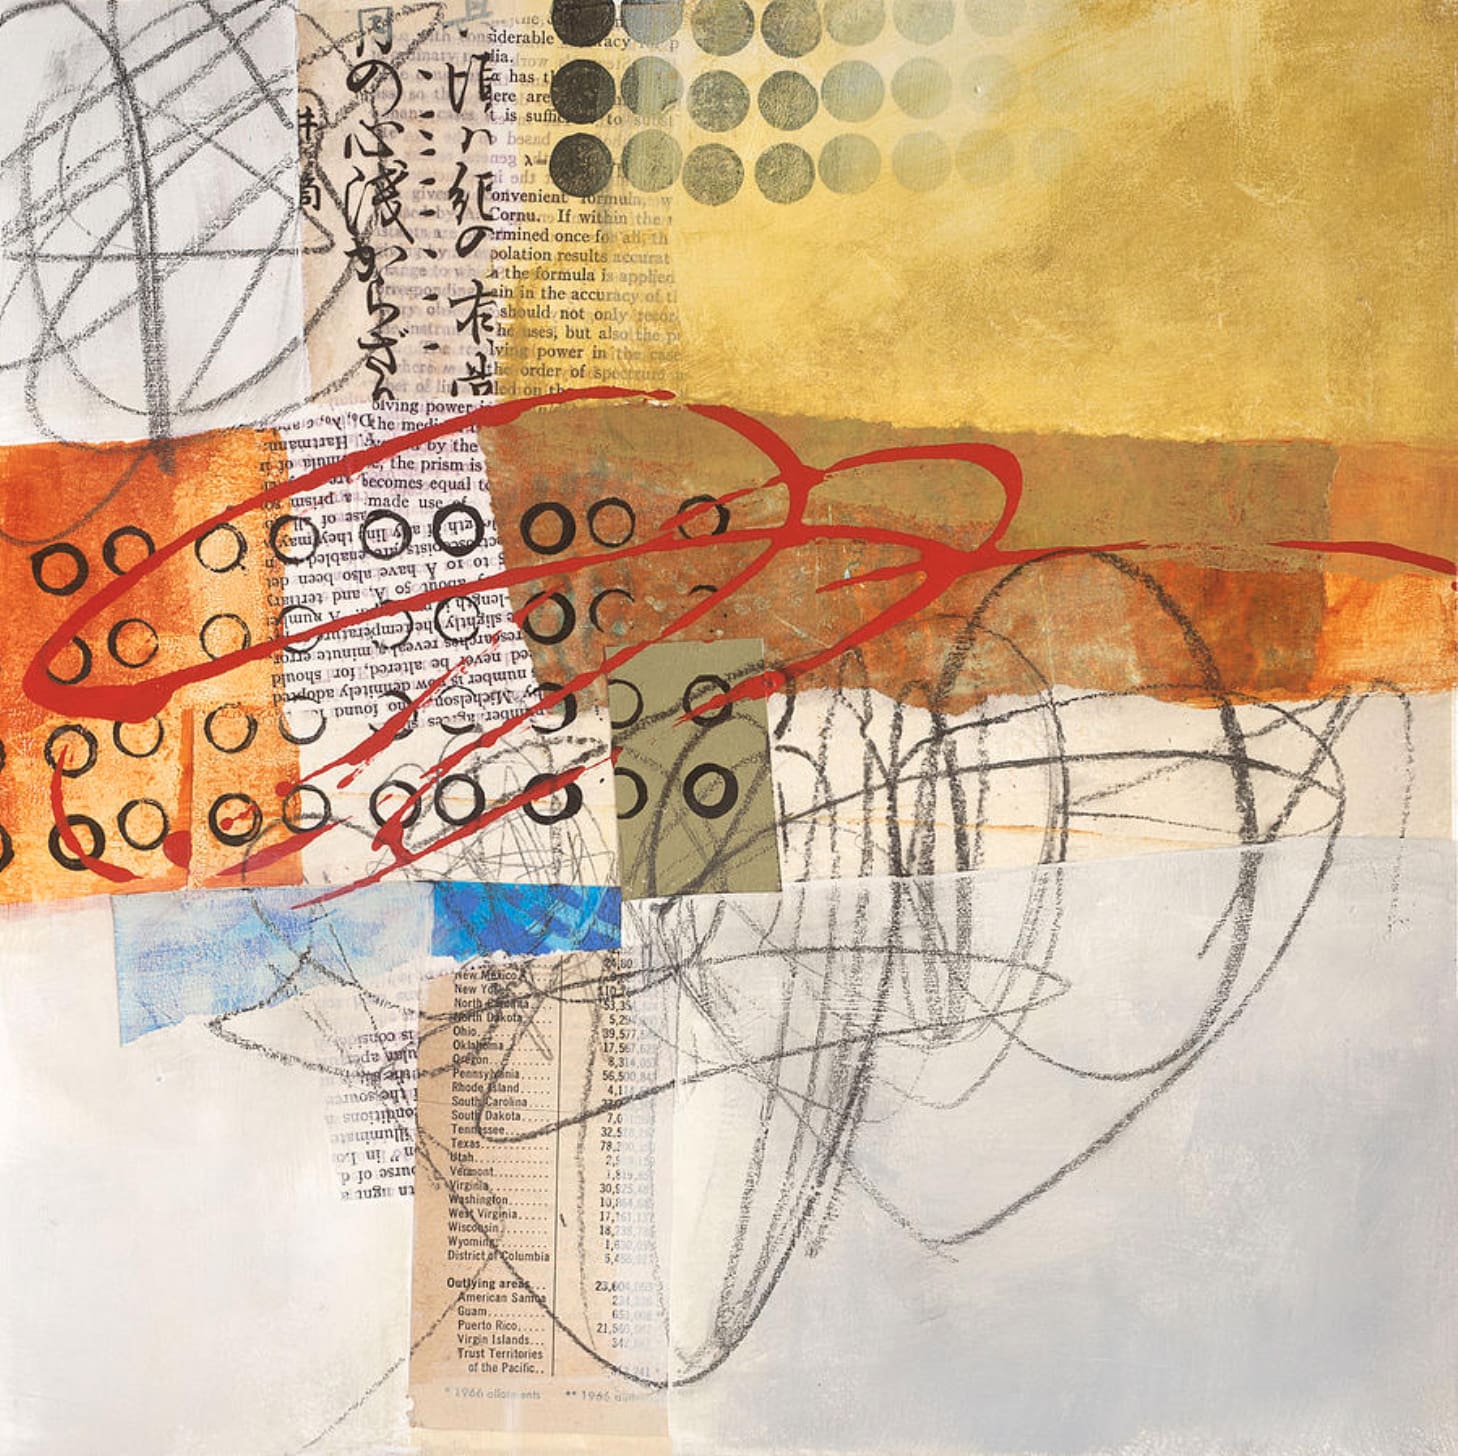
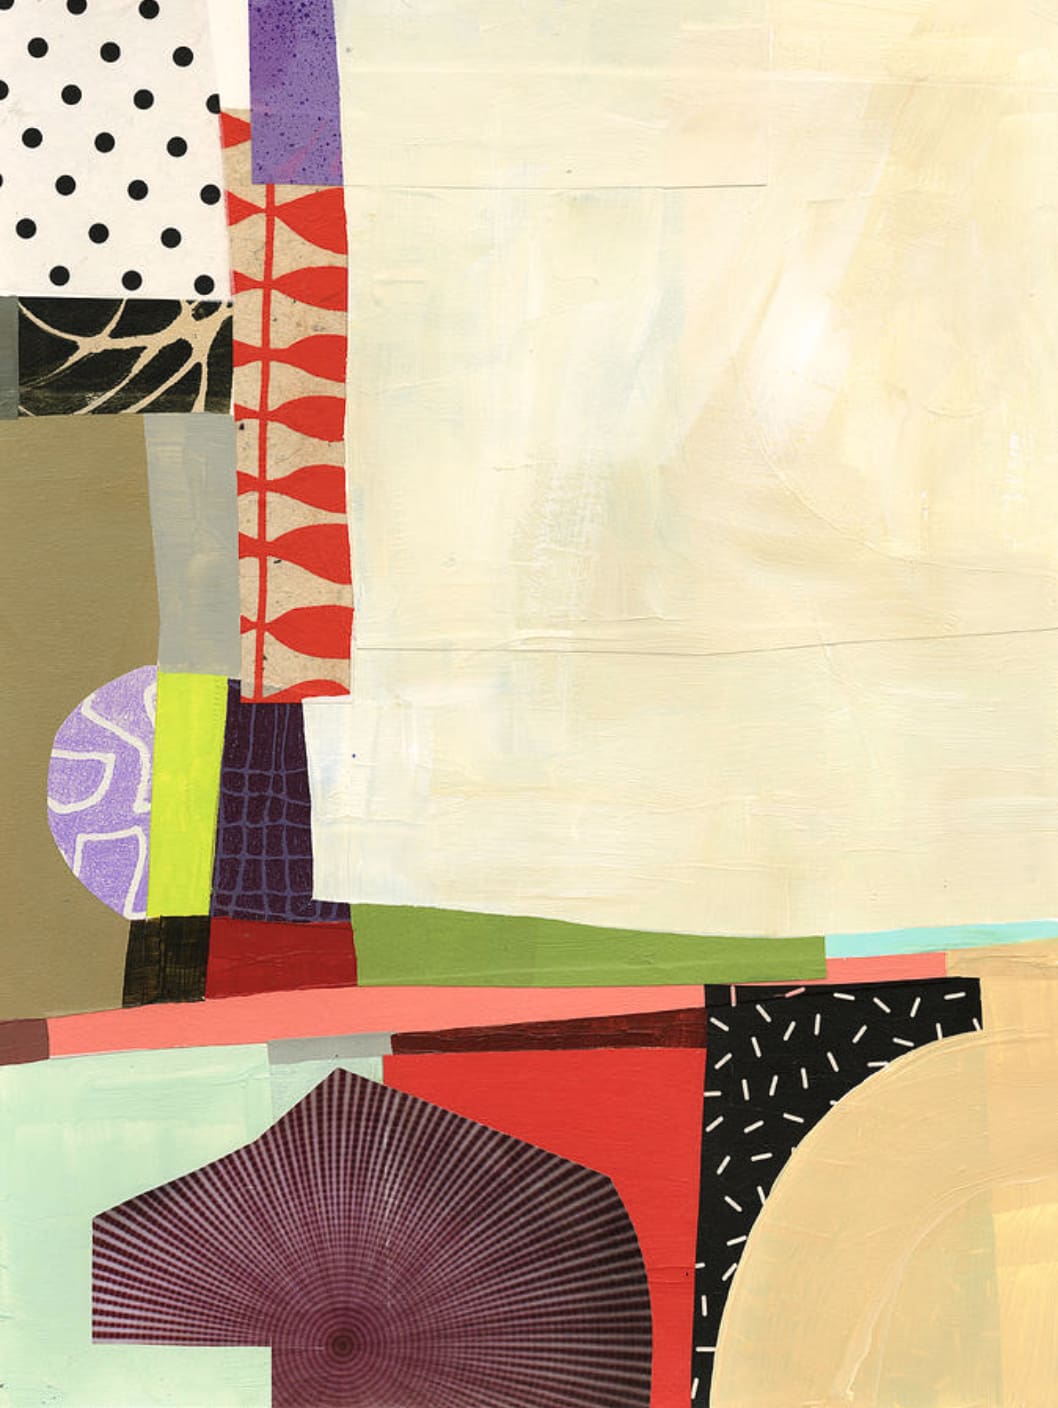
And some of Jane’s beautiful mixed-media collage work:
______________________________________
Class Itinerary
___________________________
Lesson 1: Gel Plate Basics
In this lesson we cover two basic ways to use the gel plate. First we create textures and marks in the rolled out paint before pulling the print. The second basic technique is masking, using cardstock masks and stencils, to create shapes, and string to create line.
Lesson 2: Layering
We explore the results of layering one print over another, shaping the edges, and creating complexity without getting muddy. I also demonstrate how to gang up several papers onto your plate to generate partial prints.
Lesson 3: Making Visual Words
I’ll show you, rather than try to explain, what I mean by a visual word, and we will develop some of our prints into words, or partial compositions, by printing more layers, and painting directly on the prints.
Lesson 4: Making a Sentence
I will show you how I choose parts to put together, and offer tips on how you can choose what works for you. We’ll go over the techniques for assembling parts, and leave our sentences open-ended so there is room to play in the next lesson!
Lesson 5: Collage, Paint, Draw, Finish!
With at least two pieces in progress, you can go back and forth between them to avoid getting stuck. Here we can add bits from previous prints with collage; we can paint into the images to add color, opacity, or add new elements; we can draw, color, and scribble! We can even add more words to our sentences.
_____________________________________
For a full list of the supplies you will need, see the tab titled “Supplies” located just under the video screen above.