
Class Description
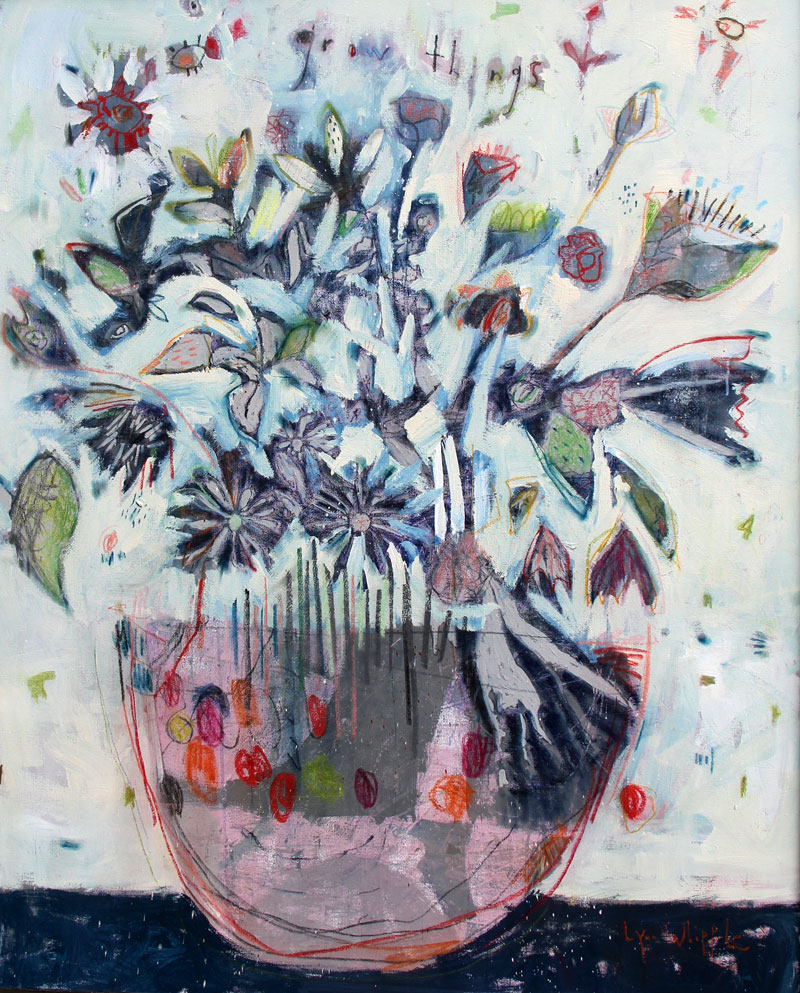
Big Bold Bloom 2
Teacher: Lynn Whipple
10 Lessons
_______________________________
Class Description
More Painting! More Drawing! More Flowers! New Layers! New Techniques! New Tools!
And, most importantly, new ways to celebrate your enormous and brilliant instincts!
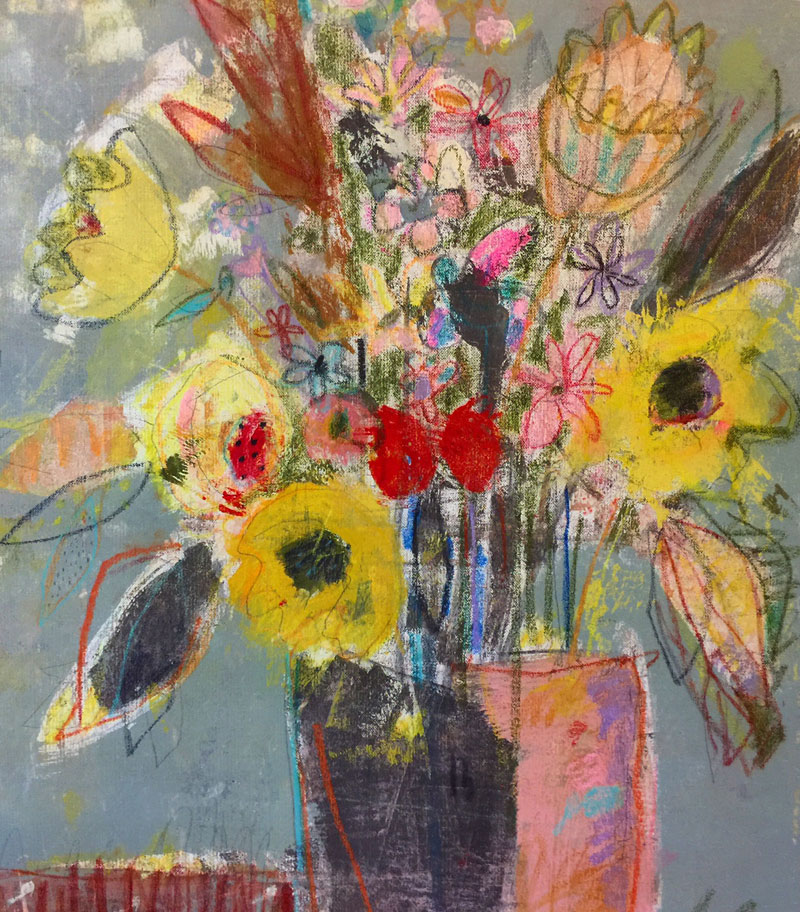
Tune into your personal preferences and enjoy creative play as you create a series of Big Bold Blooms! You will create Big paintings! Medium paintings! Small paintings! And tiny sketchbook drawings, too!
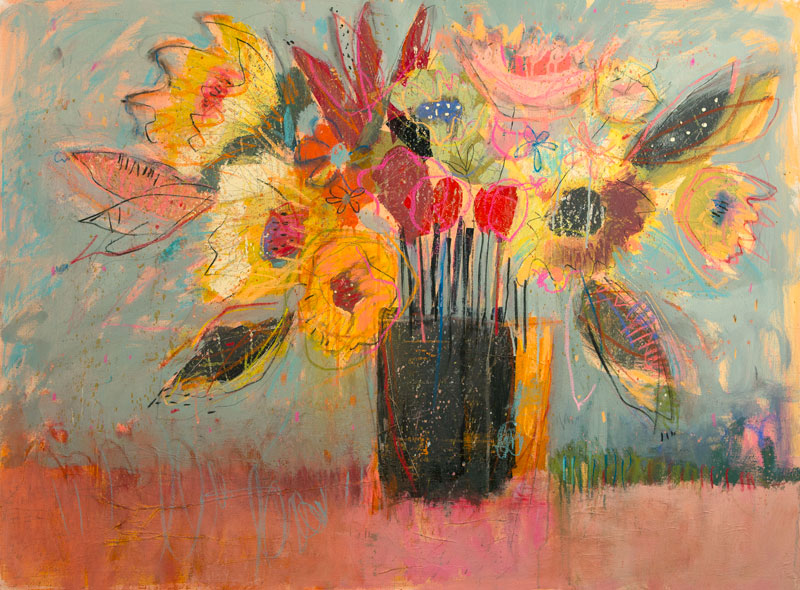
We’ll work with the simple wonders of line, shape and mark, and add to the mix the joys of color, texture and composition. We’ll start with tiny seed drawings which will help inform all of our future designs. Then we’ll play with acrylic paint and colorful mark-making tools such as chalk pastels, markers & even colored pencils. We’ll also work with collage and bring all these layers together to create our final, loose, bold painting!
If you’ve taken Big Bold Bloom Wild Painting, this is the perfect follow up class. I can’t wait to continue the journey with you!
If you’re new, this is a great stand-alone class that will encourage you to work with loads of fun and freedom as you celebrate your instincts and create Big Bold Blooms!
Let’s explore painting and the power of play! I hope you will join me and our wonderful online Bloom community
All my very best,
xoxo
Lynn
Class Itinerary
Lesson 1 – Seed Drawings: Tiny Flowers, Big Designs
There is something exciting about playing with design early in the painting process! We’ll warm up our hands and minds in our sketchbooks and create lyrical line drawings. Let’s build small maps of large paintings and keep it loose and free! We’ll draw fresh flowers from life and add music to keep us in the moment. We’ll design in square and rectangle formats and take special notice of our dark values, putting them in boldly to create structures for our future paintings.
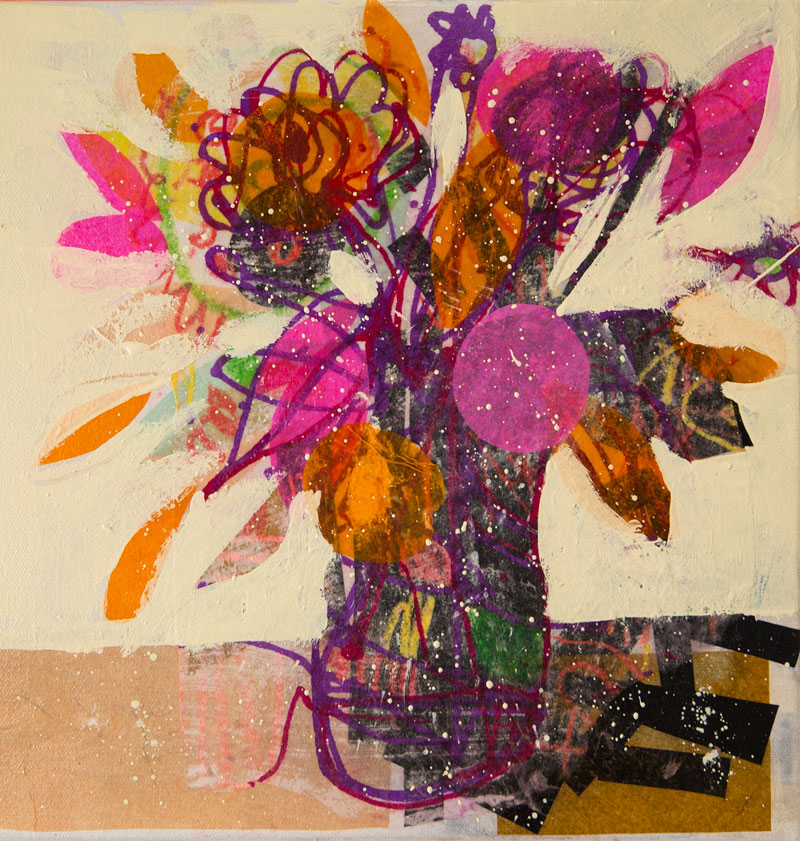
Lesson 2 – Beginning Blooms: Layering Line, Collage & Color
Choose your favorite seed drawings from Lesson 1 and let’s play a new layering game! We’ll start our design structure by first putting down our dark shapes with tissue paper. We’ll collage and build from the ground up, using great shapes, darks and design. The next step is a drawing layer on rice paper and then we’ll continue to add layers of color, paper, line and paint as the Beginning Blooms come into focus!
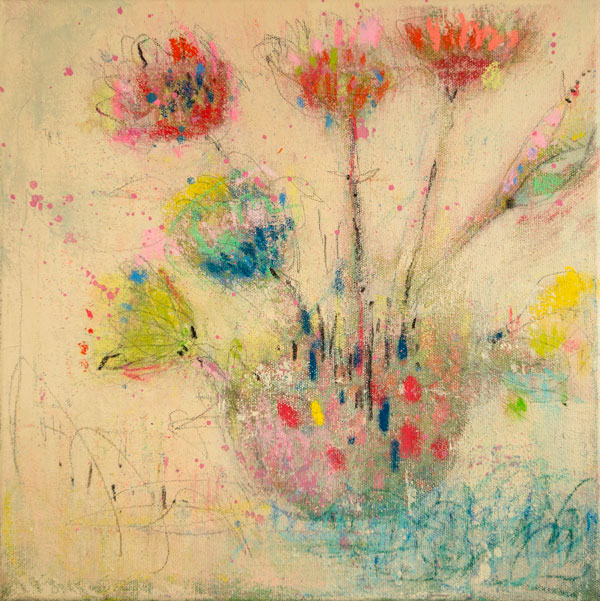
Lesson 3 – Chalk Flowers
I’m excited to share another new technique that marries our soft pastel drawing with paint. First we’ll tone two smaller canvases with two different ground colors and a bit of spattering. We’ll softly carve out simple pots of blooms with a dry brush, creating one large shape. When the paint is dry we draw with chalk pastels and other markers and tools. Our next layer will help us create a “quieting visual noise” which will take down the vibrancy of the color. This is a lovely way to combine drawing and painting with a poetic, new twist!
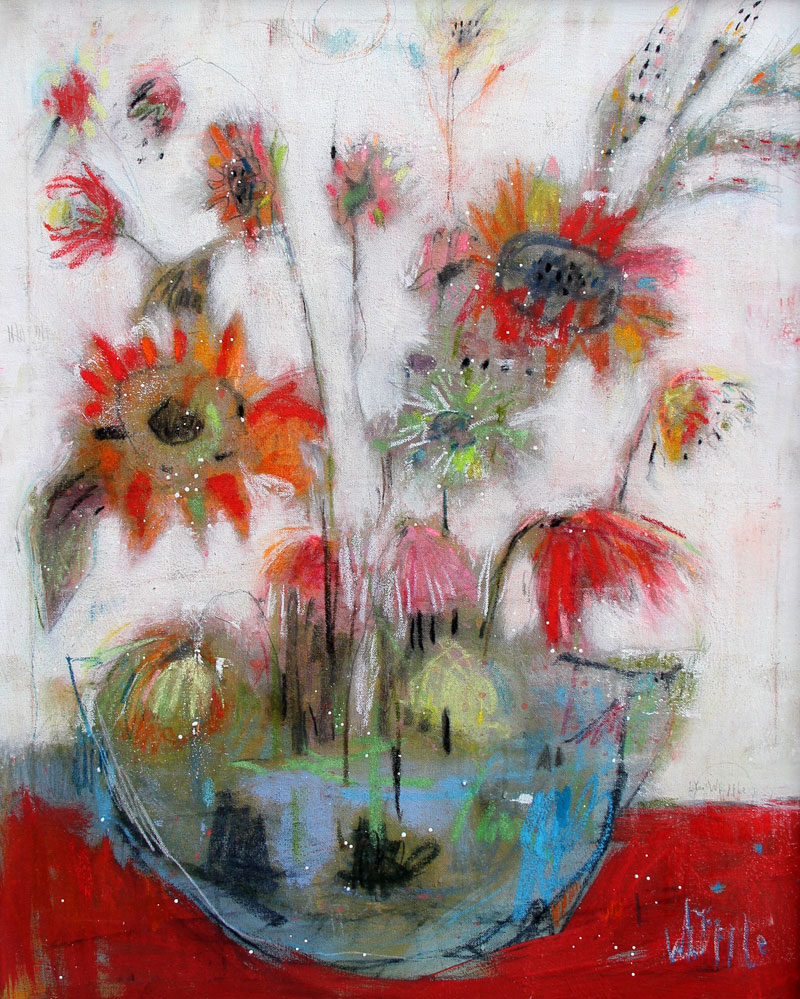
Lesson 4 – Chalk Flowers continued
As we continue to layer, draw, add paint and soften, we’ll start to see our Chalk Flowers emerge. Using darker colored pastels, pencil, colored pencil and charcoal, we’ll find a finish by squinting and spotting the perfect place for the darks. You might refer to your seed drawings here and bring in an area of focus. Continue to “rock” the painting back and forth until the perfect balance speaks to you.
Lesson 5 – Bigger and Bolder! New Layers, Part One!
Let’s start one of each of our larger canvases: a 24″ x 24″ and a “24 x 30”. Tone one canvas in the warm orange tones and one in the greenish tones. Then we’ll do a “spin composition” step… a wonderful way to keep your hands moving and create an abstracted patterned layer. Move the wet paint with the brayer as you paint neutral tones into the shapes. Be sure to leave a bit of your first layer peeking through! Let your painting breathe. Next we’ll add drawing! Away we go!
Lesson 6 – Bigger and Bolder! New Layers, Part Two!
There’s always room to risk and try something new because —as you know — it’s only a layer! Spin the canvas and look for a great place to plant your large pot of blooms. Draw in loose and free with chalk pastel using lots of color. Music up! Add thin layers of light colored paint, as you cut in around your large shape. Create visual noise by moving the paint with your brayer. Spatter! Build your bigger blooms! Draw on top! Create shadow! Add highlights! Have fun!
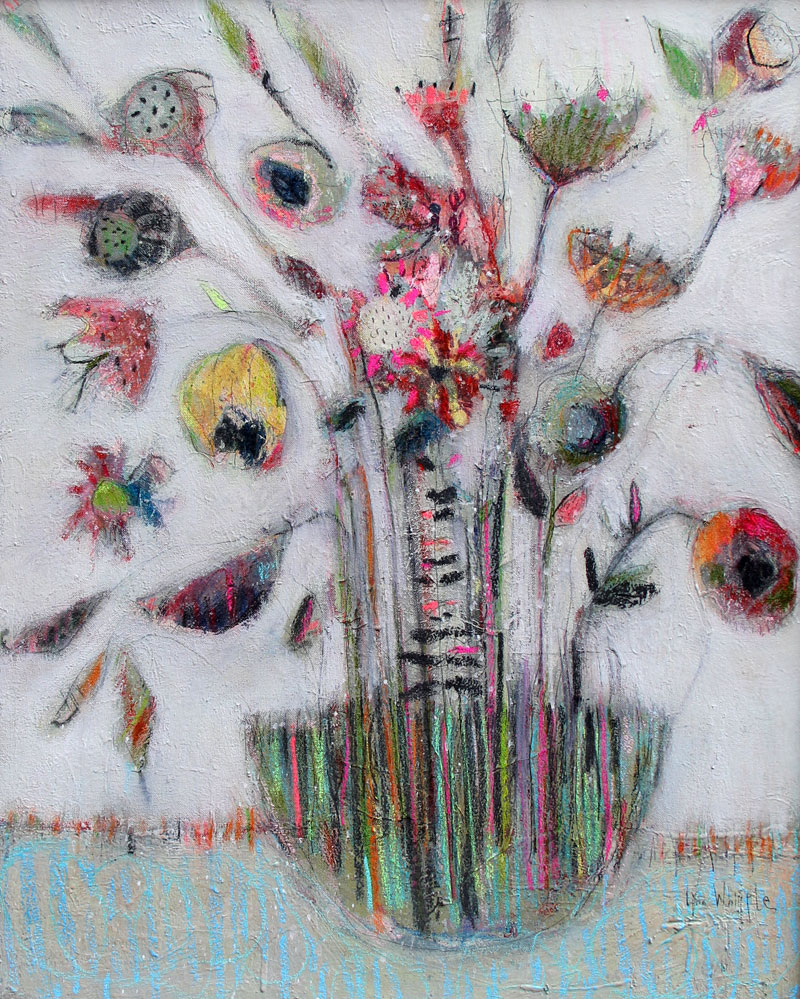
Lesson 7 – Big Bold Blooms!
This week you’ll begin two more larger canvases. We’ll start with spin drawings—one of most satisfying layers I know; spin drawings keep us looking and drawing flowers, loose and fast, with an eye on composition and shape making. The pattern you create will give you an amazing place to add your next layer of neutral colors. Let the ground layer show through! Music up! Play! Spin! Draw! Paint!
Lesson 8 – Painting Blooms: One Form, One Flower at a Time
It’s time to sling some paint! Use your vibrant colors now. Paint your flowers with big, bold movements. Play with your brushstrokes. Celebrate one flower at a time. Look carefully and let the light source tell you what side is bright and which is in shadow. This will inform your colors which will help create your forms. Fill your canvas with colorful blooms. Spatter, drip, put in darks—have fun!
Lesson 9 – Painting Blooms, Big and Bold: Your Beautiful Instincts Lead the Way!
You’ve gathered so many wonderful preferences! Do you prefer vertical or horizontal? Muted or bright colors? Look through your drawings and paintings and create a new design to turn into an 11″ x 14″ tissue paper collage “map.” This will help guide you as you scale it up to our largest painting, 36″ x 48″! Now it’s time for loose ground color and some spatter. With larger pieces of tissue paper, put down your large collage pieces and see your design come to life!
Lesson 10 – Painting Blooms, Big and Bold: Your Beautiful Instincts Lead You Home!
Music up! Draw! Start by using your pastels and drawing on top of your collage. Change the flower shapes, go over the lines. Paint! Paint in big, loose flower forms, with drips and spatters and light and shadow side. Have fun as you use a favorite color to paint with your brayer and “cut in” loosely around your arrangement. Keep rocking the painting back and forth—brayer, drawing, paint, spatter, pencil, markers, and even the dot-dot-dot! When you think you’re done, back up, have a cup of coffee and let your painting tell you what it needs to take it to a beautiful finish.
 Lynn Whipple