Class Description
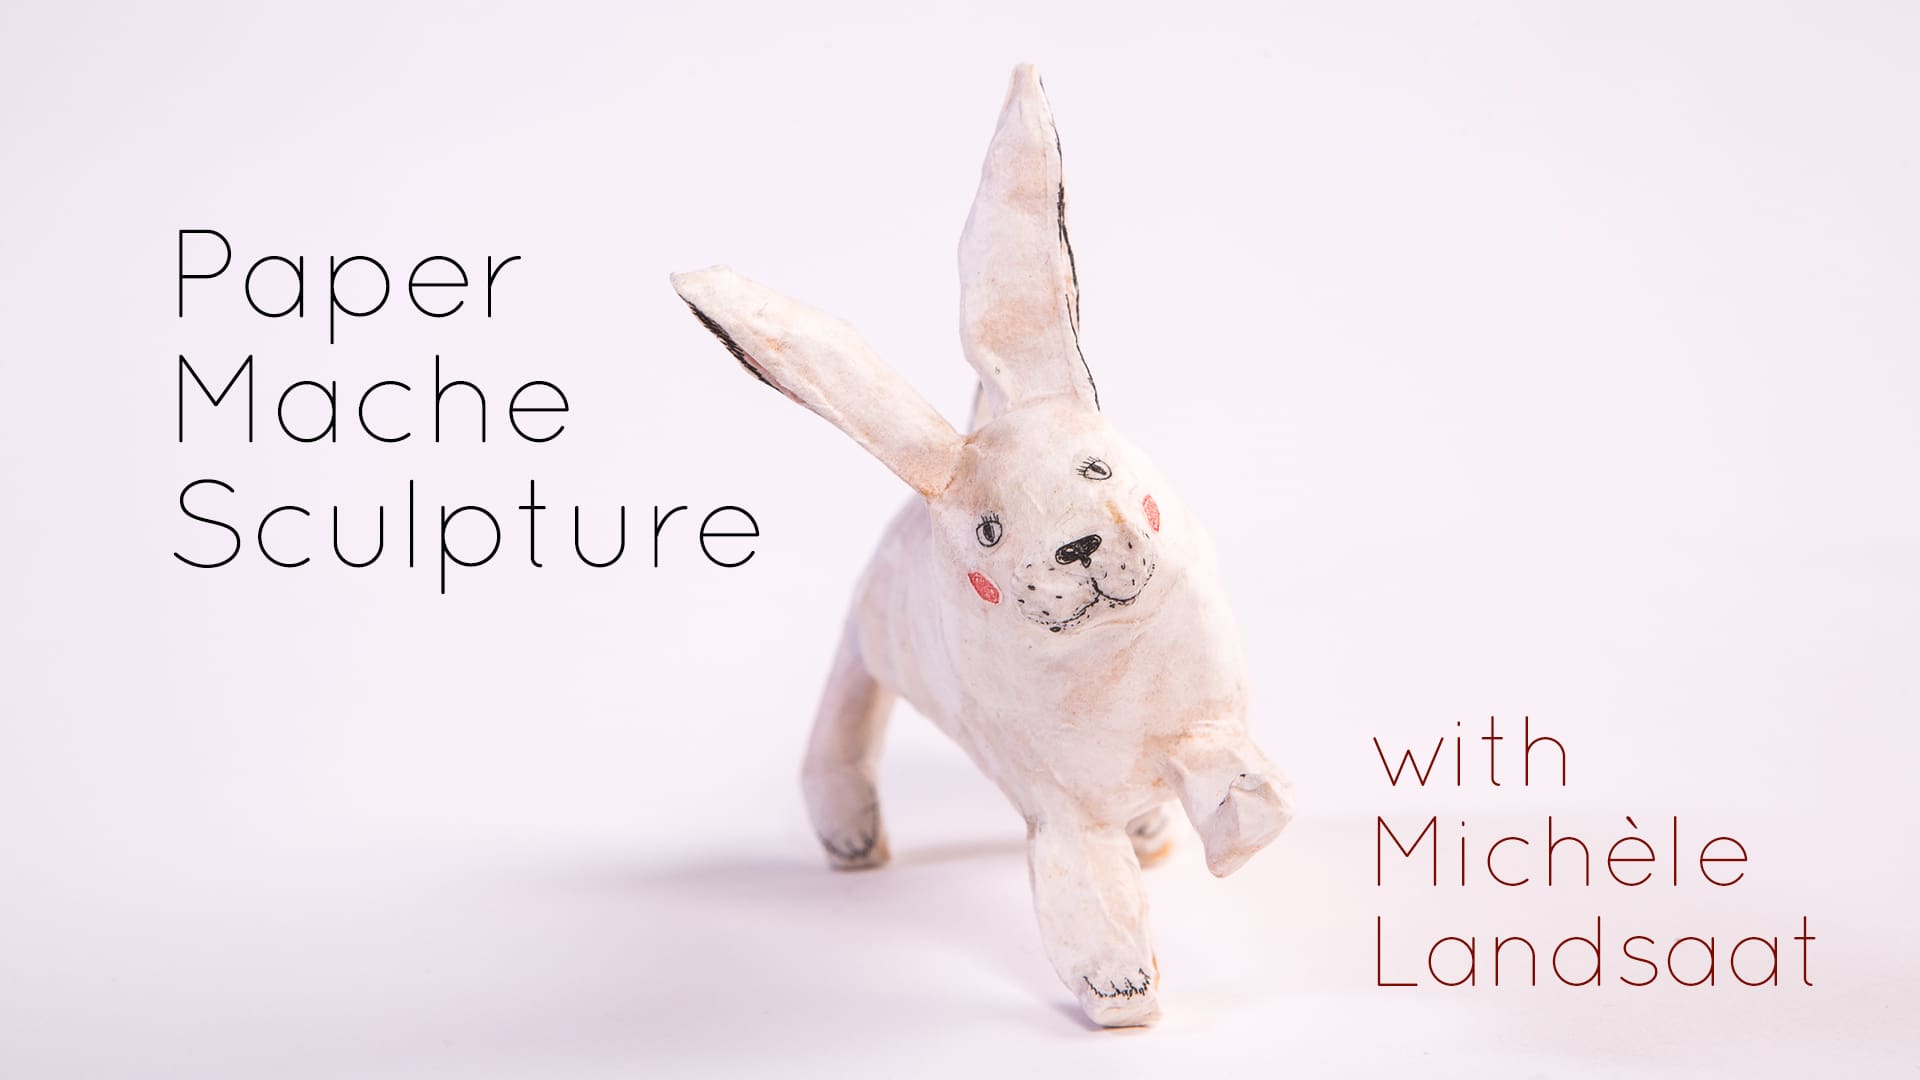
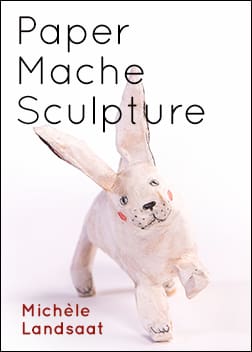
Paper Mache Sculpture
Instructor: Michèle Landsaat
Now available as a self-study class.
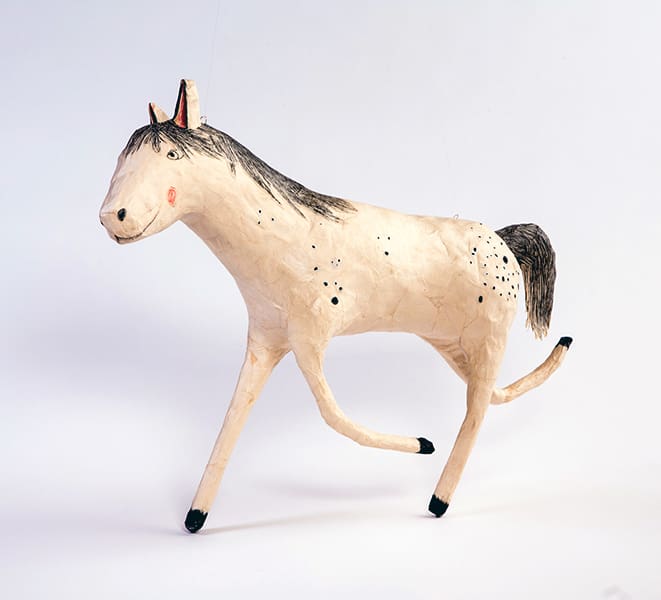
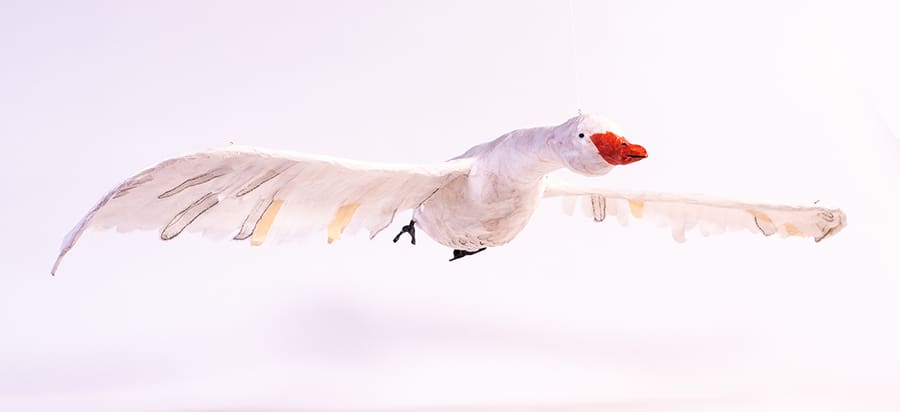
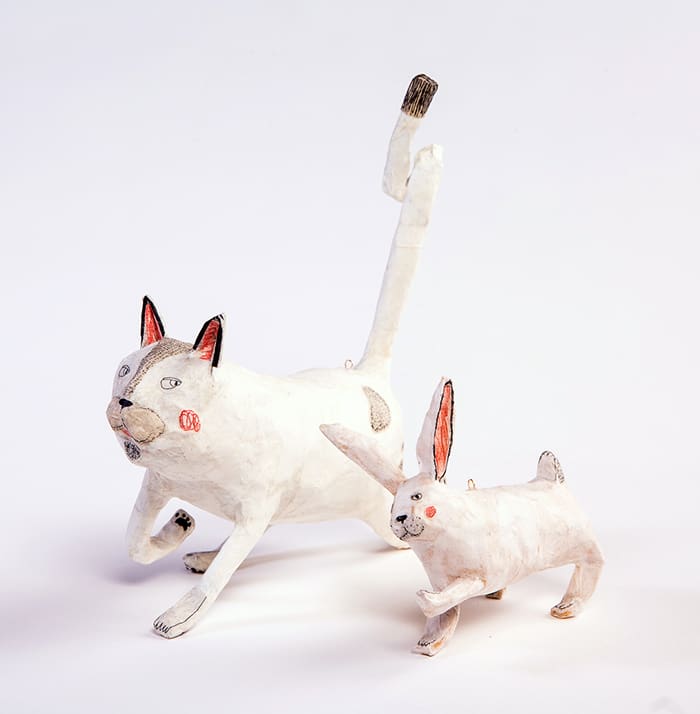
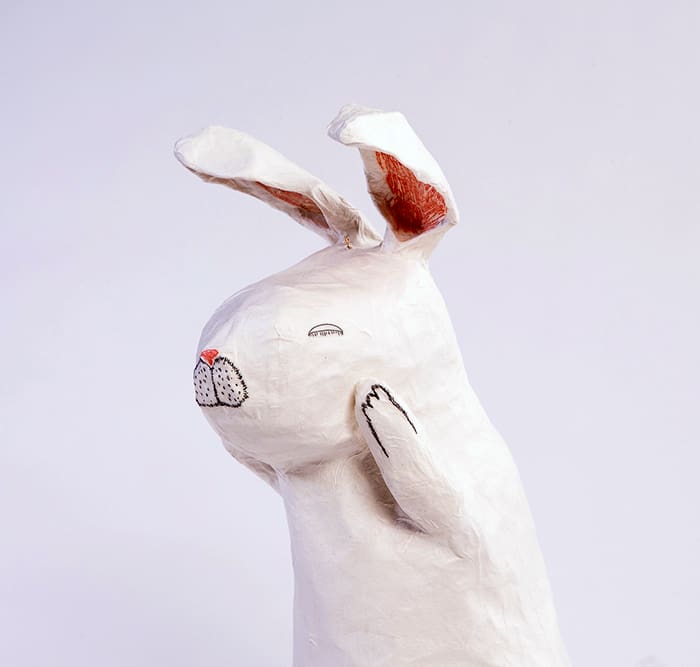
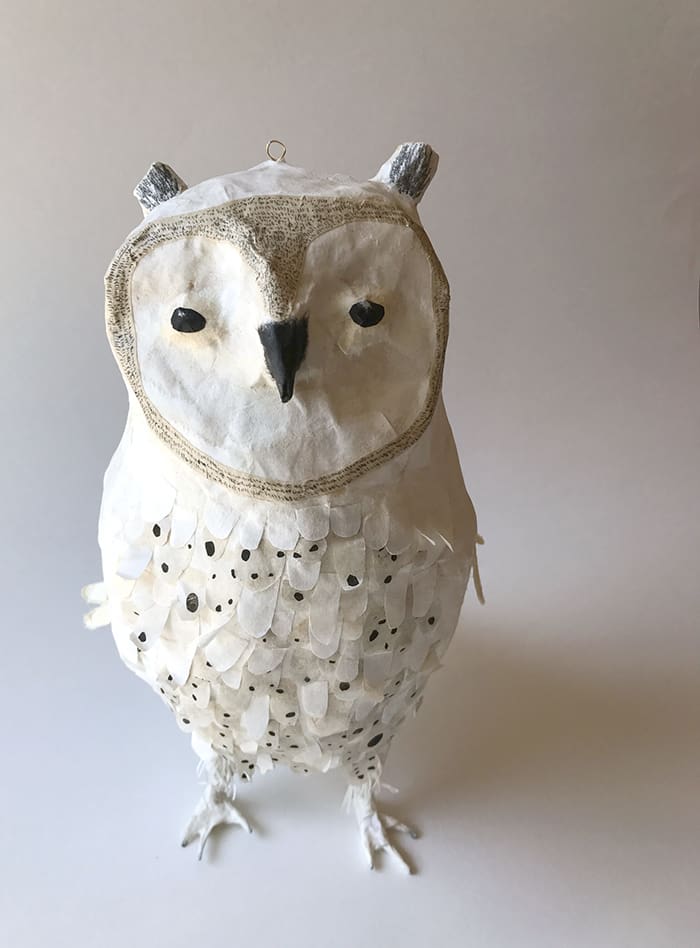
Michèle Landsaat is primarily an illustrator and printmaker, and her fantastic paper mache sculptures really are a three-dimensional continuation of her illustrations and narrative prints.
Michèle finds that sculpting her characters informs her prints and vice versa, and it has become an integral part of her art practice. The simple, forgiving nature of paper mache is non-threatening way to reimagine your two dimensional work into three dimensions using basic materials like crumpled newsprint and flour and water. And, its fun! She will show us how to use Japanese paper to finish the sculptures and how to add line work features.
Class Itinerary
Lesson 1 – Sketch Your Designs & Make Paper Mache Paste
Design your figure… will it be an animal, a person, or…? Some drawing tips and considerations. Make a bunch of quick sketches and prepare your paste, too.
Lesson 2 – Wire, Crumpled Paper & Masking Tape
Today you will work on building the initial form of your figure. Shape with wire, using your sketch as a guide, and add multiple layers of crumpled newsprint and masking tape until you are satisfied. Smooth your surface as you go.
Lesson 3 – Editing Your Form; First Paper Mache Layer
Cut away and build up places to help shape your form. Add ears and other details with paper and tape. Add your first layer of paper mache with newsprint. Let dry overnight.
Lesson 4 – Second Layer & Hanging Hooks
Cut away any lumpy areas and create hooks for hanging; then add your second layer of paper mache using Japanese paper.
Lesson 5 – Drawing Features & Third Layer
Draw or paint a variety of features to choose from using the media of your choice. Michele will demo using gel pen, colored pencil and acrylic paint. Let these dry overnight. Also, add your third and final layer of paper mache. Let dry overnight.
Lesson 6 – Applying the Features
Adhere features to final layer using paste or glue stick. Take your time with this last important step, which will determine the personality of your finished sculpture!
____________________________________________
Scholarships are available. Click HERE.
Full Supply List
Flour Paste
• Flour
• Wire whisk, measuring cup and sauce pan for the mixture
• covered container for storage in fridge
Sculpture Creation
• Pencil & scrap paper for sketching a rough figure
• Newspaper or newsprint
• Masking tape – in a couple of widths – needs to be a light color. I just use standard off-white masking tape. Should have a good stickiness. 1″ & 2″ widths work well for me.
• Wire & wire cutters. I use 20 gauge galvanized steel wire for the armature.
• Scissors, exacto knife & mat cutter
• Jewelry wire or other thin wire for hangers.
¶ Card stock or stiff paper of some kind for ears etc. Manila file folders or Bristol paper work great.
• Japanese papers such as Okawara student & Kitakata. Or other lightweight papers of your choice. You will need 2-4 sheets for a medium-sized sculpture.
• Wax paper to cover work surface
Sculpture Features
• More paper of your choice
• Exact-o for cutting out features
• Medium of your choice for drawing. Will demo Gel pens, colored pencils and acrylic paints
• glue stick
Note on paper!
If you can’t find the Okawara Student or Kikakata Japanese papers, you can use a substitute – Kozo papers work nicely.The paper needs to be thin enough to mold.The paper thickness is similar to newspaper or newsprint or slightly thicker, but much sturdier and more malleable.I mostly use natural colors since the colored papers tend to bleed. But I have used colored papers I just test them ahead of time and if they bleed I’m careful not to transfer the color to other parts of the form with my fingers.
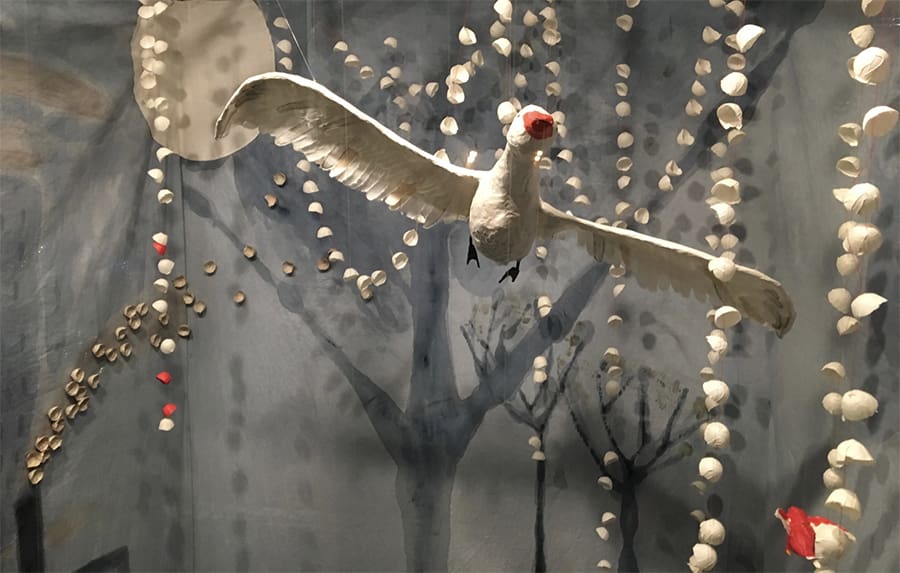
Michèle Landsaat is a writer and illustrator whose work explores the symbolic world hidden beneath the surface of visual perception. Her stories speak to an underlying and universal vulnerability, yet they are simultaneously whimsical in nature. Every component of her books is significant, such that the process, materials and design are metaphors for the actual content. The alchemical and slow process of creating illustrations using the technique of etching mirrors her approach to storytelling. There is something unpredictable and transformative that happens during the process of creating both a written story and an etching. Invariably, each invigorates the other in unexpected ways. Tiny pieces of cut paper adhered during the printing process (chine collé) create subtle tones and contribute to the delicacy and fragility of the imagery. Michèle currently lives in Seattle, WA.
Nuts & Bolts
– Instant access to all lessons.
– Private Facebook and Padlet groups will be available for you to (optionally) share your work and receive comments from the instructor and fellow students.
– You will have indefinite access to this class.