
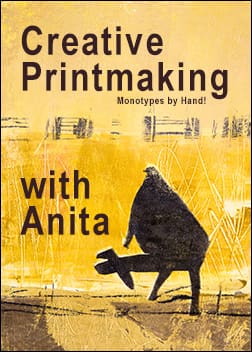
Class Description
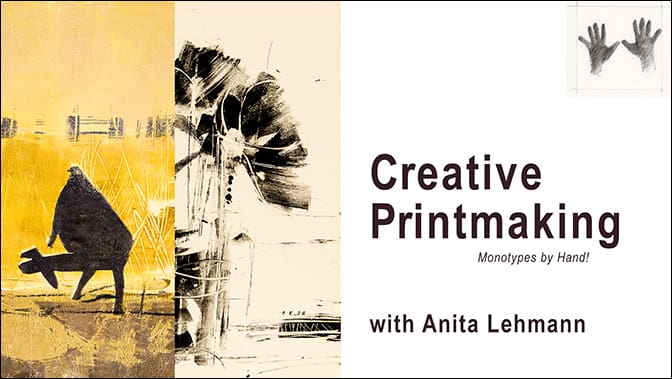
Printmaking is so fun, easy and accessible. We will roll, wipe, scribe, dab + fingerpaint + design in seven creative lessons… and all by HAND (no printing press required!).
One simply draws on a plate, then sandwich a damp paper to make a single impression + ‘voila’ :a monotype:
In this class we will:
• Experiment with the printmaking process of monotype in black + white and color
• Work with color and value to evoke mood
• Discover new shapes + lovely, creative mark making.
• Find texture to create depth of surface, space and perhaps mystery
• Launch your imagination: creating prints with surprising + unique qualities
So, get ready to print. Even if you are beginner to this process or if you have printed before, these 7 sessions are a grand ‘launching pad’ for your art practice. Now, set the table. Let’s go.
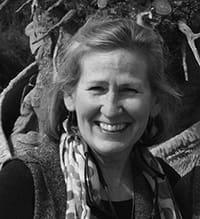
Anita
P.S Scholarships are available. Click HERE.
________________________
Lesson 0: Setting the Table: Supplies + Set Up
Get comfortable, ‘set the table’, pull together your items. Ready, Set Go!
Lesson 1: Getting Started: Subtractive process + Ghost Prints
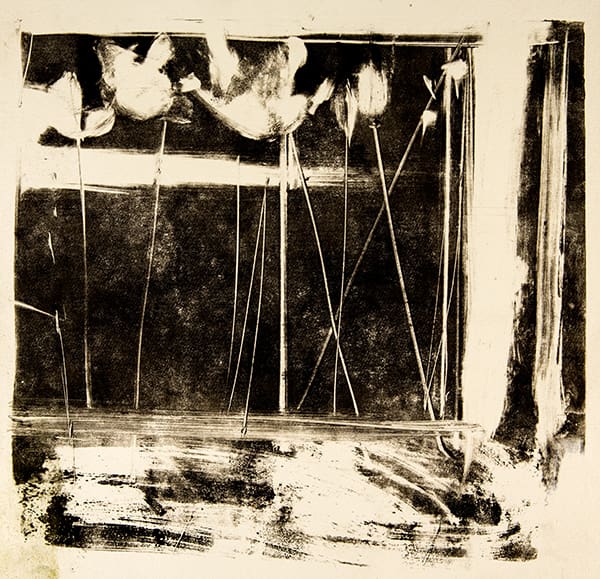
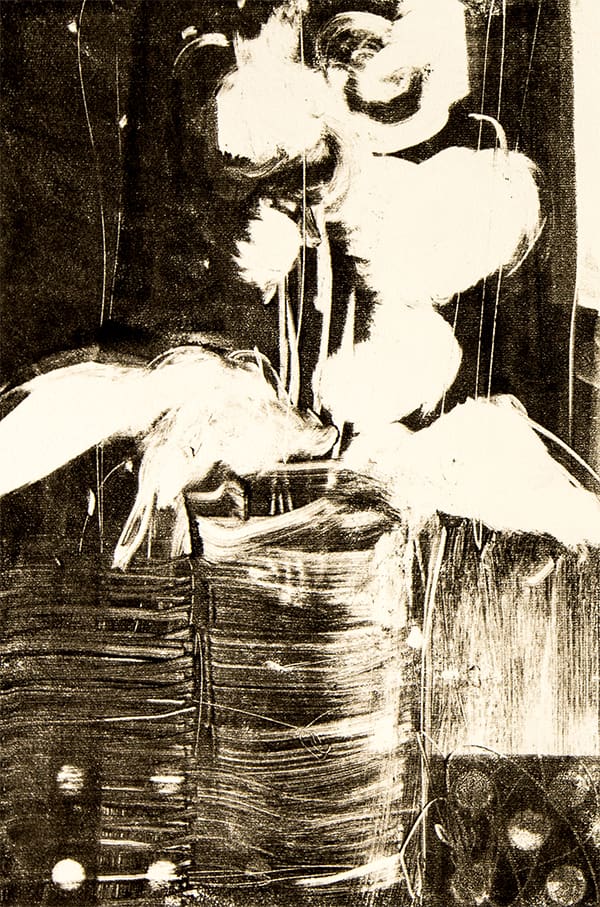
We will be preparing the plate with a dark field of ink and begin to subtract out shapes + values. Once we find an initial image to our liking, we will begin the first print, hand rubbing. A lovely print will appear and then using the same plate, we will print a ‘ghost’ print of the same image. Another surprise, your image is in reverse.
Lesson 2: An Additive Process + Trace Monotype
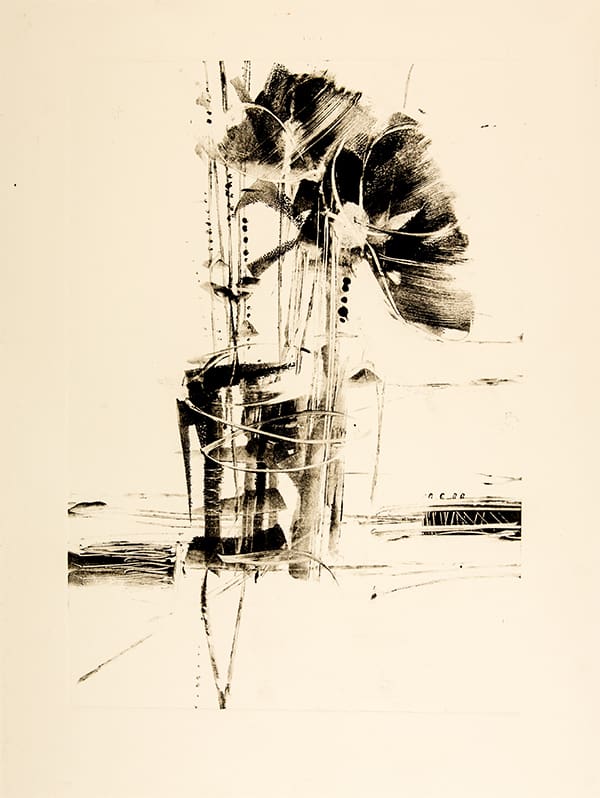
Our plate preparation, unlike Lesson 1, will be mark-making but in an Additive process. Stay creative with your mark-making. The brayer, loaded with ink will produce lovely, spontaneous marks; twist, turn and even use the edge. Trace monotype , an additive process, will give you unique lines: thick and thin, inventive edges and lovely textures. Again, another lovely print will appear.

Lesson 3: Draw Downs + Printing in Layers
An introduction in achieving values in Monotype will be presented with the addition of a ‘transparent’ base to the ink, giving the printmaker a full range of values. Utilizing these new inks of various values, we will initially create a ‘draw down’: a plan to begin printing in layers from lighter to darker, achieving value + shape and space definition all in one study. From the ‘draw down’, comes the execution. Let’s try this process on a larger plate. So much to discover. Yes?
Lesson 4: Sampler in Landscape Design: Techniques with the Design Elements
Design with capital ‘D’: Value/Shape, Line/Edges, Texture and Space. Printmaking involves good design. To achieve this, I work with my ‘tool belt’ of Design Elements: line, edge, shape, value, texture, space and (color). I design in an abstract mode and obtain a ‘mostly’ in the process.

Lesson 5: A Color Wheel: Hue, Value + Intensity
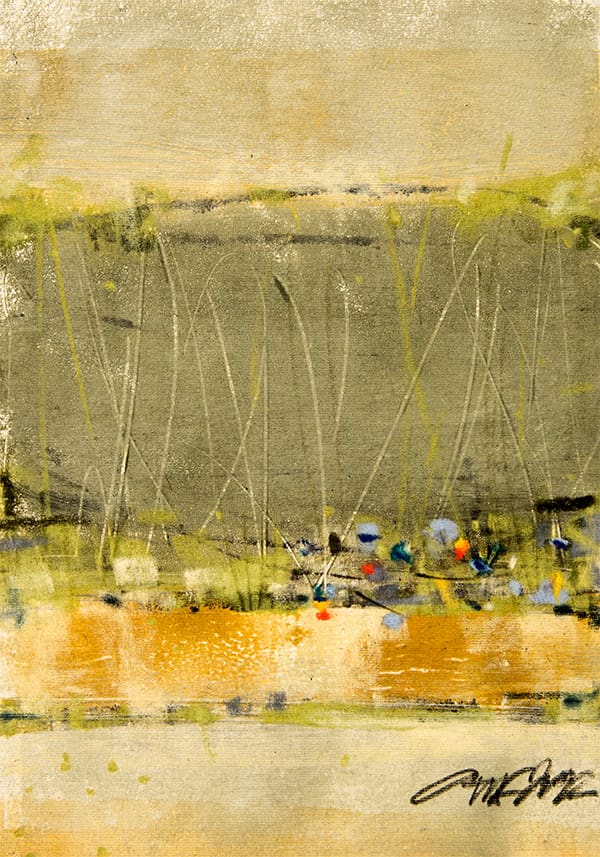
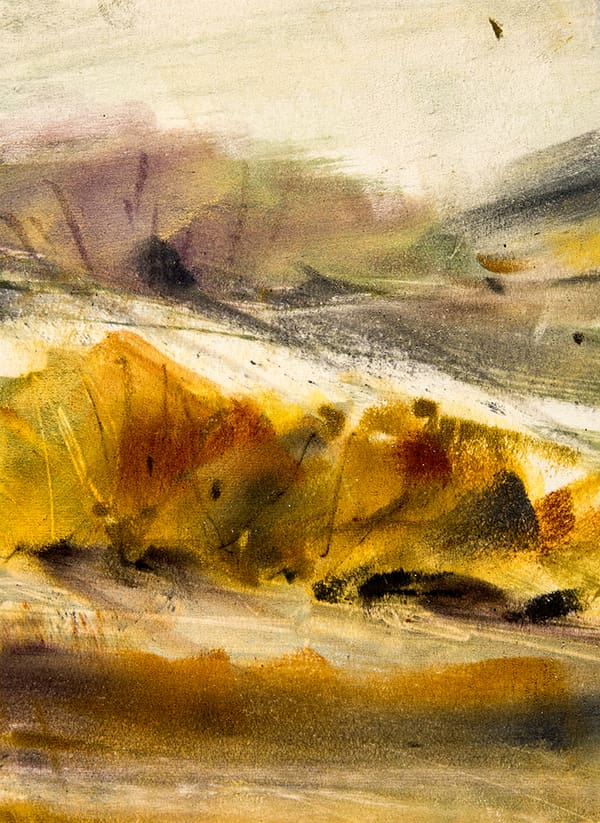
COLOR! Finding color with these luscious inks is such a worthwhile pursuit. Hue, Value and Intensity can all be discovered, and you can create such lovely variety. Color Theory can be a good guide in the process especially with the Akua Inks creating subtle layers of color. The color wheel is a great start in obtaining a simple palette with numerous possibilities. Applying a ‘mostly’ to a landscape of many greens can be achieved. Let’s see yours.

Lesson 6: Printing Color with Layers, opaque/transparent inks + stencils too.
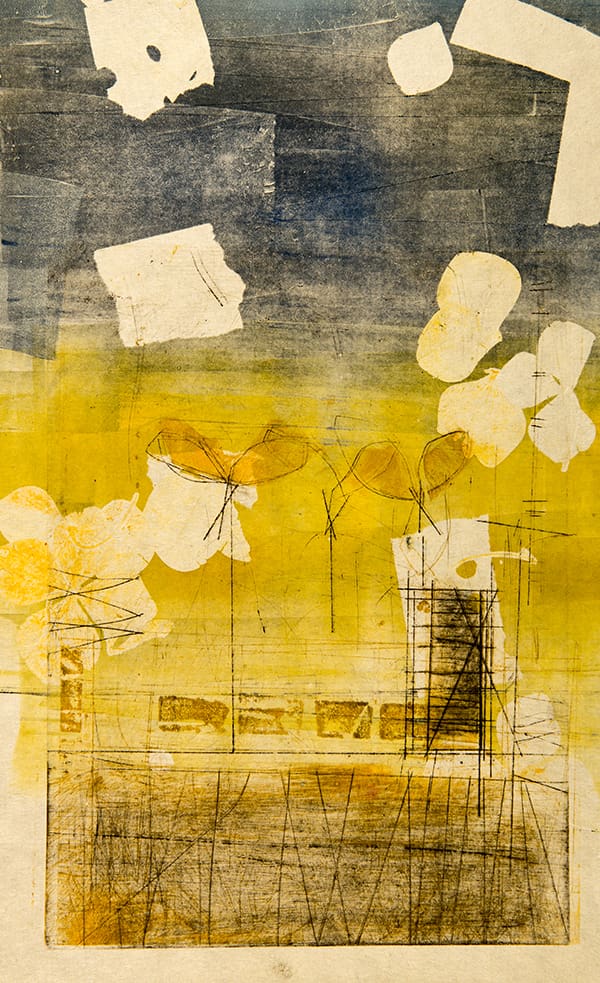
New inks, opaque and transparent, and in combination will be demonstrated in this lesson. The richness of a print, in multiple layers is the goal. Let’s start with the transparent layer initially and then add darker color/values and a bit of opaque layers too. The stencil process is introduced, a wonderful vehicle for placing lovely positive/negative shapes. Again, another lovely print?
Lesson 7: Finishing Touches: mark making, additional layers + letting it be.
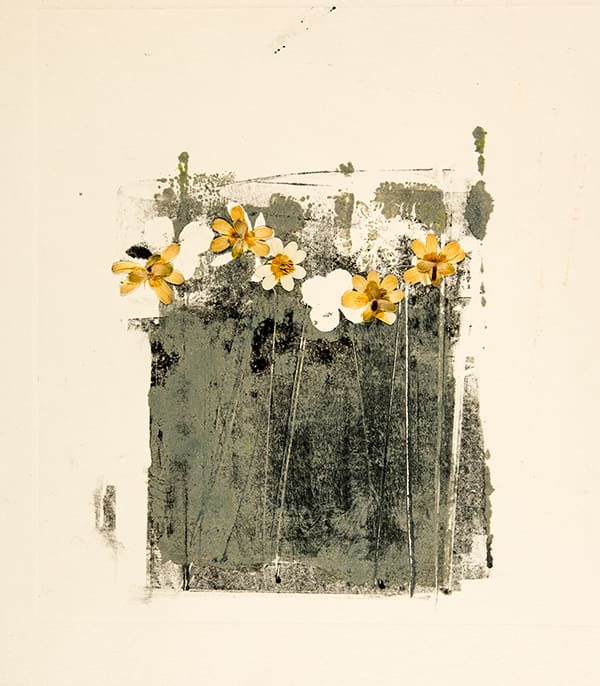
How do you know when the artwork/print is complete? I ask, am I finished: Is this print one I could add to with color, additional layers, a few subtle marks or simply letting it be. I will demonstrate going back in with pastels and additional printmaking. I think of a work as complete when it evokes a feeling. If I go further with a work, I ask myself, ‘what if’? Slow down + enjoy + be brave. You can do no wrong. Photograph as you go.
Join us!
