Class Description
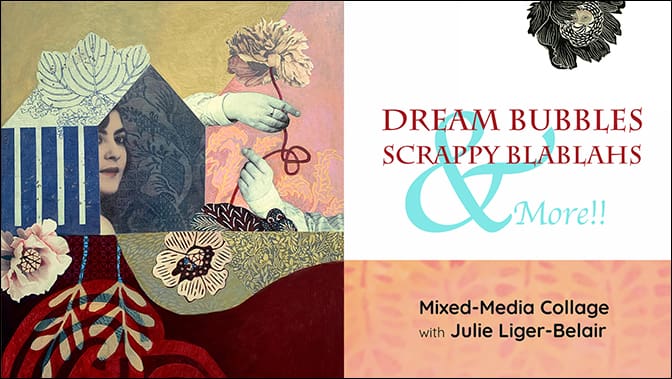
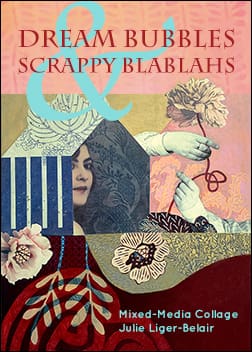
Dream Bubbles, Scrappy Blablahs & More
Mixed-Media Collage with Julie Liger-Belair
6 Lessons • $72
. . . . . . . . . . . . . . . . . . . . . . . . . . . . . . . . . . . . . . . . . . . . . . . . . . . . . . .
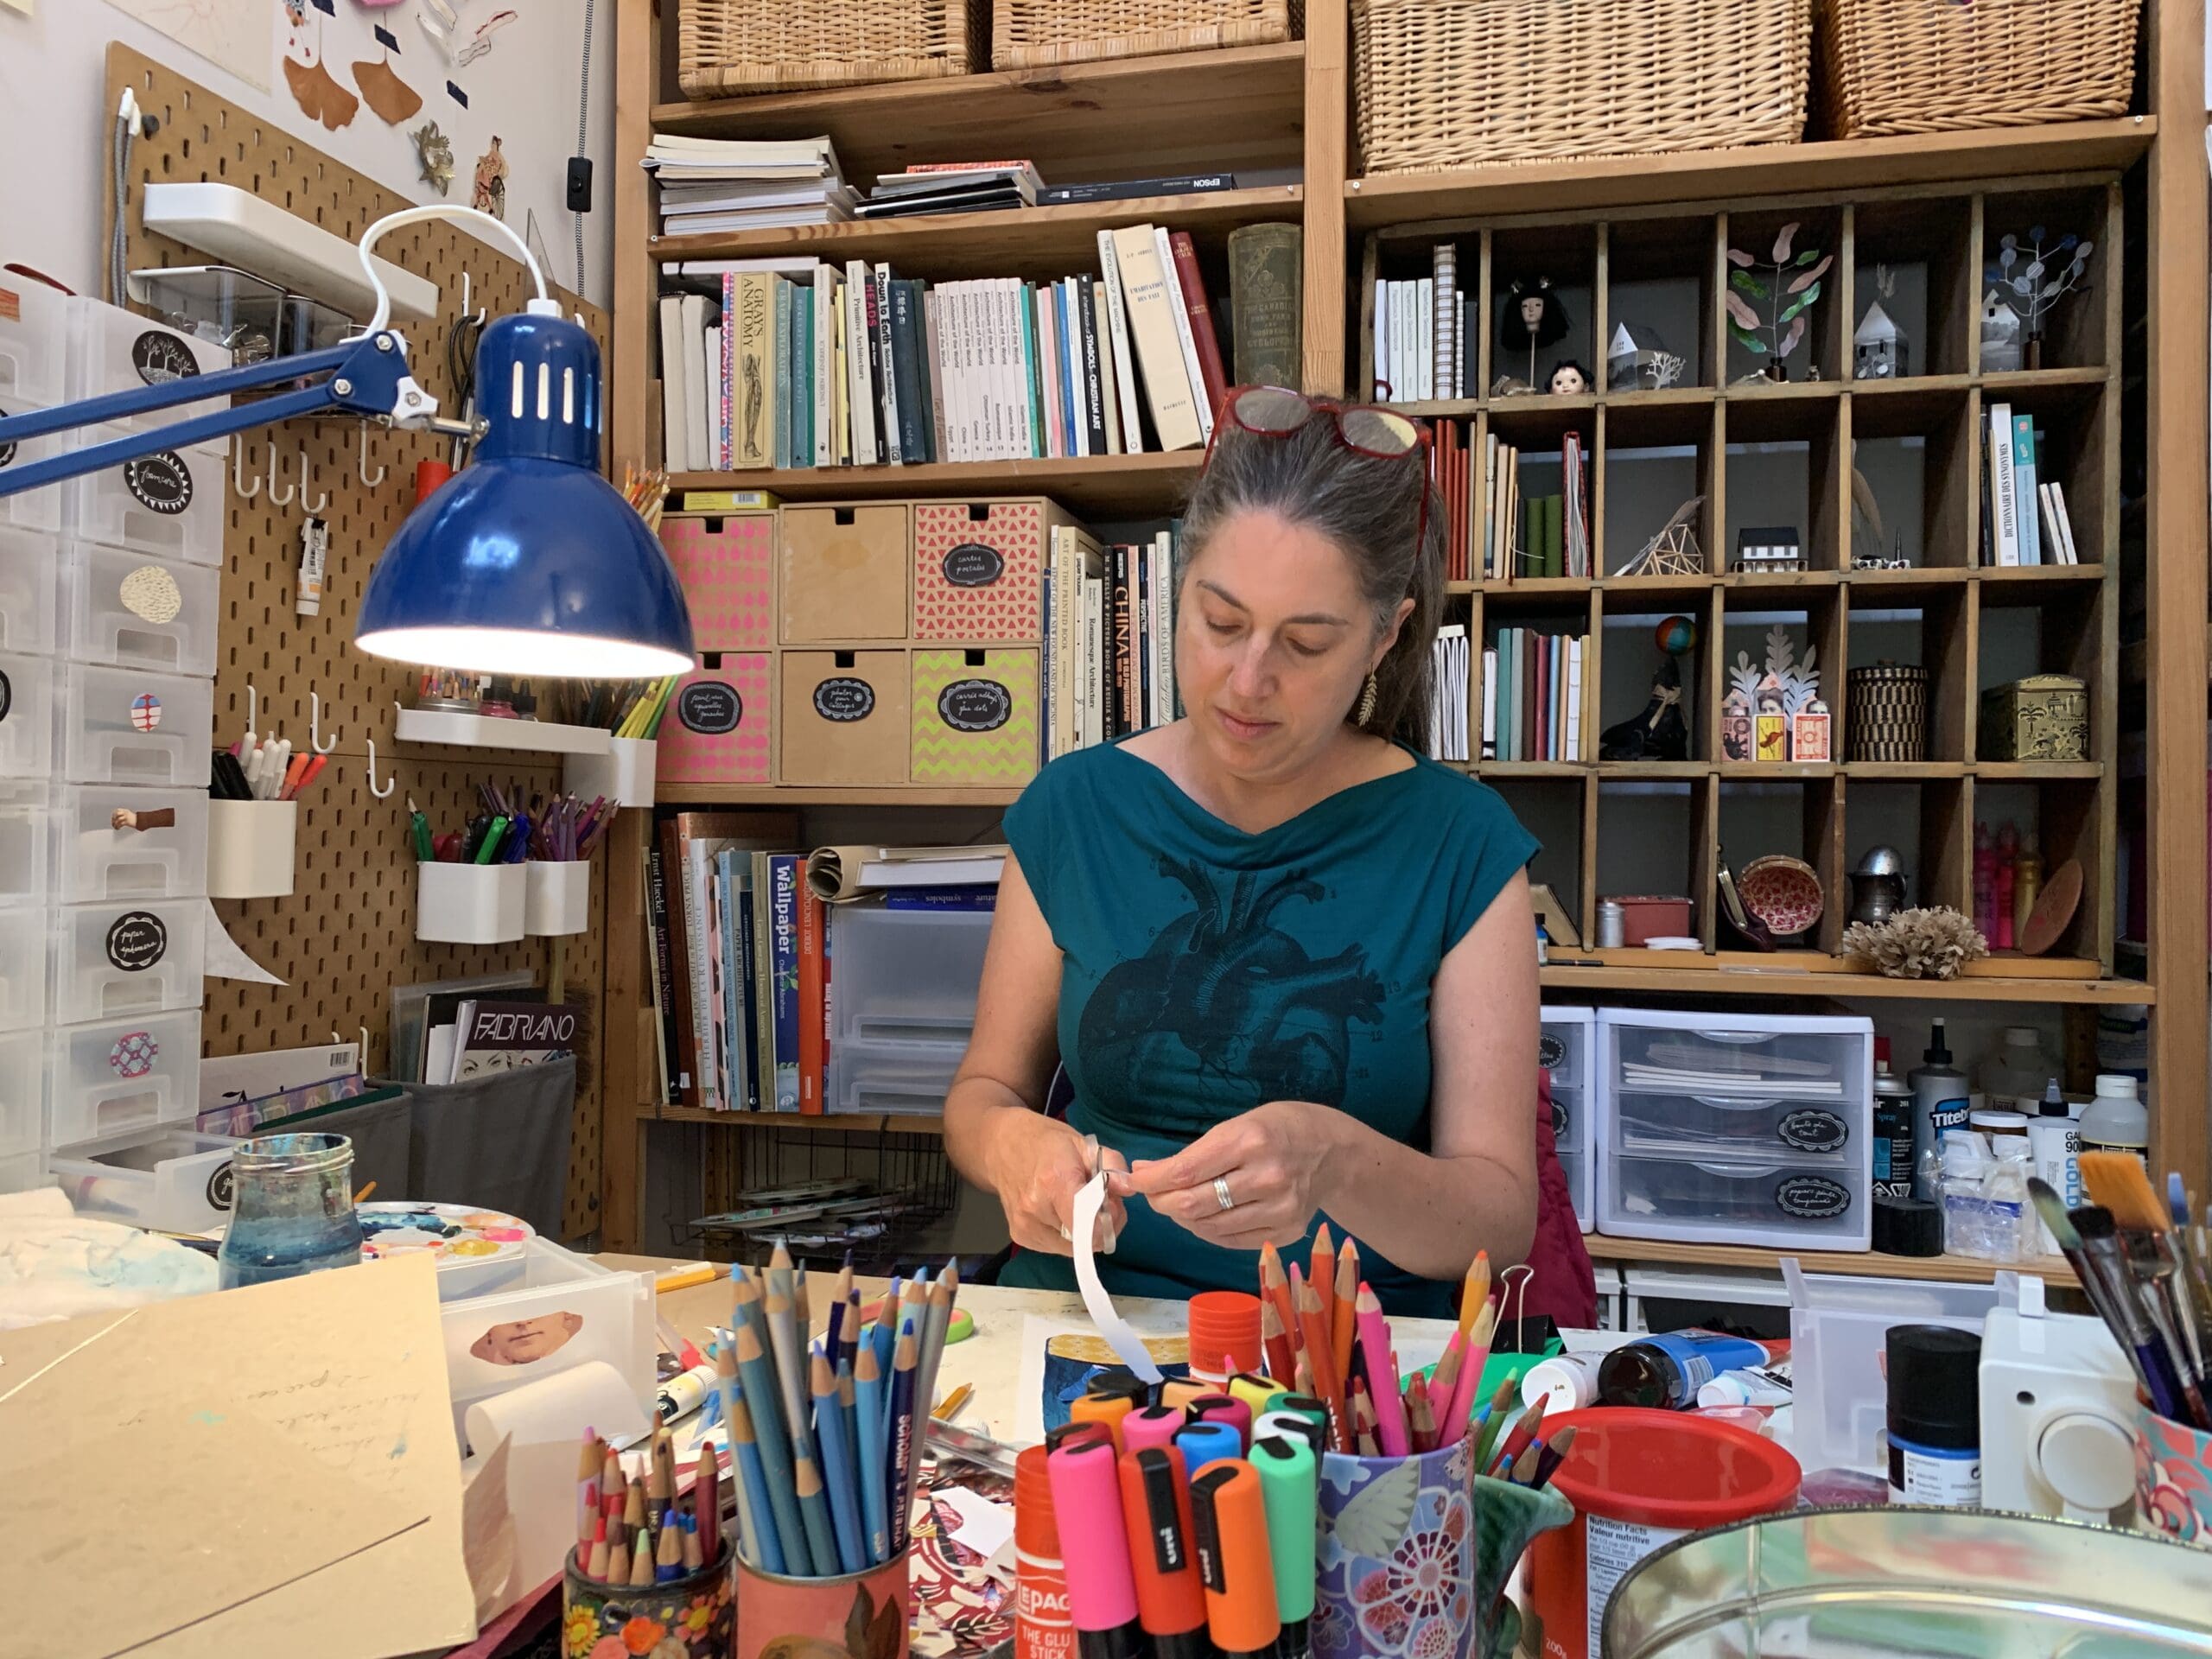
In this class we’ll be exploring collage on paper and wood using different techniques. Once we’ve sourced and created our collage papers, we’ll begin with “Scrappy Blablahs” — fun little characters made from the scraps in your studio and great creative warm-ups. From there we will move on to “Dream Bubbles” where we add more sophistication, story and paint!
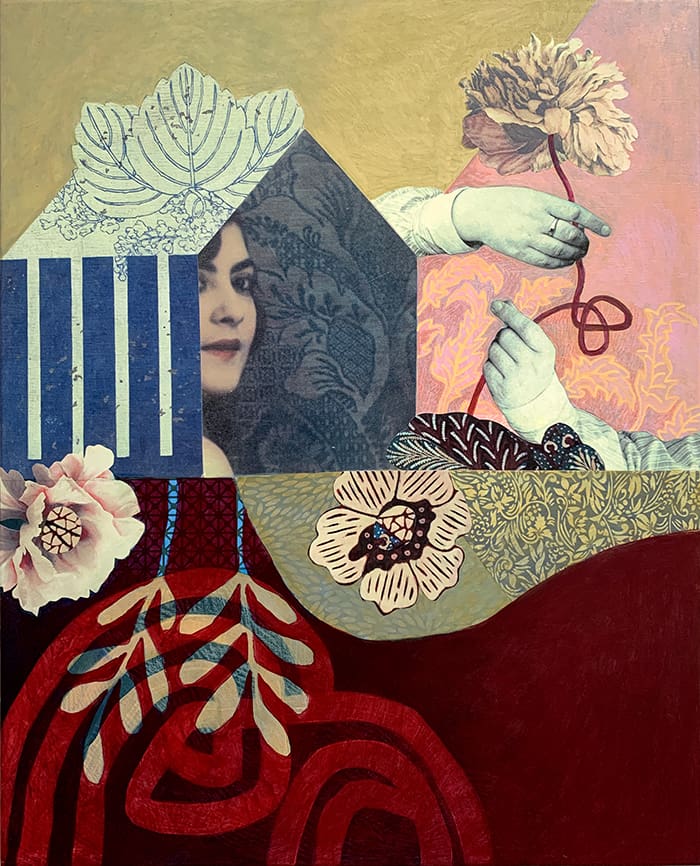
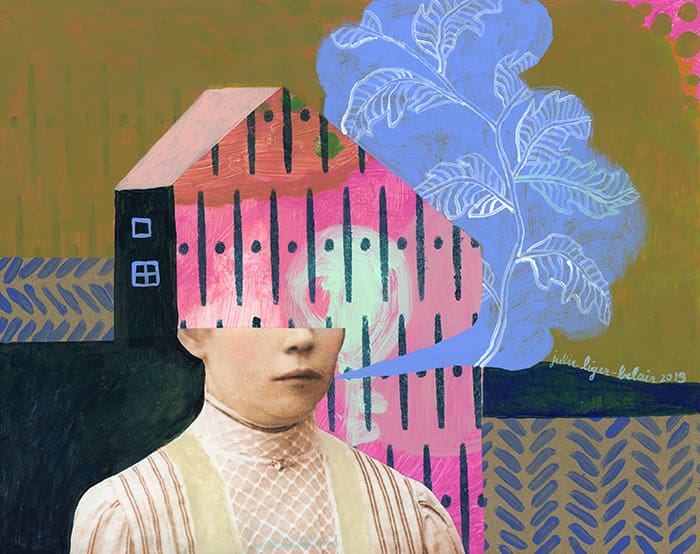
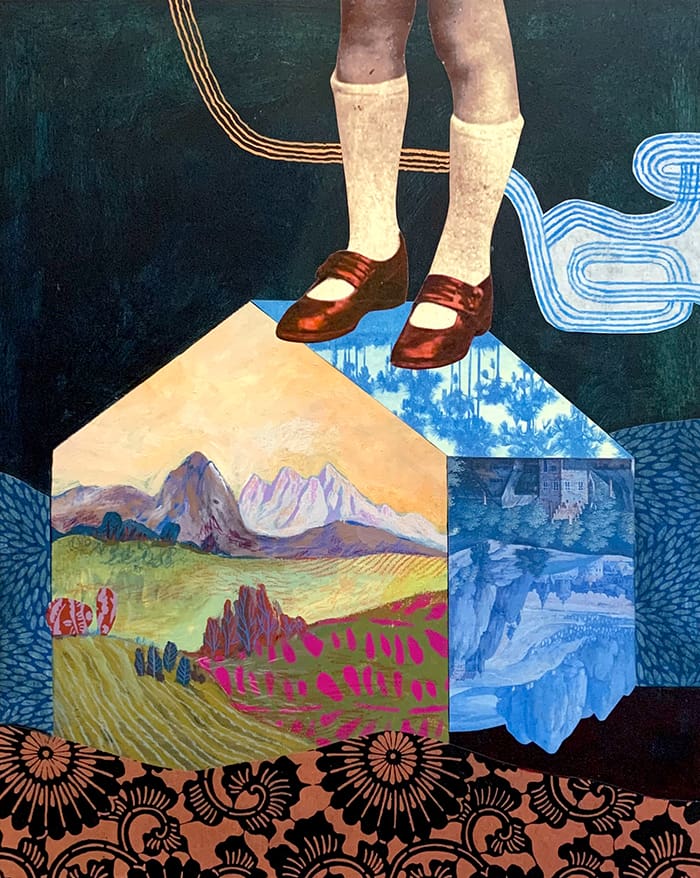
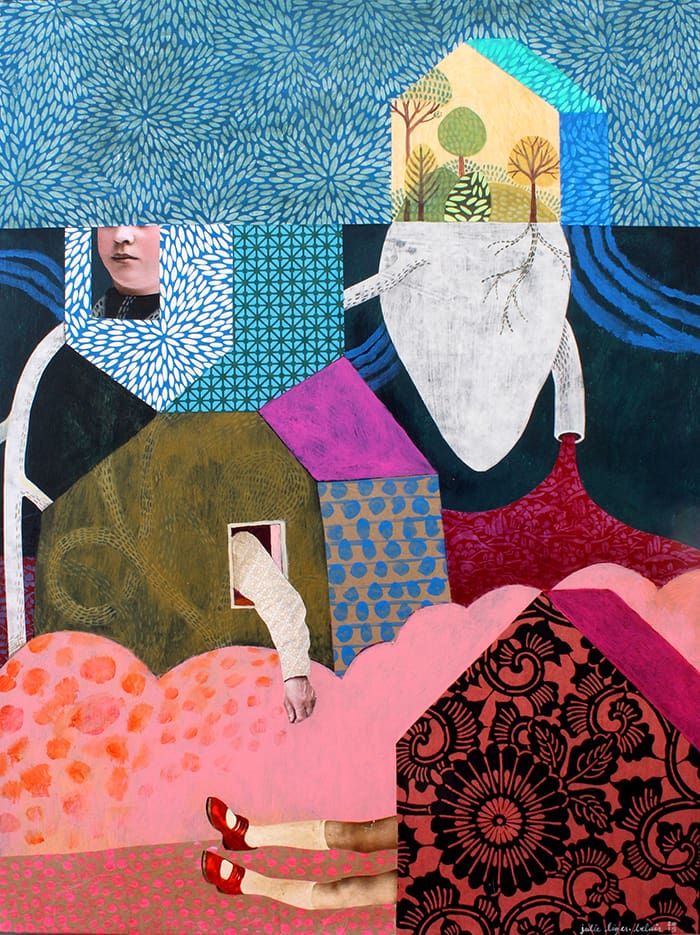
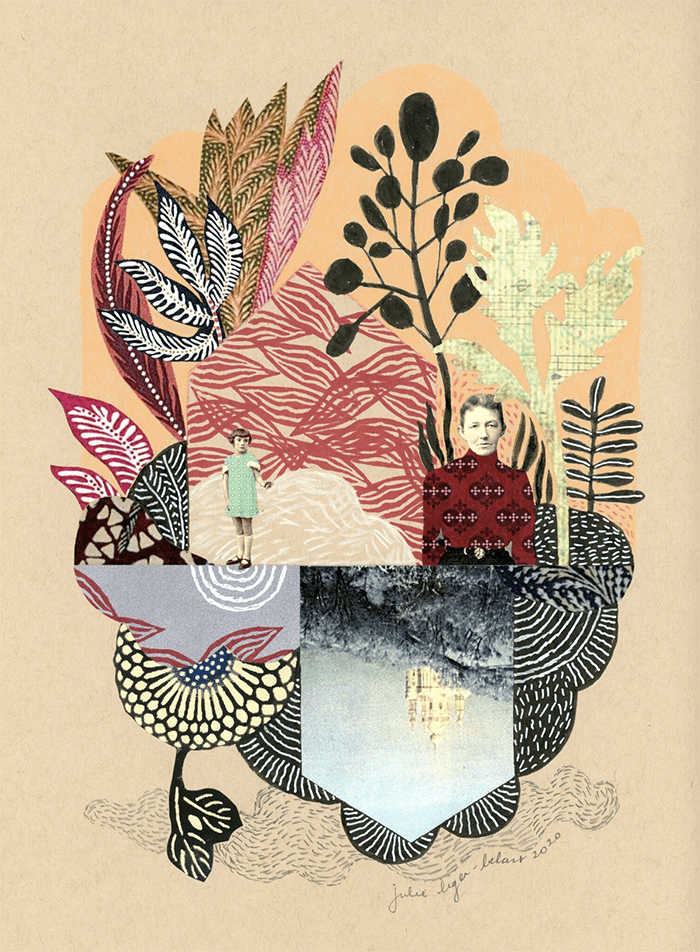
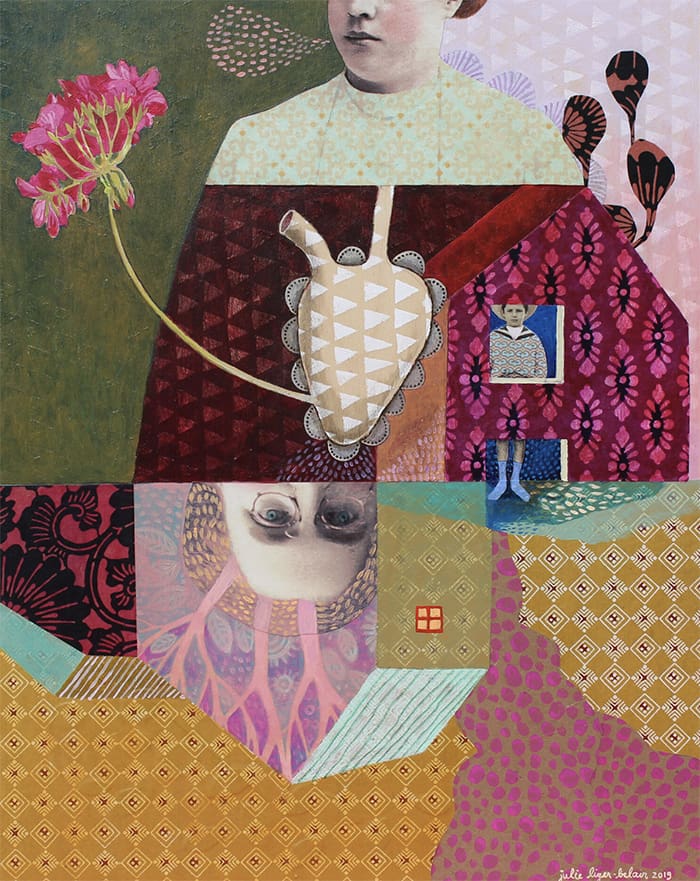
Finally we’ll spend the last week building large “spirit house” paintings on a cradled wood panels, exploring the layering of painted and collaged elements to create a piece both visually rich and symbolically charge. I love houses and they appear often in my work. They can symbolize the place where we are most comfortable, most ourselves… a place of warmth and protection or sometimes a place where we might feel trapped. These paintings are a way to explore some of these ideas for yourself and have fun with symbols using all our media.
I hope you will join me!
Julie
P.S. We added an optional Zoom “work session” with Carla where we worked on Julie’s assignments together; the recording is part of this class, too.
. . . . . . . . . . . . . . . . . . . . . . . . . . . . . . . . . . . . . . . . . . . . . . . . . . . . . . .
Class Itinerary
Lessons are prerecorded and will be available at 1am PDT each lesson day on the following schedule:
Lesson 1. We will source and prepare our papers and make hand-decorated elements. We’ll be painting some larger papers, but also using up all the paper scraps we may have laying about to make some floral/botanical elements for use in our collage projects. I will also be introducing stamp carving and printing as another way to make patterned paper.
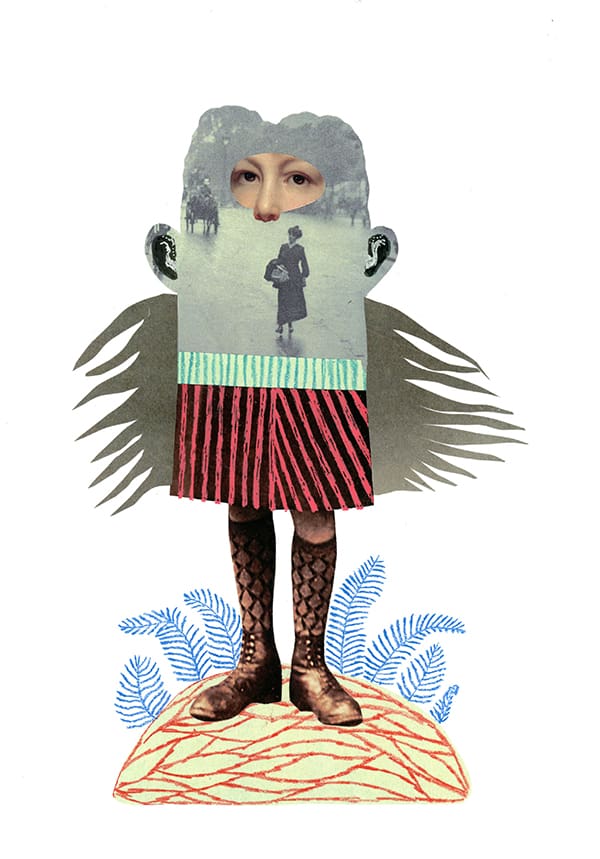
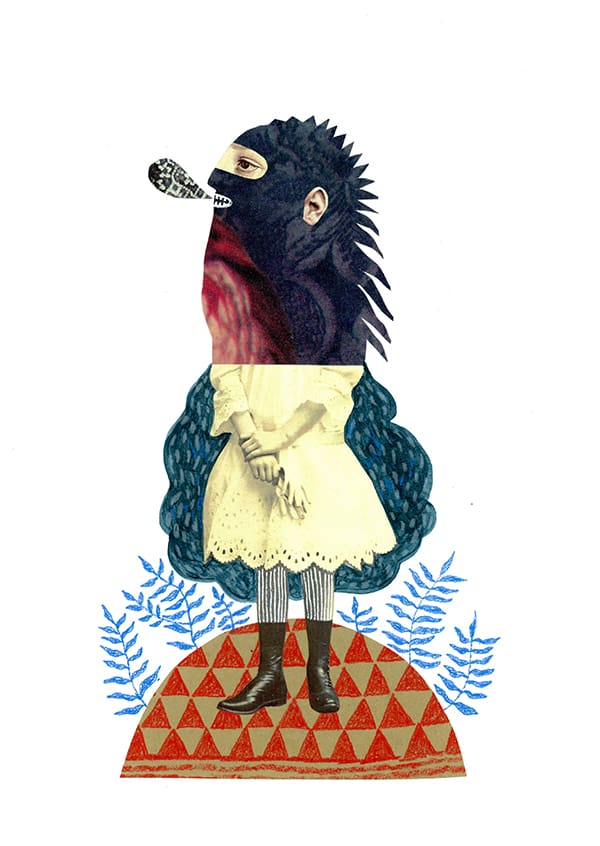
Lesson 2. Our first collage project will be to make a ‘scrappy blablah’. This is a really fun, smaller collage project that has fewer elements to combine so one can just play around with different possibilities. I really love this project as a warm up in the morning to get my creative juices flowing. Here are some of mine:
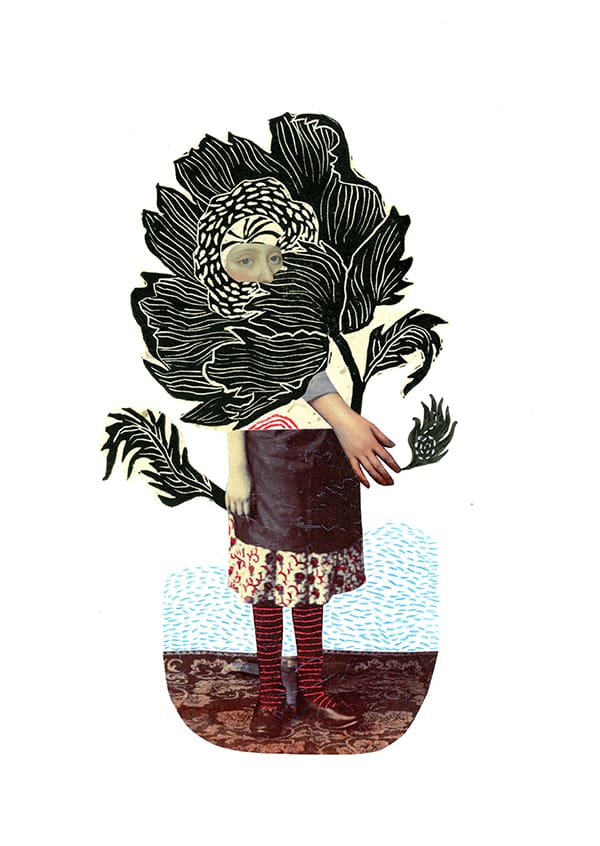
Lesson 3. We’ll be making some ‘dream bubble’ collages. This is a more complex project than the blablahs as we will be using up almost the whole surface of the page to create a sort of dream/surreal world. We’ll be using paints as well as collage for this lesson.
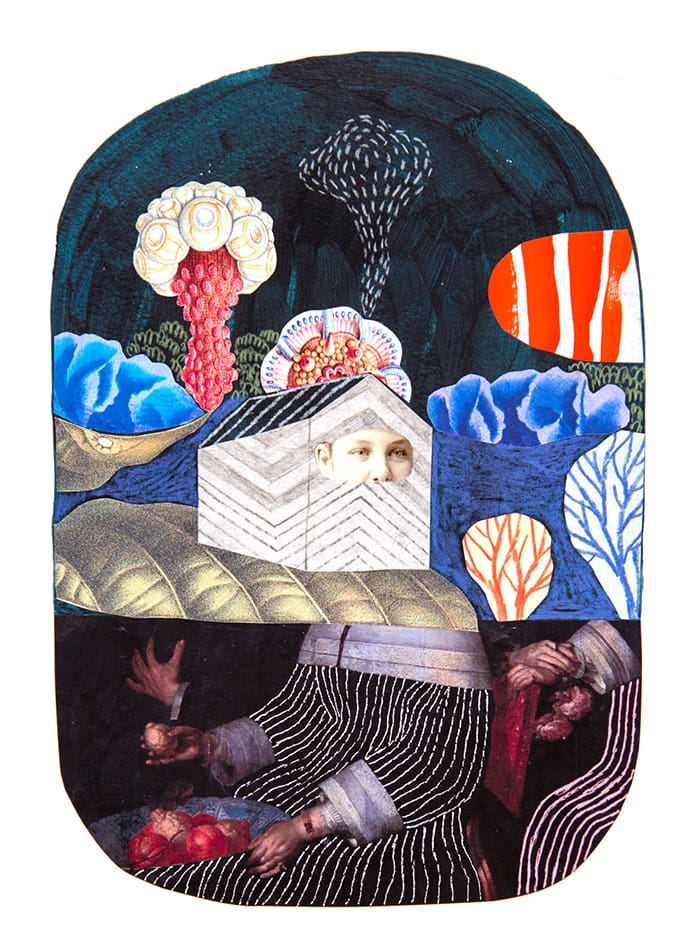
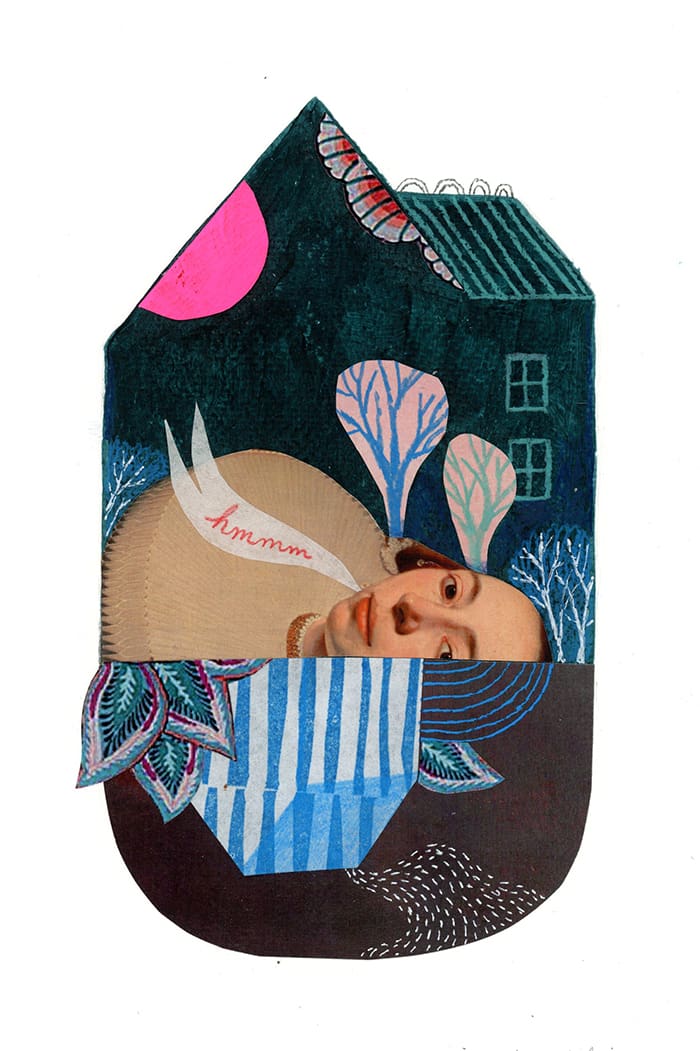
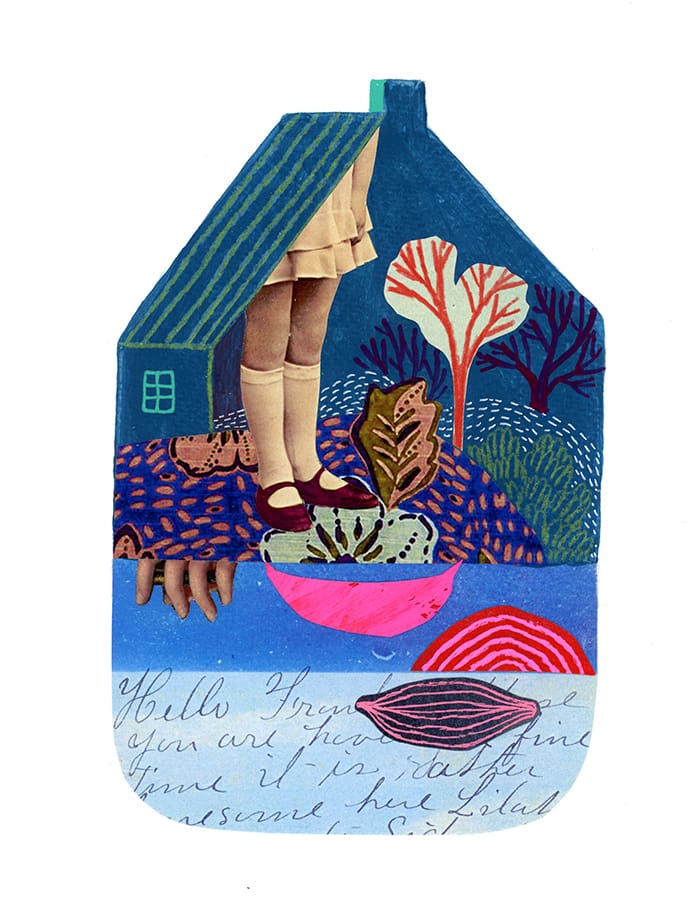
Lesson 4. In this lesson we will be starting our ‘spirit house’ collage/paintings. We will be preparing the wood, considering the imagery we want to use and starting our backgrounds. We will explore the use of stencils to add yet more pattern to our pieces.
Lesson 5. We will be continuing our pieces by adding more details around our houses using some of the floral/botanical collage elements we made in the first lesson. I’ll be discussing the different ways we can add layers and details.
Lesson 6. This lesson is all about how to finish our ‘spirit house’ pieces. I’ll talk about the media I like to use on top of the paint and paper to add finer details and patterns to make our pieces visually rich.
For a full list of the supplies you will need, see the tab titled “Supplies” located just under the video screen above (and temporarily, below!).
___________________________
Supplies
• Collage materials; from magazines or books. A really good online resource is www.moma.co.uk/public-domain-images/#collections. Also, patterned papers, handmade paper, scraps
• 300gsm watercolor paper: two sheets of 8″x 10″ and two sheets of 9″x 12″(any size within those sizes work). Mixed media paper works well too.
• Colored pencils (I like Prismacolor)
• Gel pens (I like Sakura Moonlight pens)
• Glue stick (I use one from Lepage)
• Rubber block (for stamp carving)
• Carving tool
• Scissors
• Archival ink pad
• Rice paper
• a patterned stencil
• Acrylic paint and acrylic gouache paint
• Various sizes of paint brushes suitable for acrylic paint
• One cradled wood panel, 12” x 16” is a nice size. You can also use a plywood panel or any hard board panel for that matter. (Note: I will be demonstrating on two pieces… if you choose, you can also make two.)
• Acrylic matte medium or gel medium, the thicker the better for gluing paper onto wood.
• Tracing paper