Super Easy Watercolor Birds
This little tutorial will hopefully dispel some myths about watercolor being “impossible.” Yes, it does have kind of mind of its own sometimes, but that’s part of the fun (and is usually completely “fixable,” as you will see)!

These birds are super easy. Follow the steps below, but remember your birds will (and should) come out differently than mine! The way you lay down the paint, the colors you choose, the shape of your bird, and your unique “hand” when adding pencil detailing will all contribute to a bird that is uniquely yours. And that is a good thing!
STEP ONE

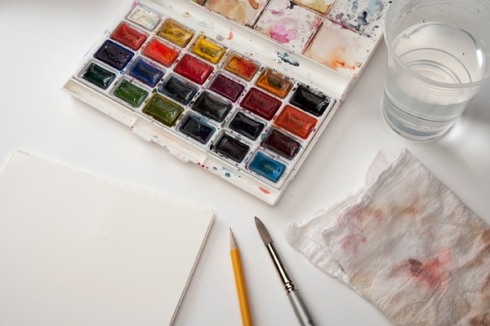
1. Gather your supplies. You will need a pencil, a set of watercolors (cake or tube is fine), some watercolor paper (I like using a “hot press,” which is smoother), a rag or paper towel for blotting paint, a container with water, and a watercolor brush (I use a #12 round).
STEP TWO

2. Using lots of water, mix up a little pool of the color of your choice. Test the paint on a scrap piece of paper. The pigment should be watered down and the color should be quite light. (This will feel strange to Bright-Color People, but don’t worry! It won’t stay this pale.)
STEP THREE

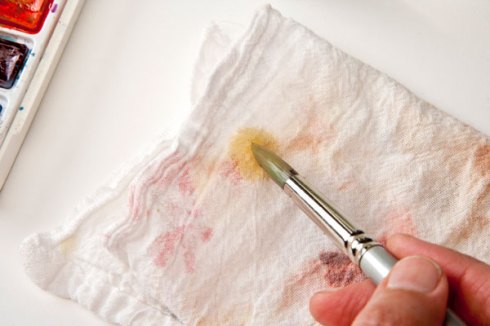
3. Load your paint brush. Blot a little of the excess water on to your rag or paper towel. Your brush will still be quite wet; this just takes the drippiness out.
STEP FOUR

4. Start painting a bird. I usually do not draw in pencil first, as I like to see how the bird unfolds using paint only. (But you are allowed to draw it in lightly first if you must!) Work fairly quickly; you want the paint to remain wet as you move it into the shape of your bird. If desired, leave a space unpainted for the eye, as shown here:

In the case of my first bird, I the paint was a little too wet… I wanted it to dry a bit more before I added the next step, so I used this time to paint in a second bird.
STEP FIVE

5. While the paint is still wet, go back to your watercolor palette and grab some darker pigment with your paintbrush (not watered-down this time). Dip the heavier pigment into the wet paint here and there (I like to go around the eyes and on the bottom edge of the bird). Just dab it; the watercolor will begin to spread out on its own. Repeat with the second bird:

STEP SIX

6. Let dry completely. (Very important!) You can see here that the green spread out quite a bit when it dried. This wasn’t exactly what I intended (oops), and occurred because my original layer of paint was “too wet.” No worries, though! We can fix it on the second layer.
STEP SEVEN

7. Now you are basically going to repeat steps 2-6, but with different colors. In this case I used a very light orange-red for my second transparent layer (steps 2-4)…

… and a darker blue for my more pigmented drop-ins (step 5).

Repeating now for the second bird.

STEP EIGHT

8. Once the second layer of paint is COMPLETELY dry (very important!) you can add details with pencil. I usually add the eyes, some shading around the eyes perhaps, and some shading on the wings and bottom of the bird.

Keep your hand loose; if the pencil lines seem too harsh, use your finger to soften the effect:

STEP NINE

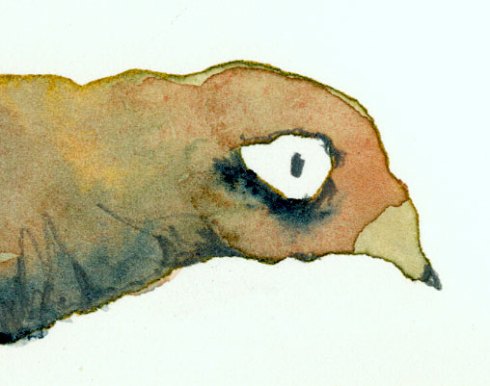
10. Finished! Here’s a detail:

____________________________
For more tutorials and assignments, click HERE!

