
– – – – – – – – – – – – – – – – – – – – – – – – – – – – – – – – –
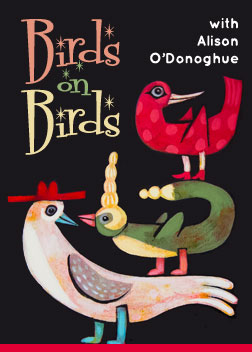
“Birds on Birds: Acrylic Painting”
with Alison O’Donoghue
Two-Week Class; 6 Video Lessons
Now available as a self-study class.
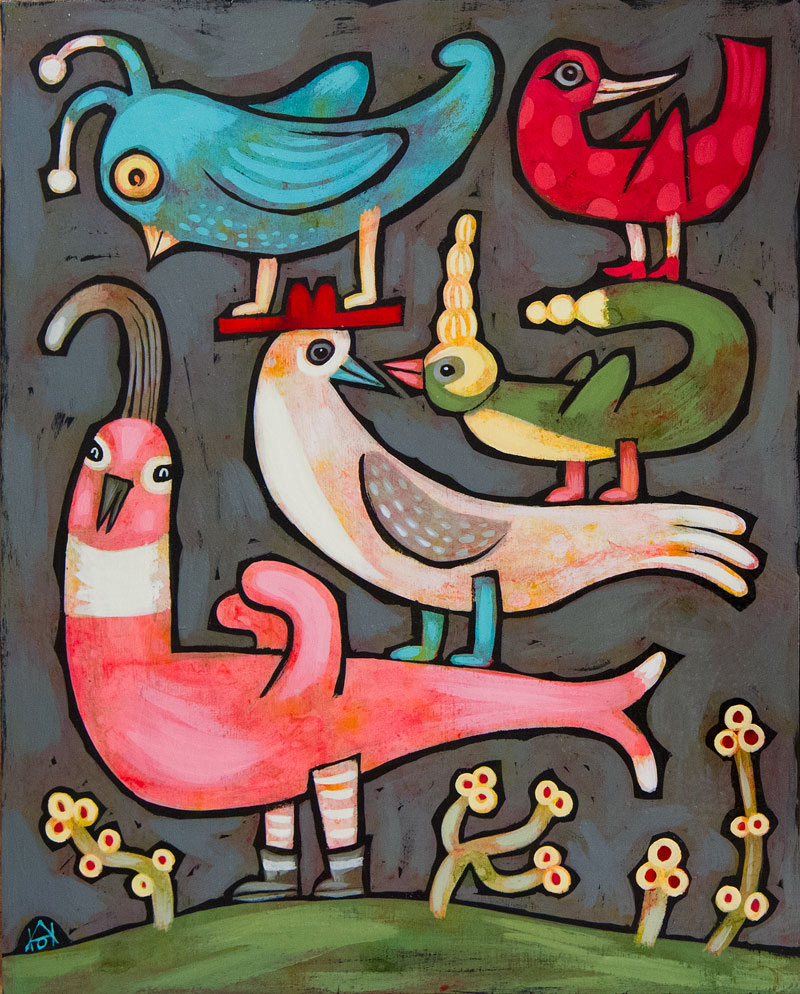
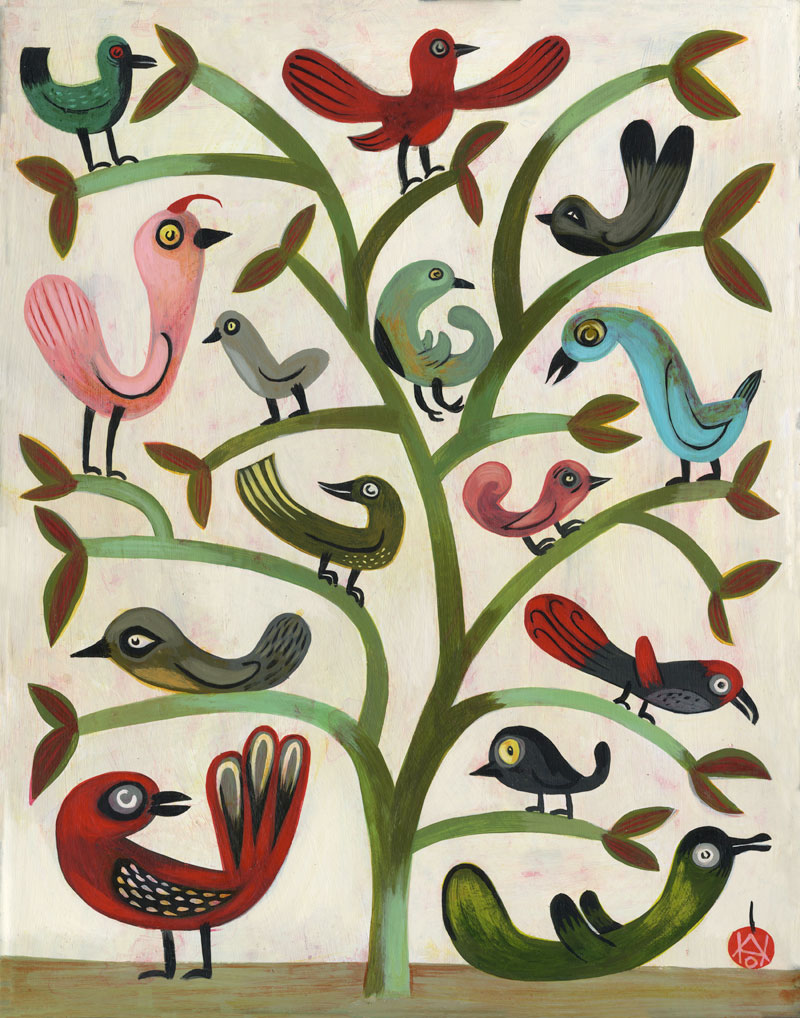
Join painter Alison O’Donoghue for a super fun class in acrylic painting, “Birds on Birds.” Alison shares her unique techniques for creating a stacked, interactive, and harmonious world within the bounds of an 11″x14″ wood panel. She will guide you expertly through six lessons — starting with preparing the panel with layers of gesso and finishing with varnish; and in-between, magic!
Alison likes the stacking up method of composing because it allows for a lot of images within the painting without any concerns for traditional perspective (a common folk art approach around the world). Through Alison’s process of layered washes and highlights, your painting will glow with light and color.
Plus… BIRDS!
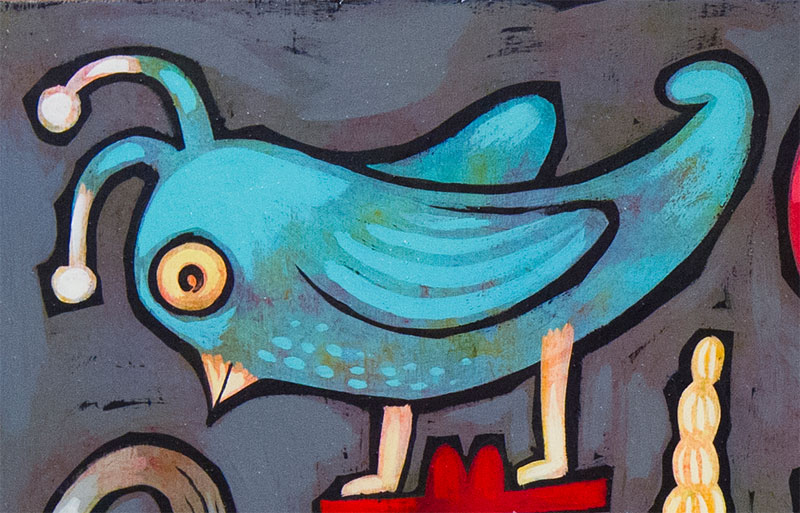
A detail:
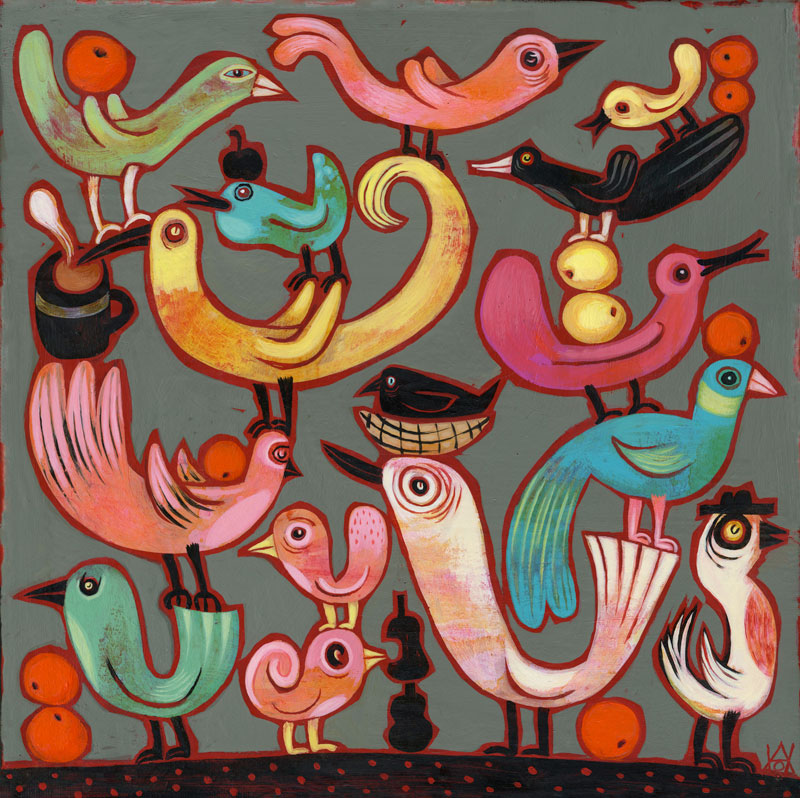
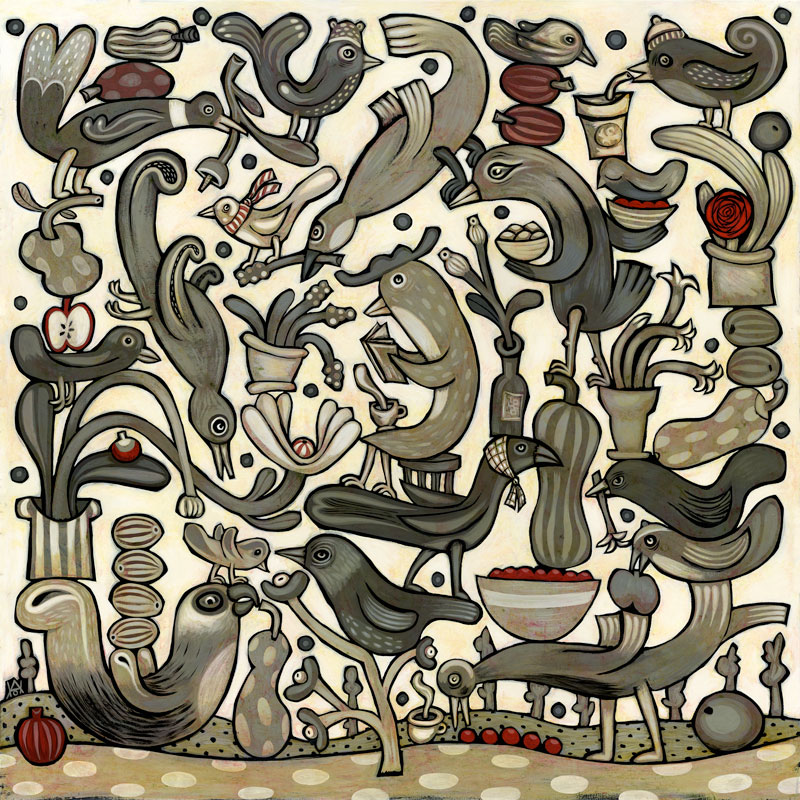
And more of Alison’s “bird” work using these techniques (click to enlarge):
Lesson 1 – Supplies & Preparing Your Board
We’ll go over the supplies needed for this project and prep your board for painting.
Lesson 2 – Drawing It Out
Here is a place to begin letting the ideas flow. Your birds don’t have to be realistically drawn and you can let go of the idea of right and wrong; instead do it your way. You do have a way.
Lesson 3 – Painting the Simple Shapes
Create a palette of color choices ahead of time and have fun with color! It’s good to be aware of the negative spaces — or spaces between — the objects and imagery, because they are as important as the birds in creating a balanced and vibrant composition.
Lesson 4 – Painting the Negative Shapes
In this lesson you will create lines around your birds by NOT painting the lines, and paint in the negative shapes of the background.
Lesson 5 – Transparent Color Washes
This part is really fun, and here is where the dimension, volume, sense of light and shadow and nuance are begun. We are staining the shapes we have painted with the washes. (It may feel as though you’re ruining the painting, but you aren’t!)
Lesson 6 – Highlights and Details
In this step, my favorite step, we are adding a final layer to bring out the form, as well as adding pattern to some of the shapes. Add spots, stripes, patterns or follow the form of the object to highlight the form. All of this will create depth, a push and pull and sense of shifting light that is exciting and interesting to the eye. We’ll finish with a nice coat of varnish to give your painting more luminosity.
– – – – – – – – – – – – – – – – – – – – – – – – – – – – – – – – – – –
Join this class today!
 The artwork of Alison O’Donoghue can be described as contemporary folk art.
Partly naïve, sometimes illustrative, at times cartoony, with some of her pieces being heavily patterned. Her paintings are mostly playful with creatures and people that are quite often glowing with life… awash in dimensional color and shade in a mostly two dimensional world. In many of her paintings, she combines everyday objects such as; cups of coffee, fruit, plants, humans, birds and odd, made up animals, into a fluid motion of interaction of intertwined shapes. The playful next to the sinister, give the paintings a sense of humor and the complexity of an unfolding story.
In her larger work, Alison seems to have no intention of leaving a space unfilled or unpopulated as the figures become more of an overall pattern. It gives the viewer the feeling of looking at vines overtaking the world inside the painting in a kind of beautiful invasive force of nature.
Alison O’Donoghue’s contemporary folk art and patterned worlds invite us to explore visually the simple beauty, complexity, interactions and sometimes the humorously sinister aspects of everyday life.
Alison lives in Portland, Oregon. http://www.aliorange.com/alison.html
________________________________
SUPPLIES LIST:
– 11″x14″ smooth wood panel, gessoed and sanded then painted with two good solid coats of black acrylic.
– White watercolor pencil. Make absolutely sure it’s water soluble- as we will be washing away the lines with water after painting.
– Acrylic Paints: Back, white, and a your choice of variety of opaque colors.
– An assortment of transparent acrylic paint- red, brown, yellow, burnt orange, sap green are good choices
– Brushes: A variety of sizes, I prefer sable brushes for their ability to paint larger areas and also hold a point for detail.
– Varnish: Gloss polymer
– Optional: Hair Dryer to speed drying process
___________________________________
HOW IT WORKS—
• For the two weeks of class, you’ll receive an email on Tuesday, Wednesday and Friday with a reminder to visit the class blog for that day’s lesson and video.
• In the email, you’ll also get the information about how to log into the password-protected blog where the class material lives and the closed Facebook group link.
• The class materials will be up and available for download until “forever,” if for some reason you need to miss a day (or a couple of weeks).
• Upon registration, you will receive an email within 48 hours confirming your sign-up. On the Friday before your session begins, you will receive a “test” email to make sure you can receive/view everything.
• What you will need: You will need to be able to read Acrobat pdf files and view videos.
• Class fee is good for participants living in a single household.
QUESTIONS? [email protected]