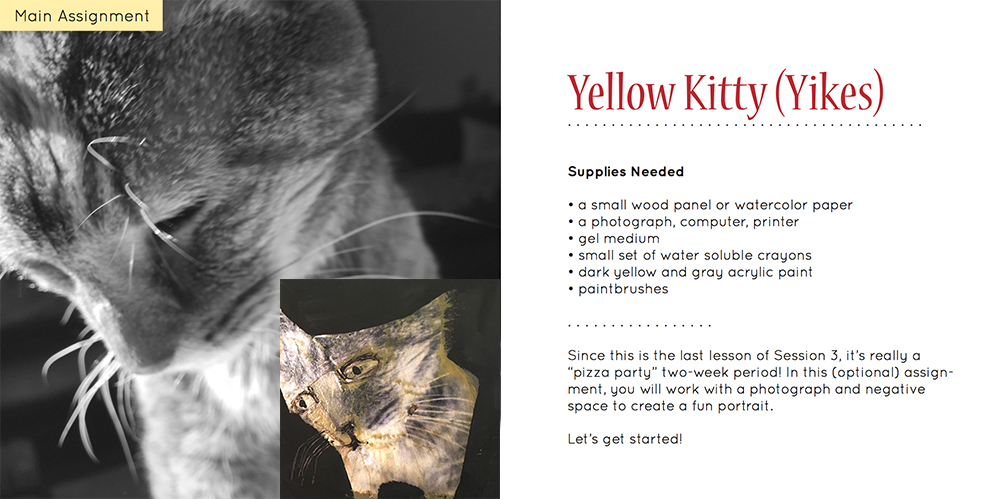
_____________
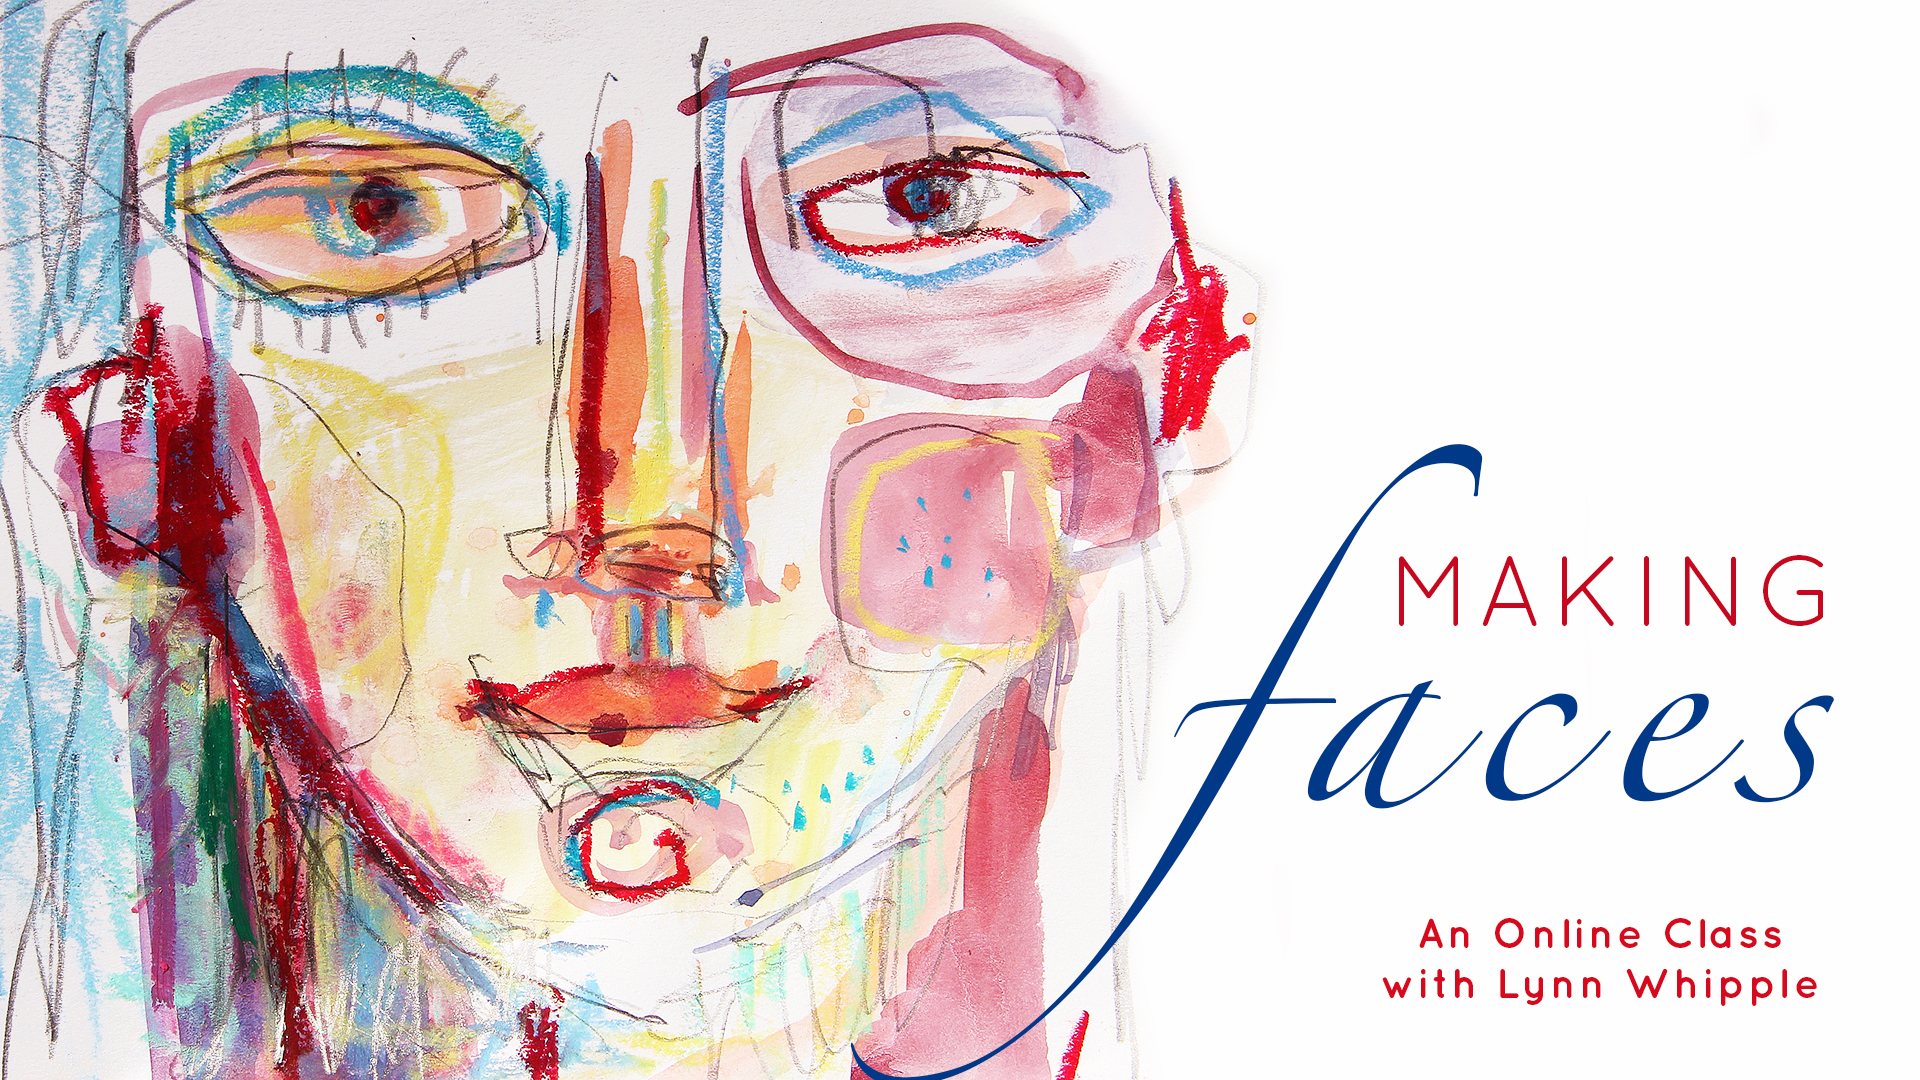
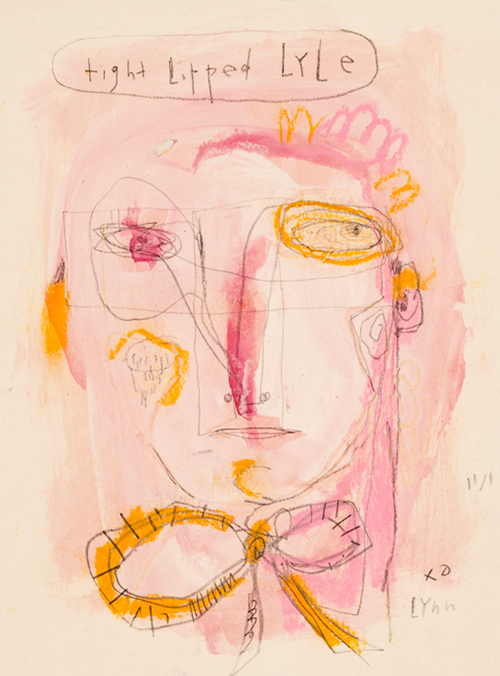
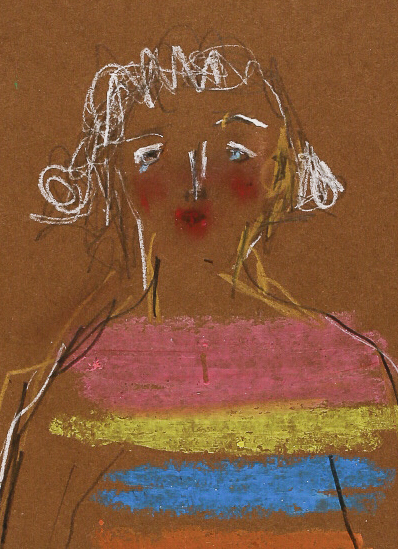
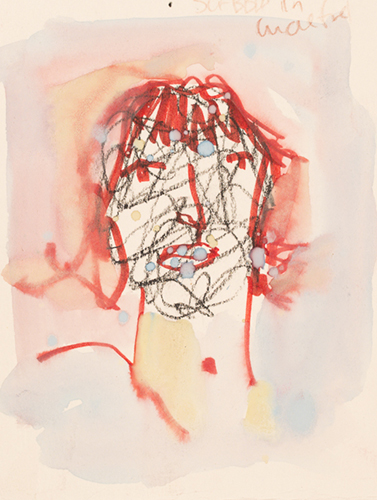
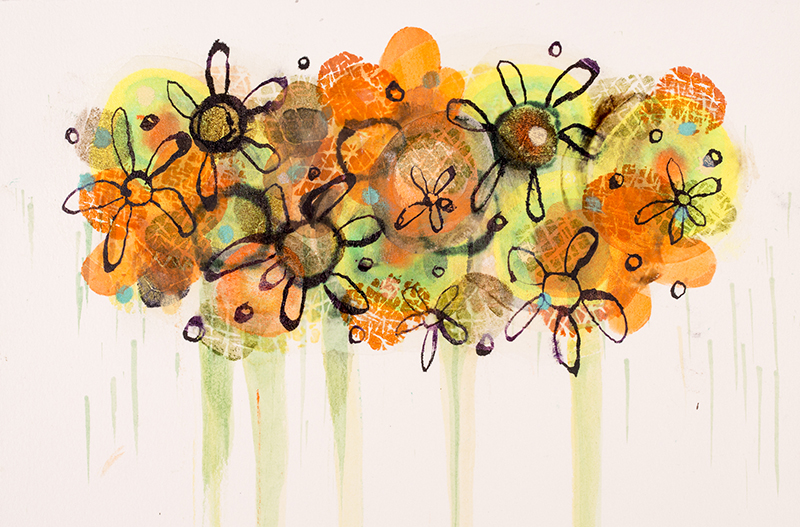
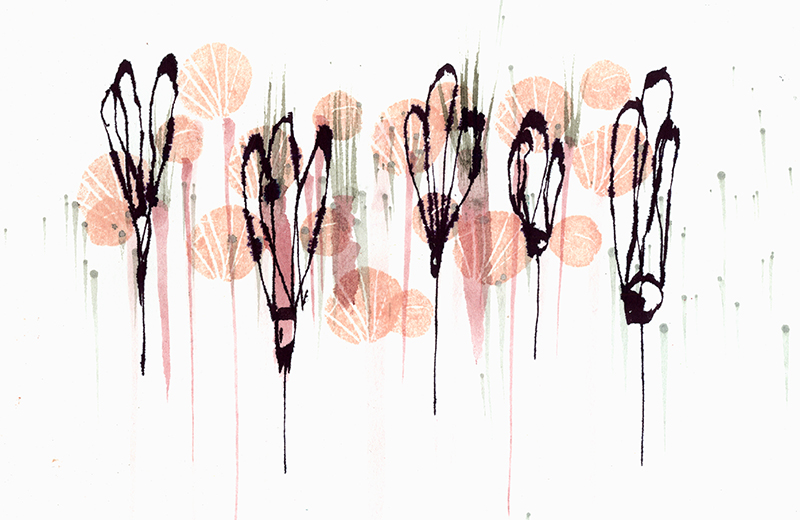
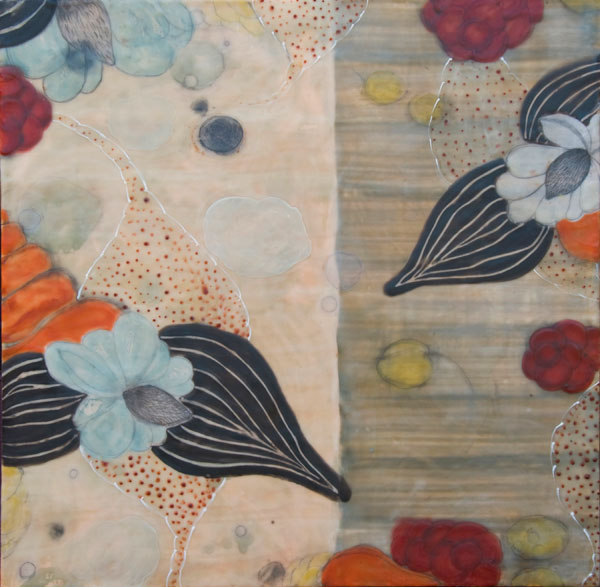
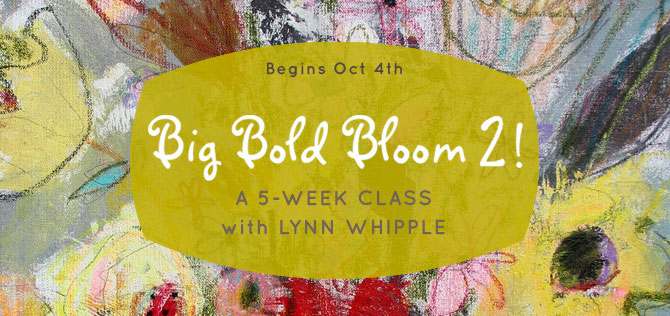
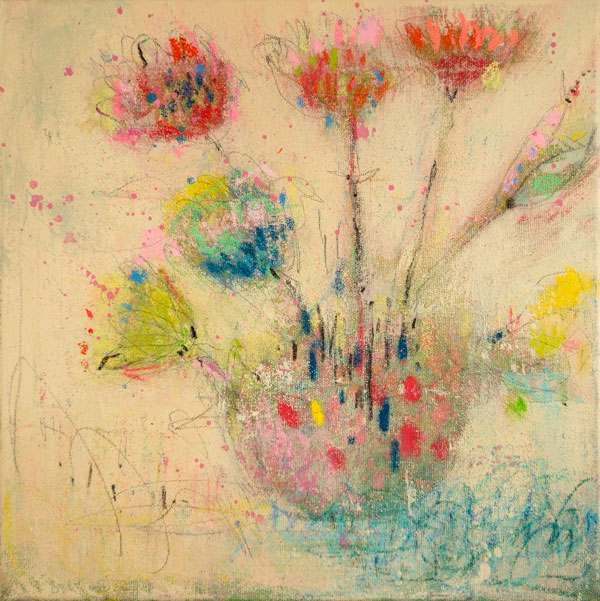
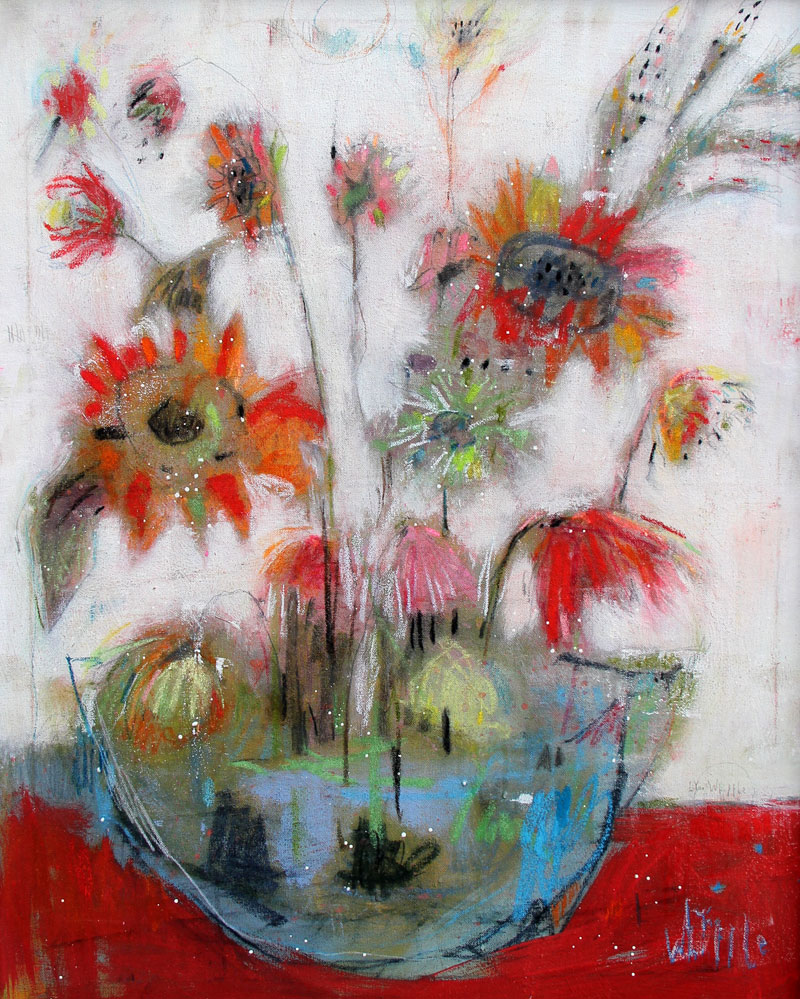
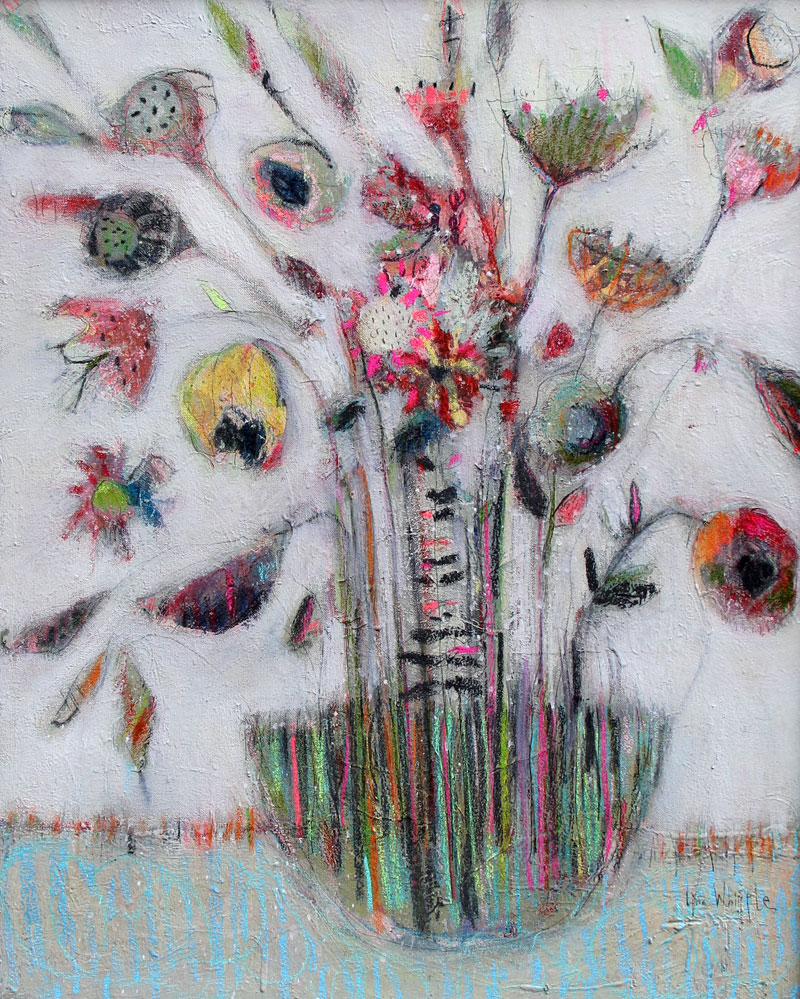
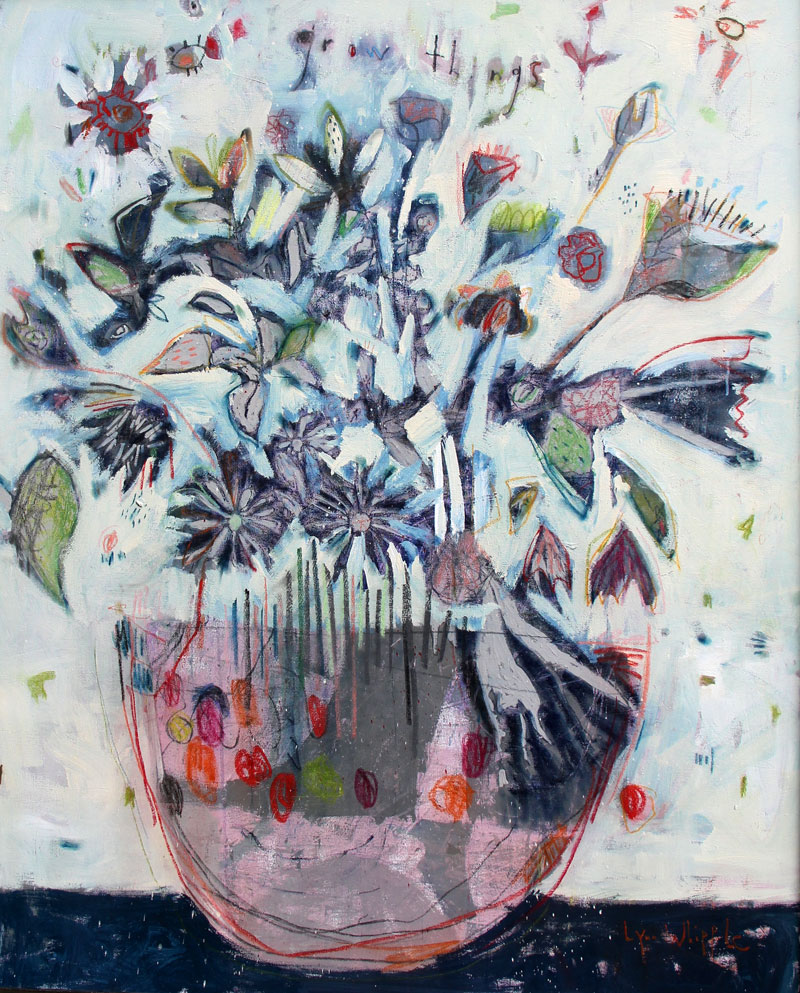
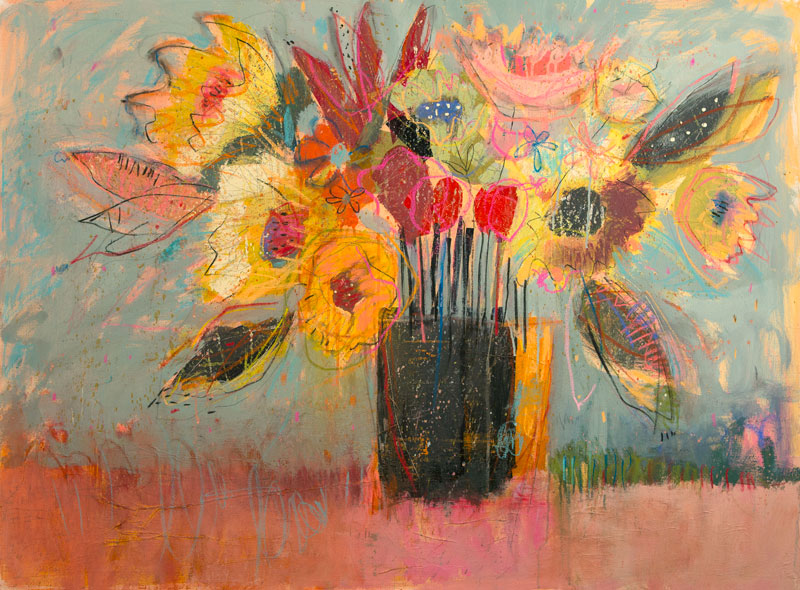
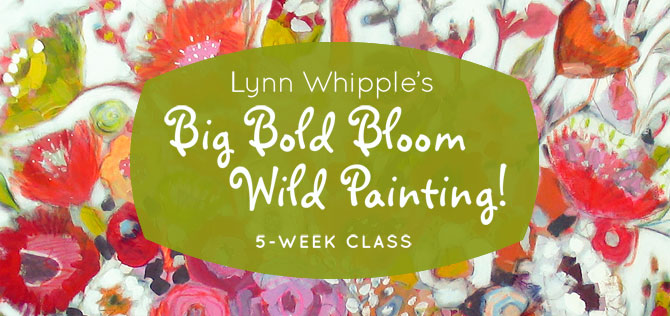
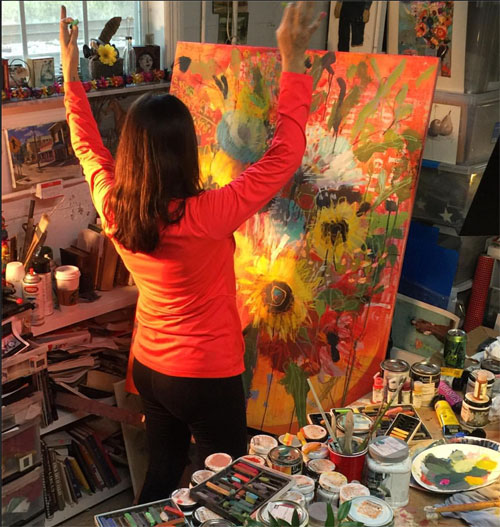
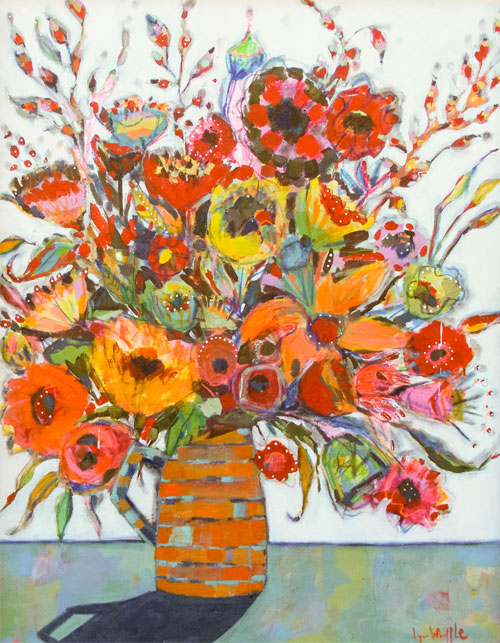
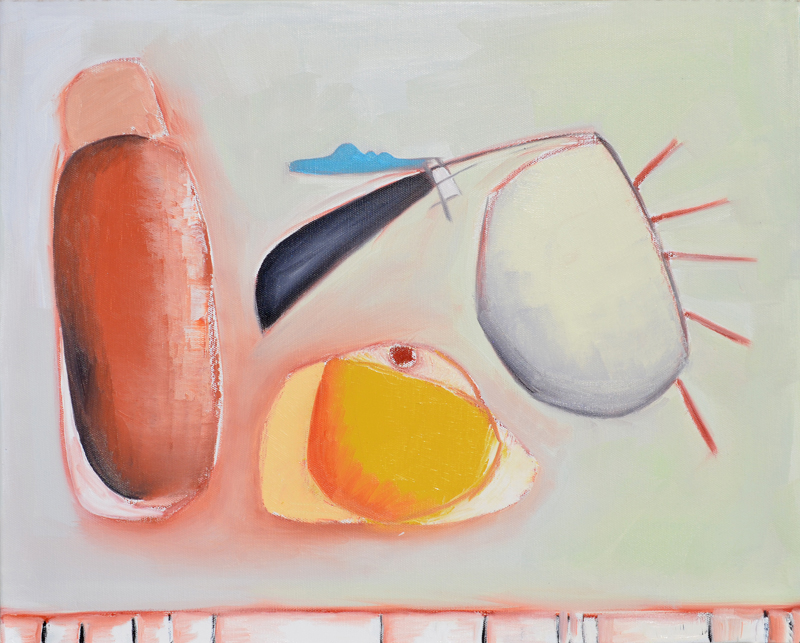
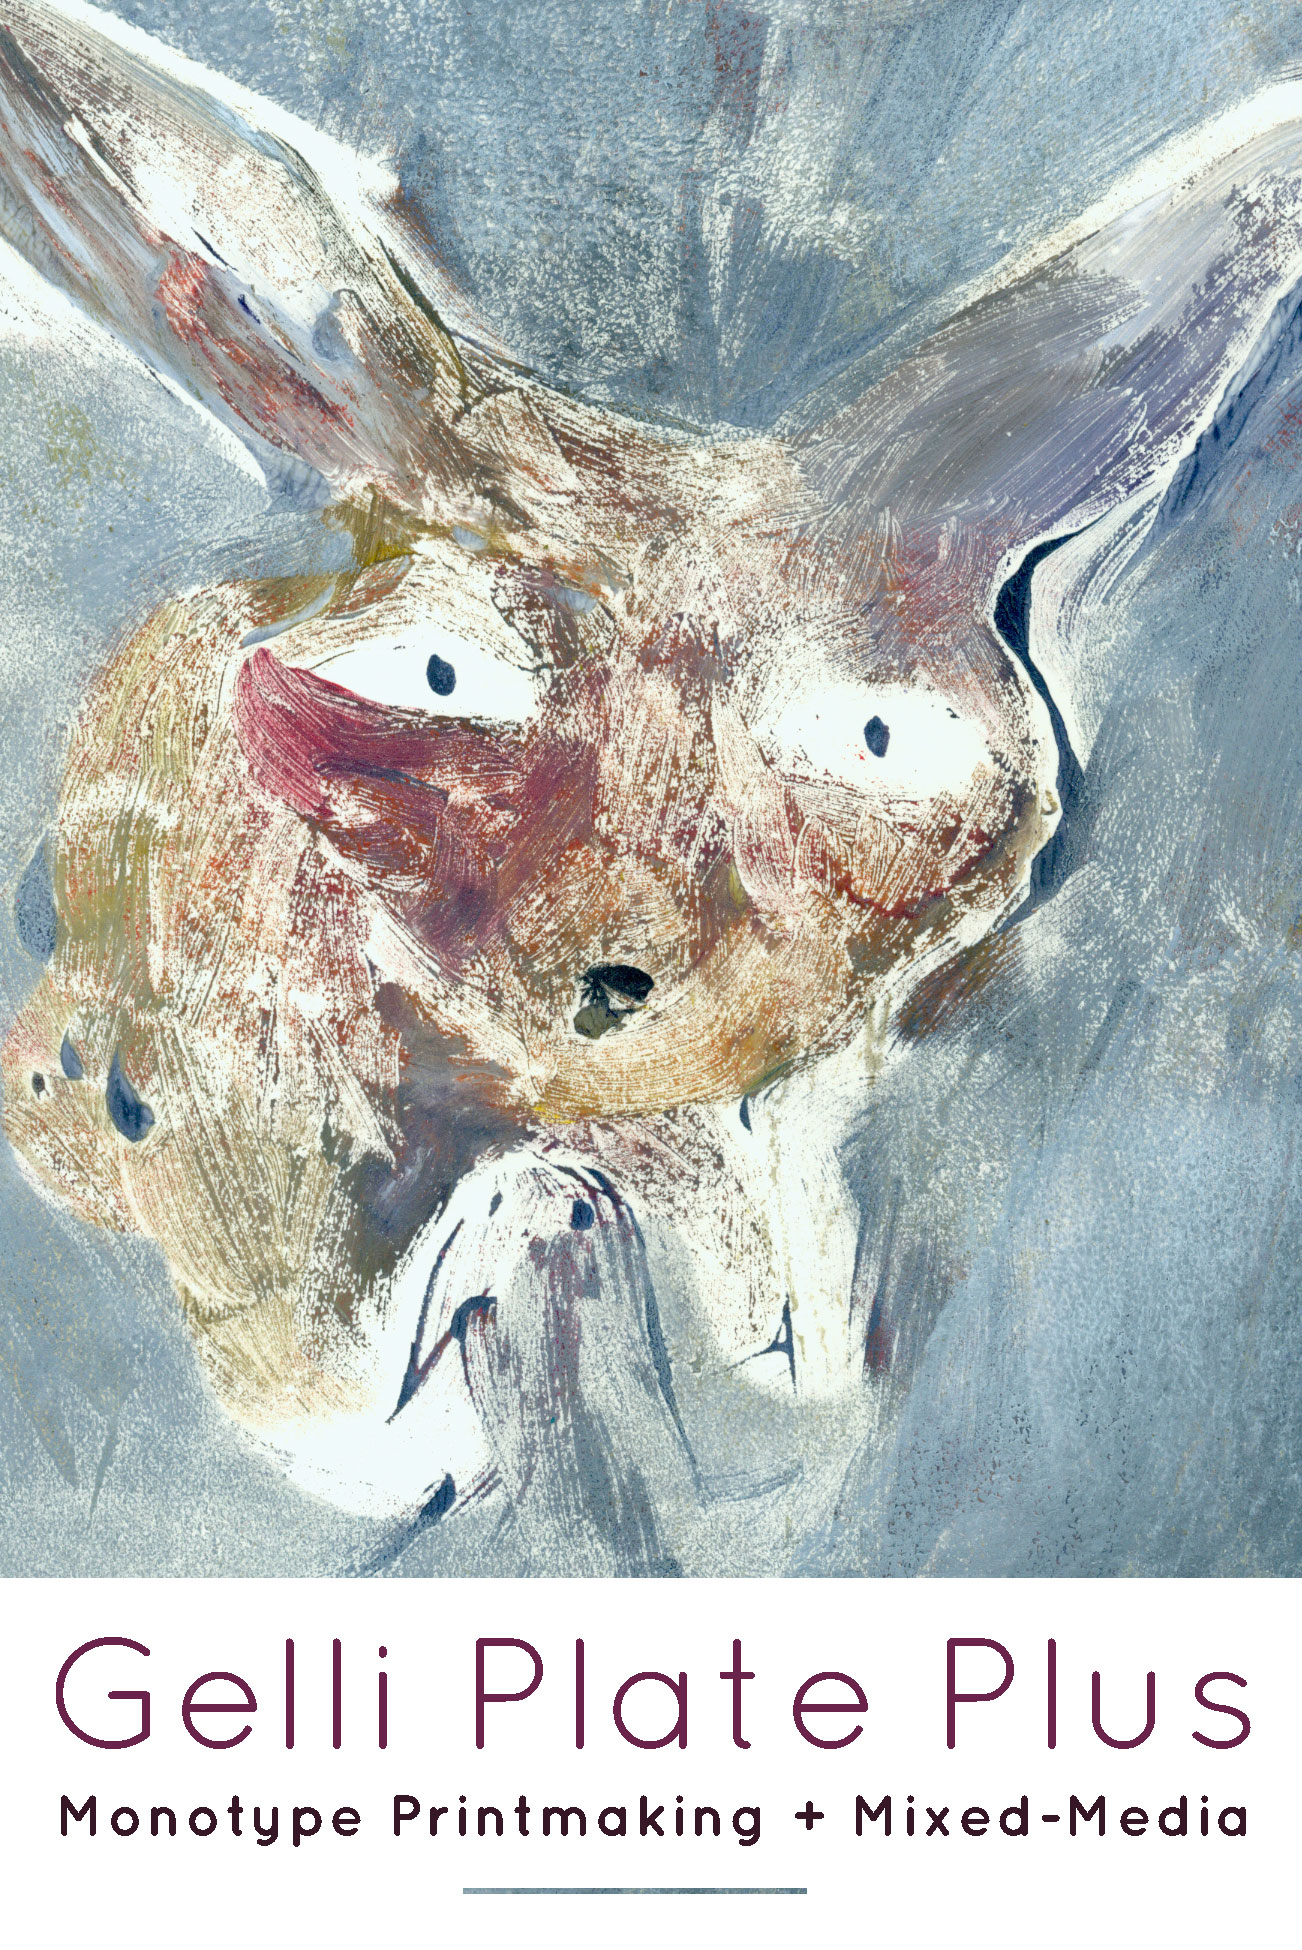
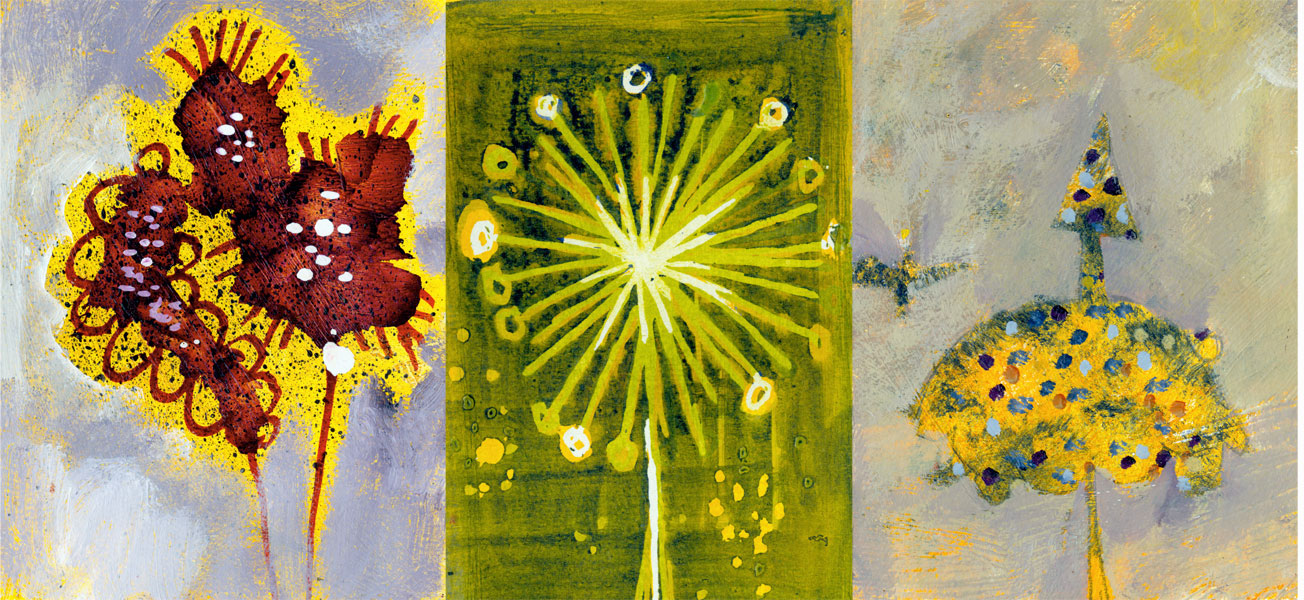
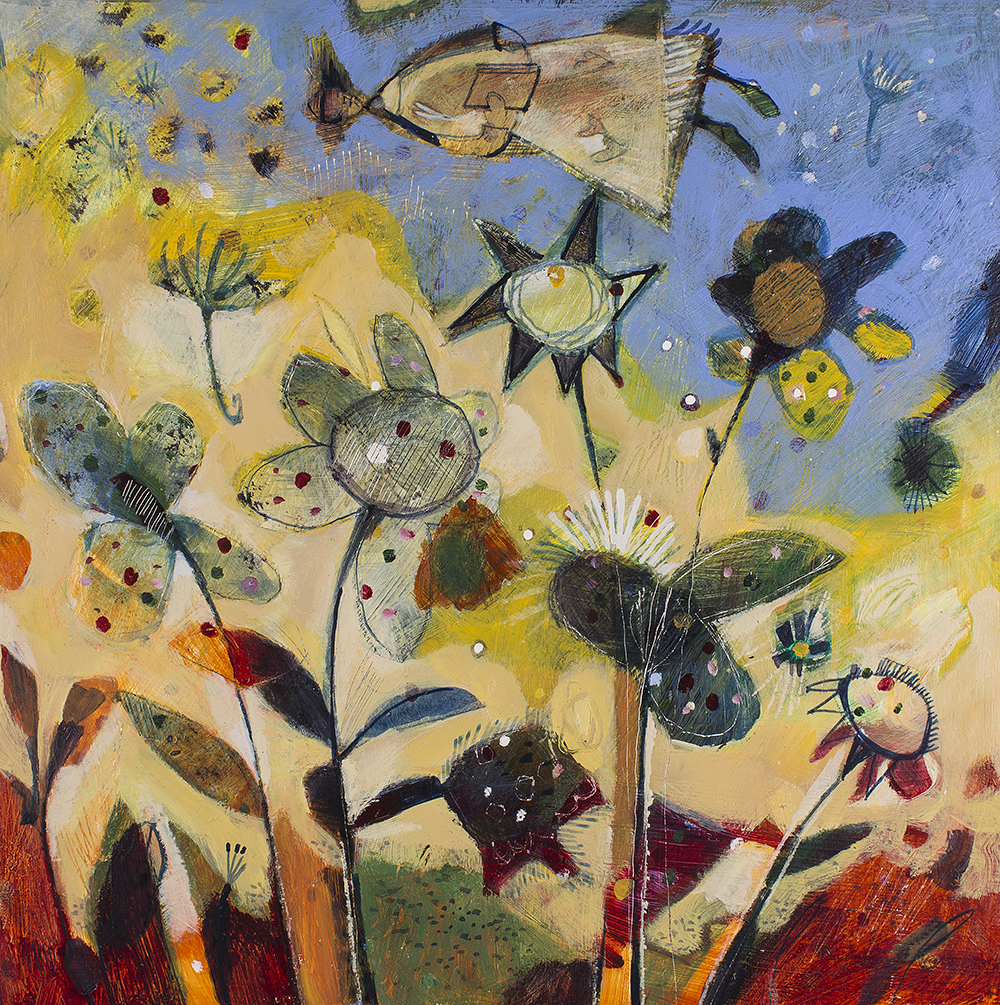
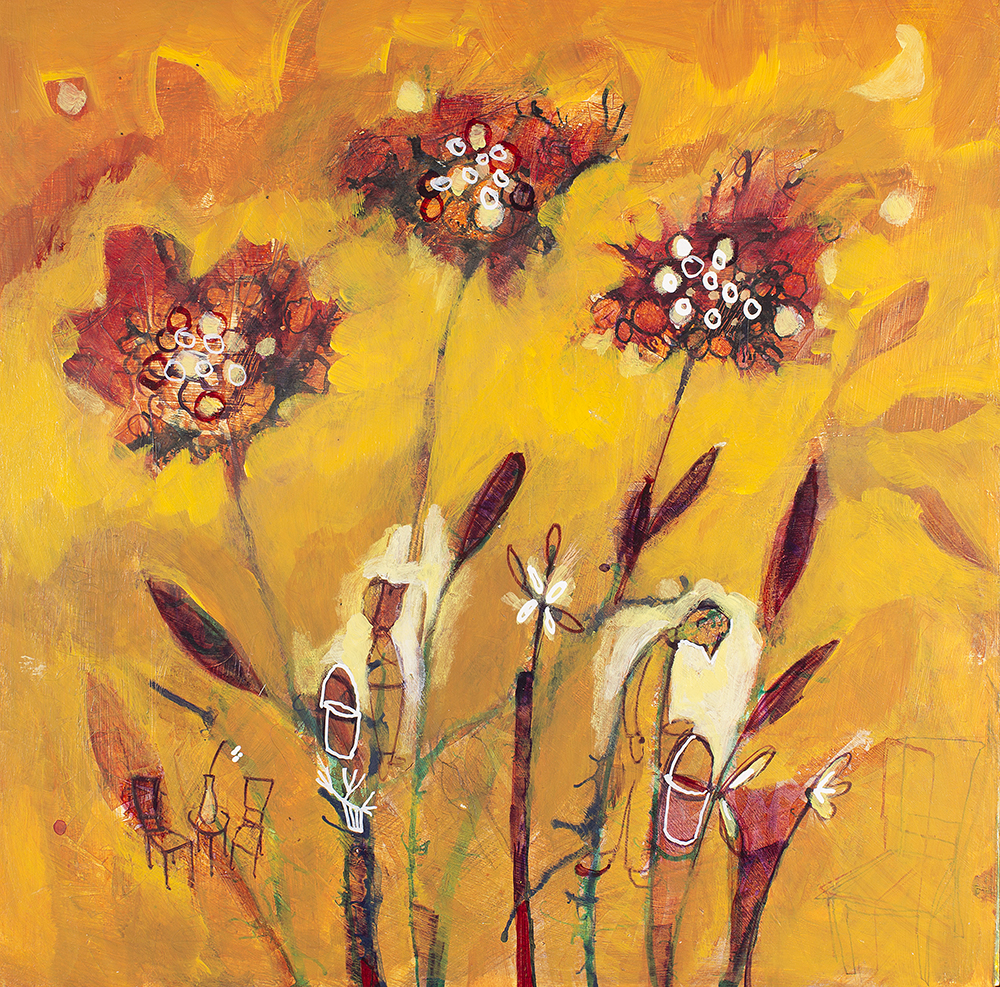
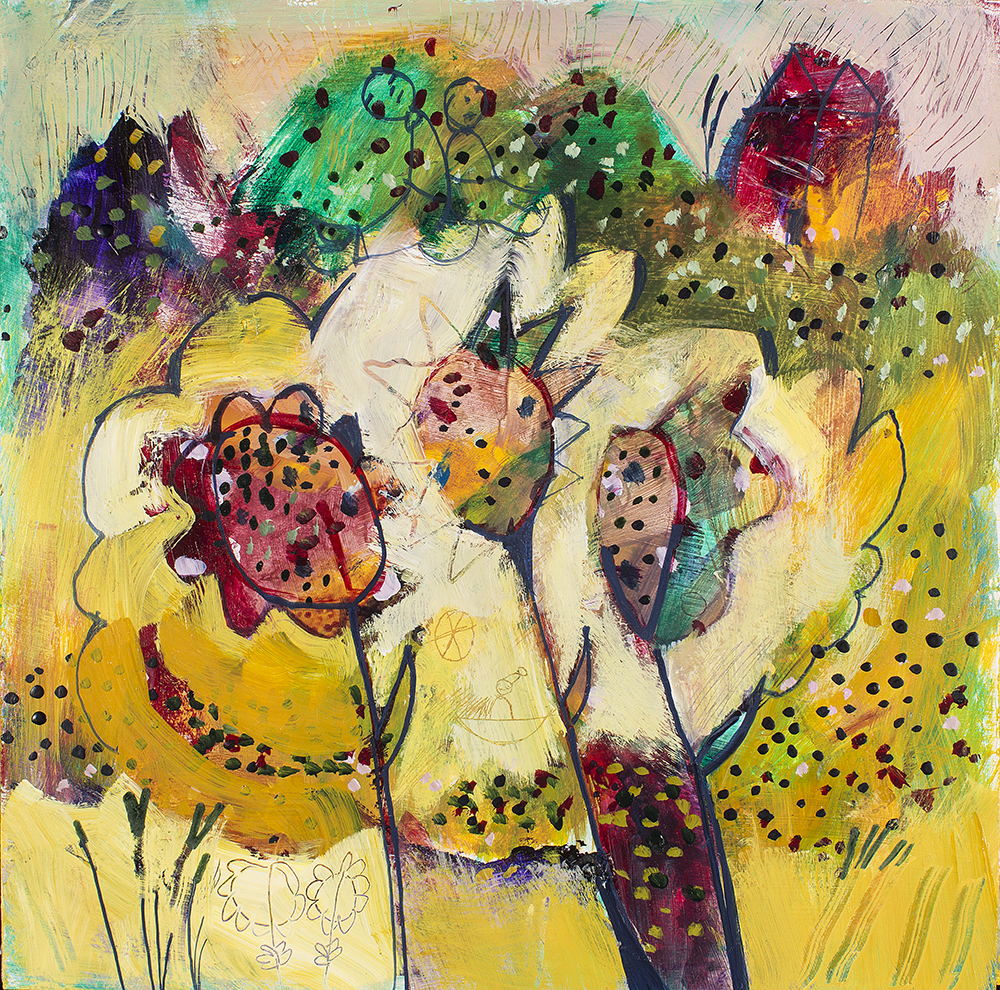
Big Bold Bloom 2!
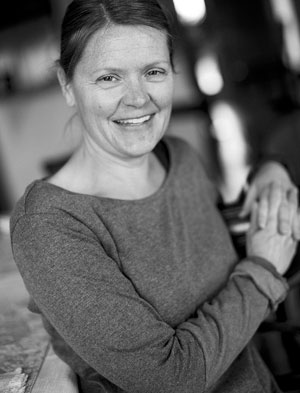
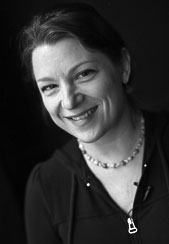
A 5-Week Class with Lynn Whipple
10 Lessons
Now available as a self-study class.
(For a 2-payment plan option, click HERE!)
More Painting!! More Drawing!! More Flowers!!
New Layers! New Techniques! New Tools!!
And most importantly, new ways to celebrate
your enormous and brilliant instincts!
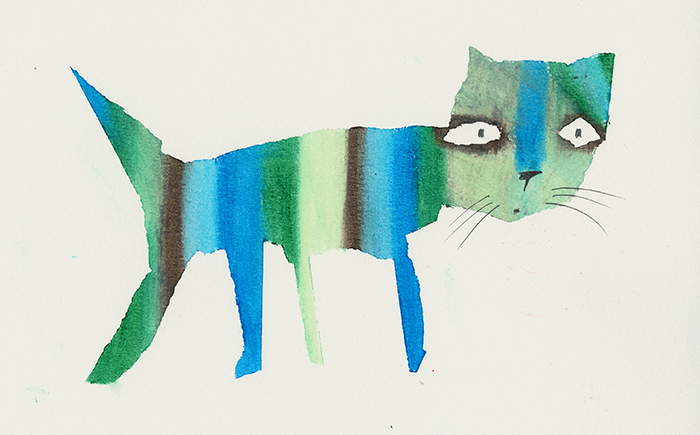
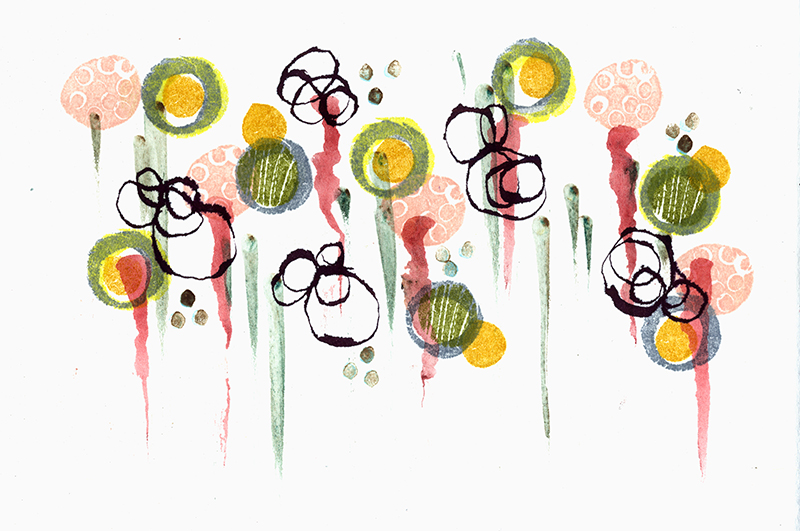
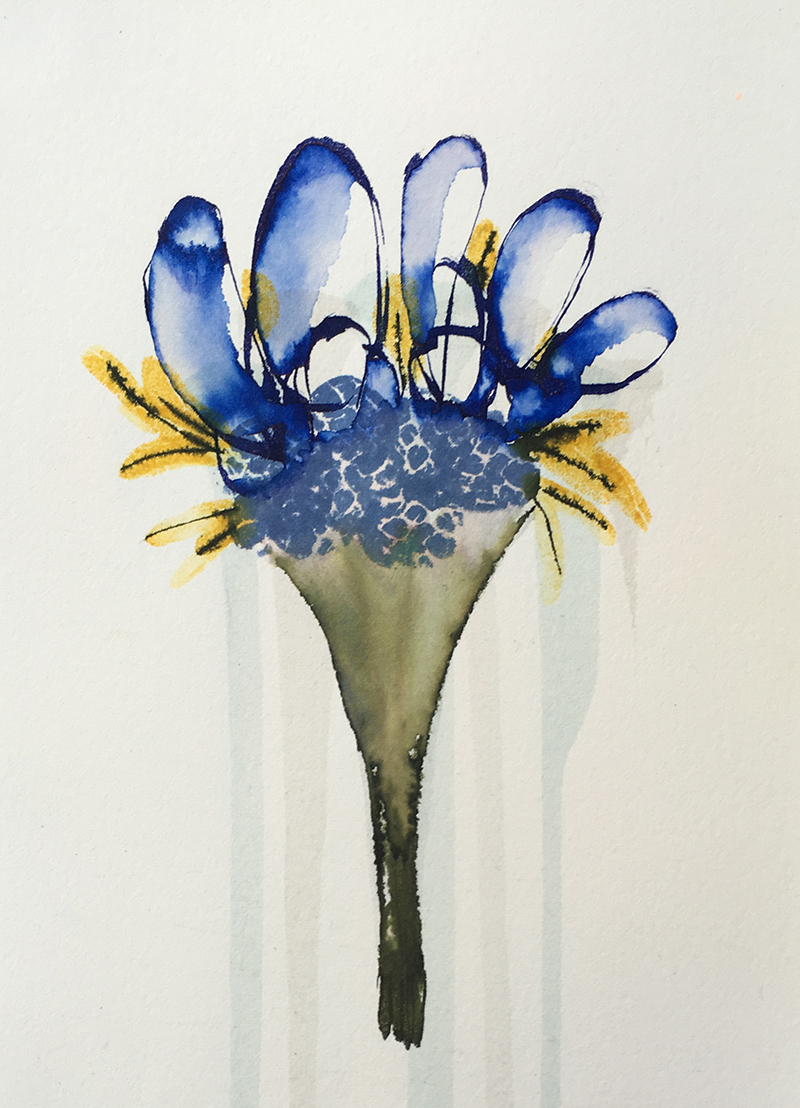
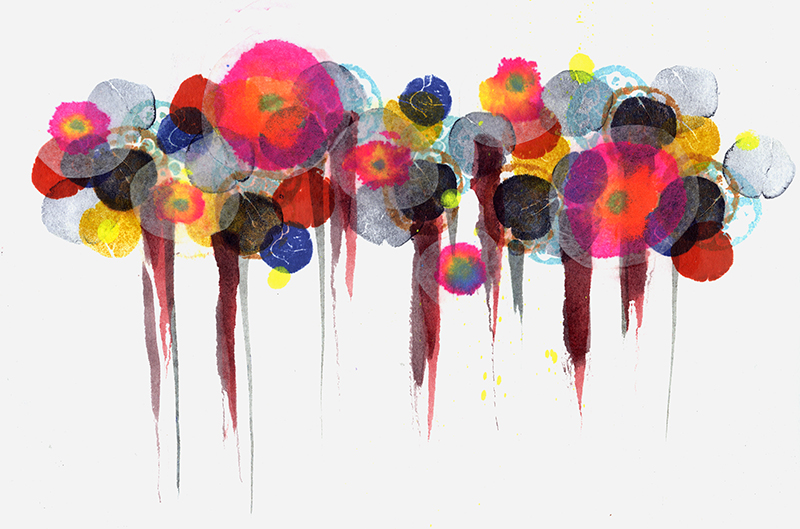
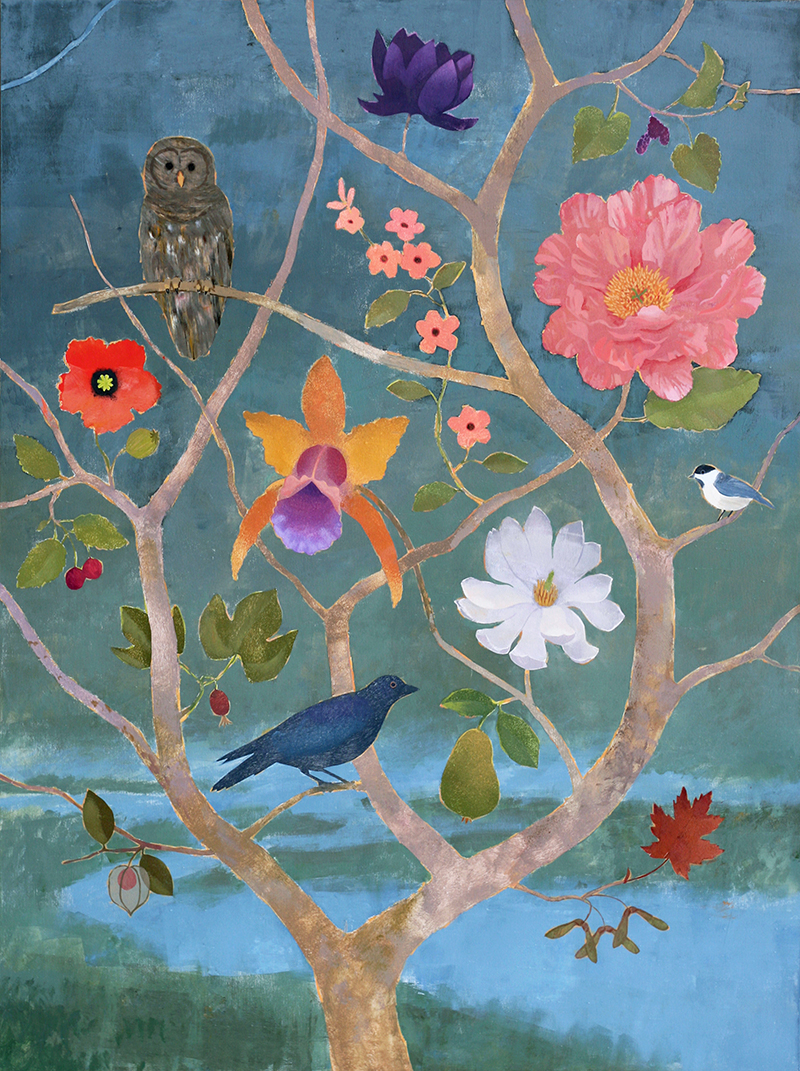
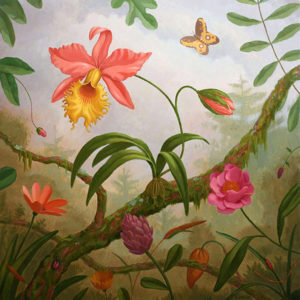
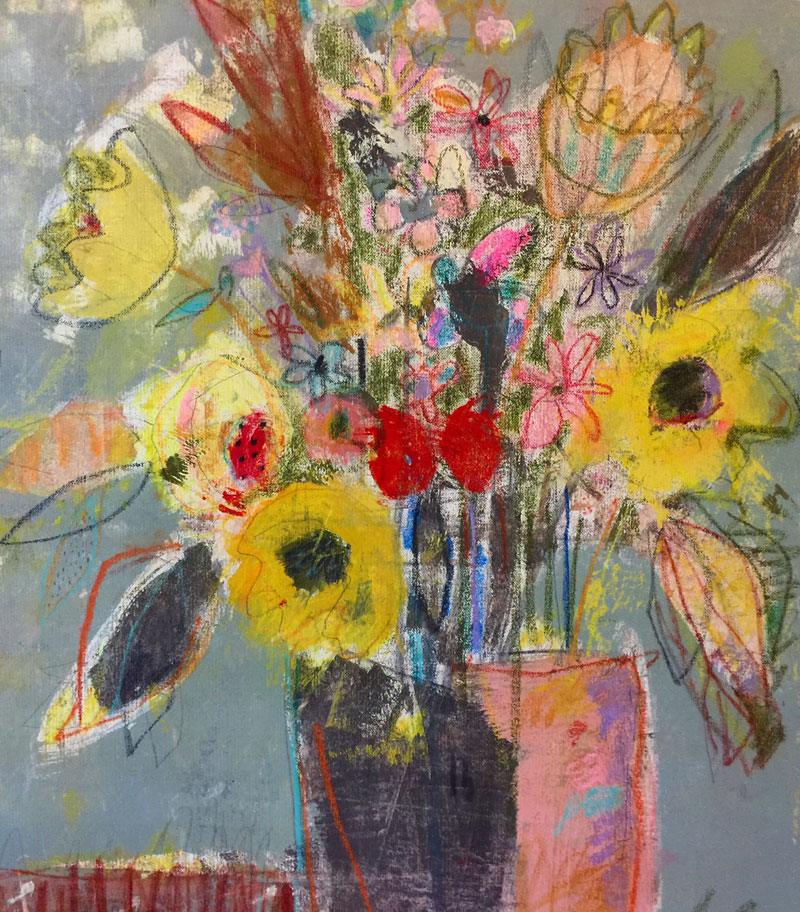
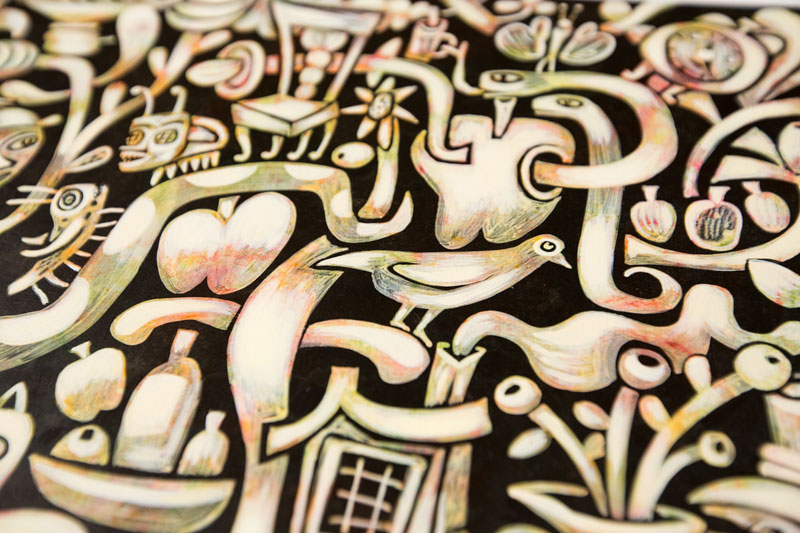
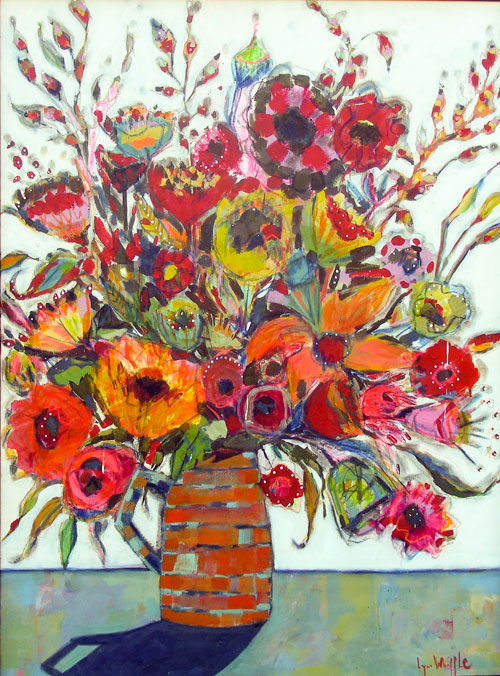
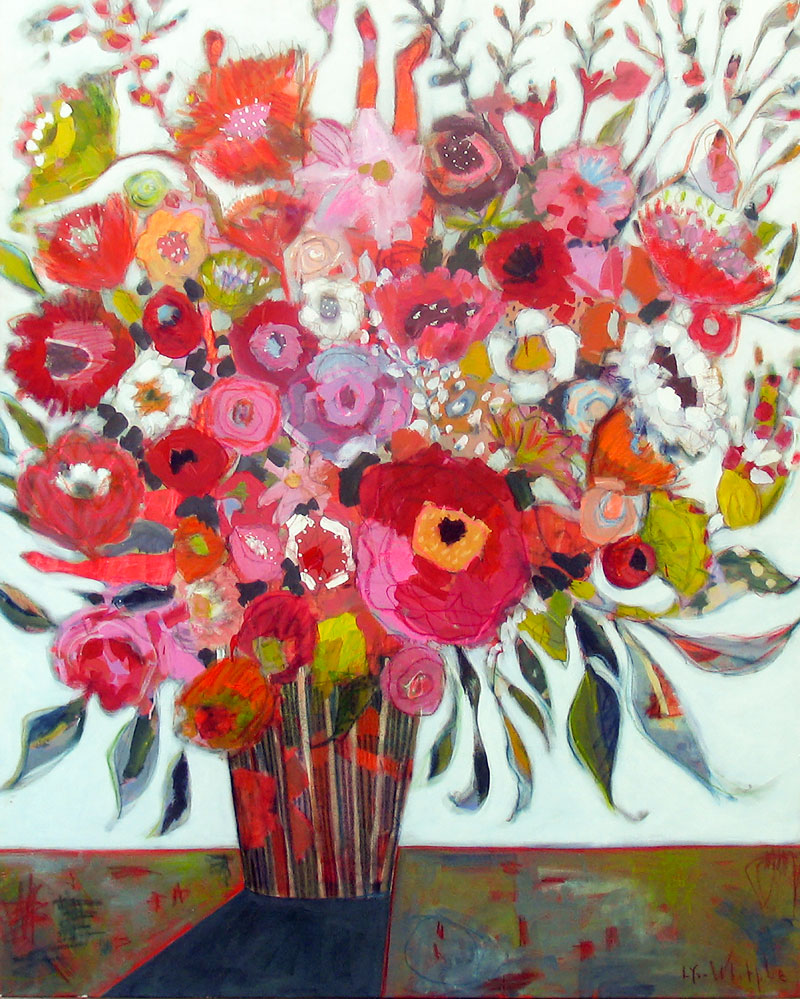
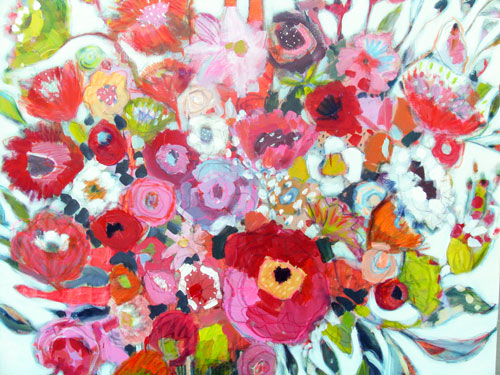
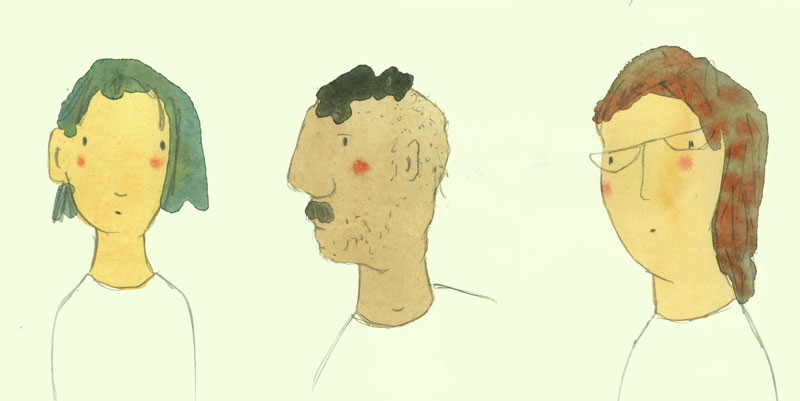
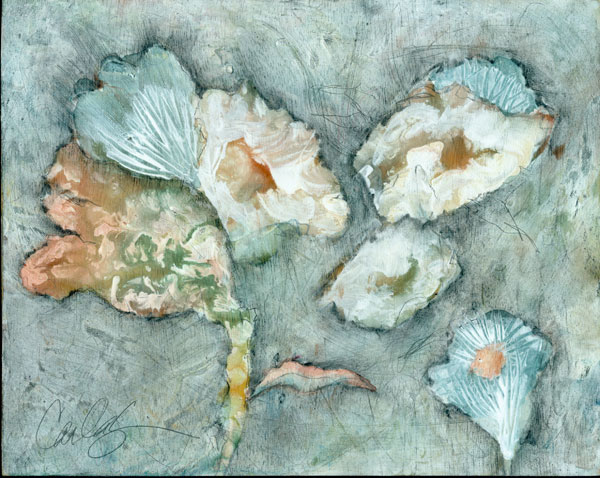
Tune into your personal preferences and enjoy creative play as you create a series of Big Bold Blooms! You will create Big paintings! Medium paintings! Small paintings! And tiny sketchbook drawings, too!
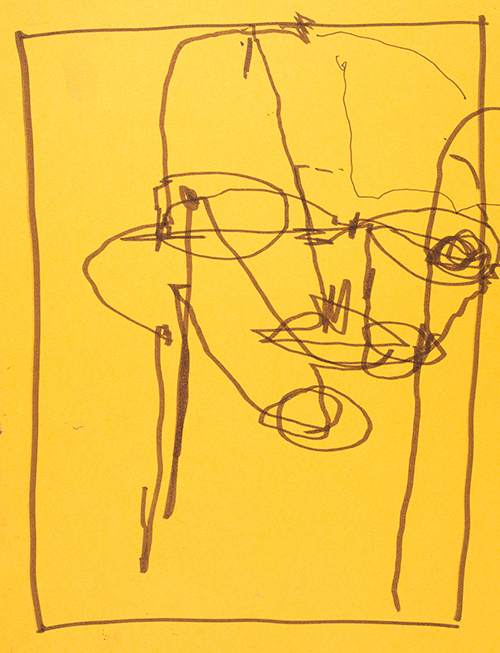
We will work with the simple wonders of line, shape and mark, and add to the mix the joys of color, texture and composition. We will start with tiny seed drawings which will help inform all of our future designs. Then we’ll play with acrylic paint and colorful mark-making tools such as chalk pastels, markers & even colored pencils. We will also work with collage and bring all these layers together to create our final, loose, bold painting!
If you are new, this is a great stand-alone class that will encourage you to work with loads of fun and freedom as you celebrate your instincts and create Big Bold Blooms!
Let’s explore painting and the power of play! I hope you will join me and our wonderful online Bloom community 🙂
All my very best,
xoxo
Lynn
For a list of supplies needed, click
HERE.
___________
Class Itinerary:
Week 1
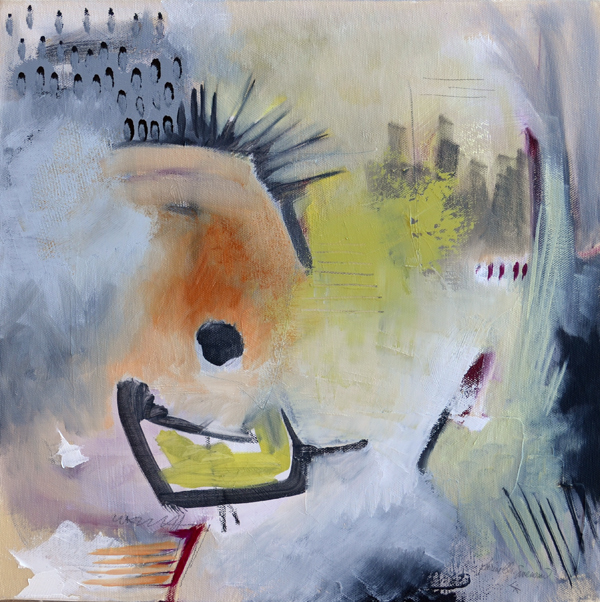
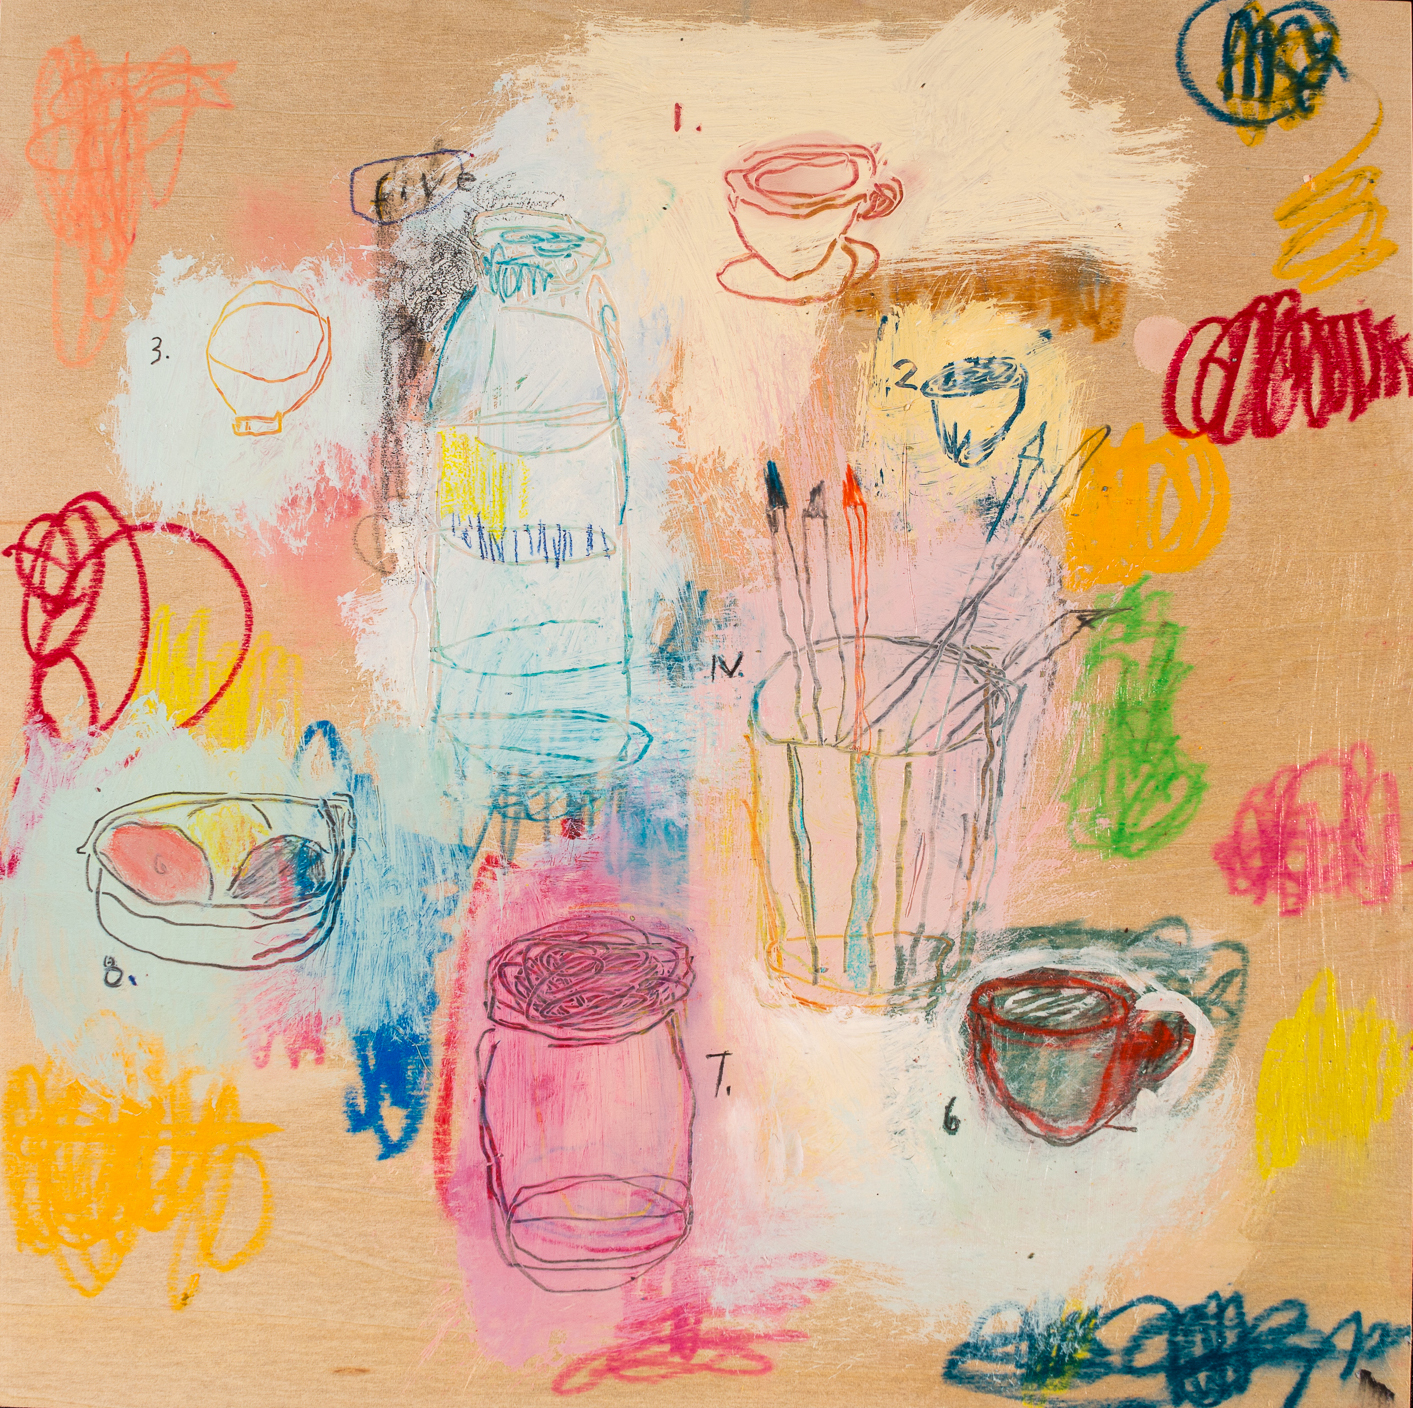
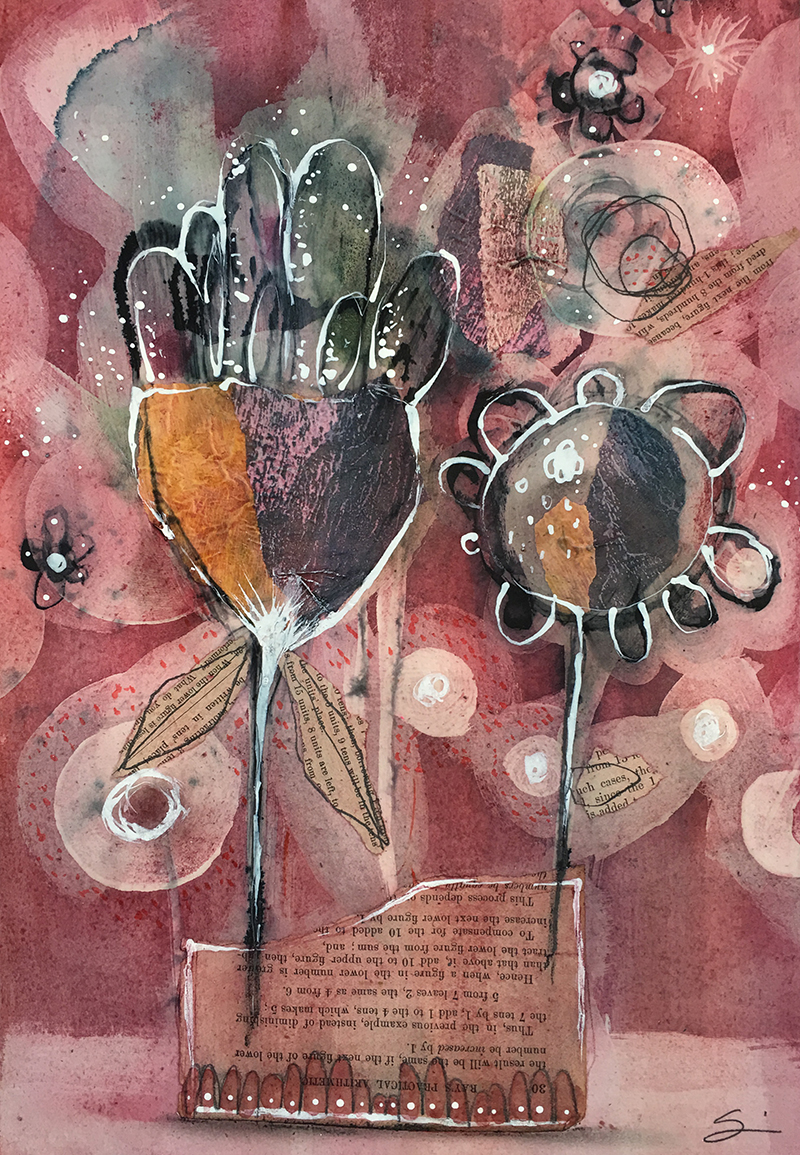
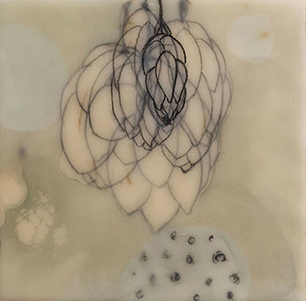
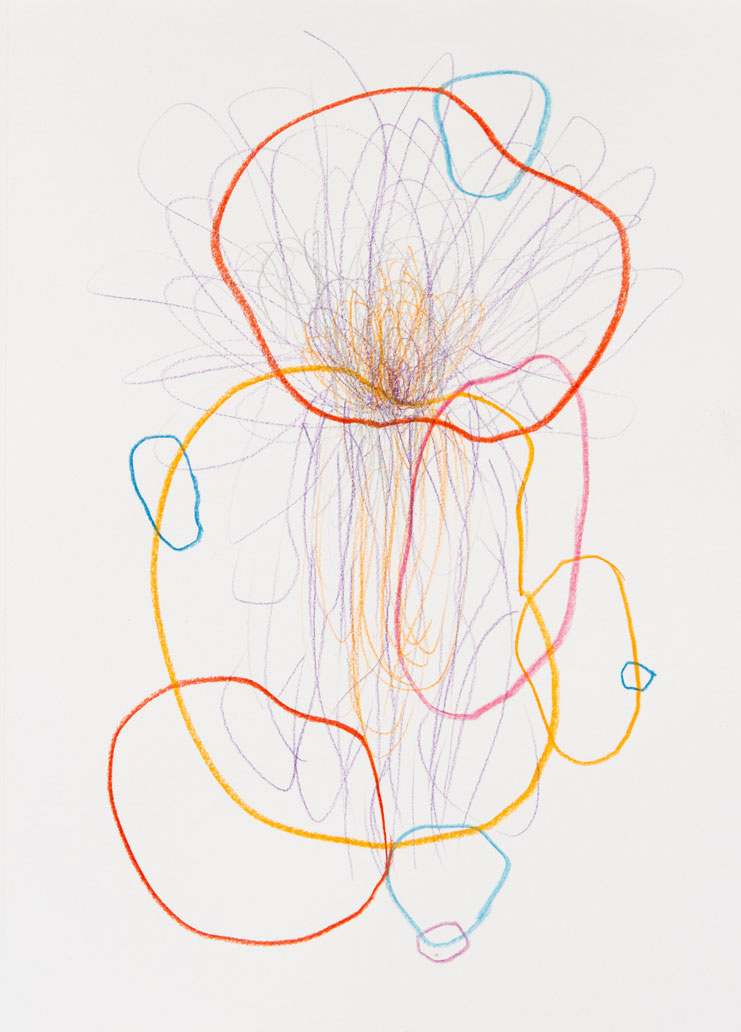
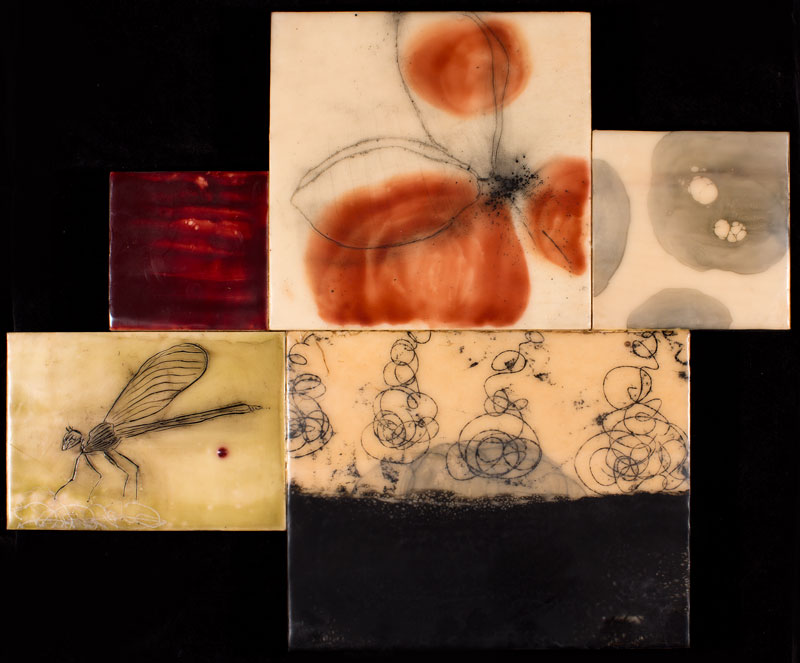
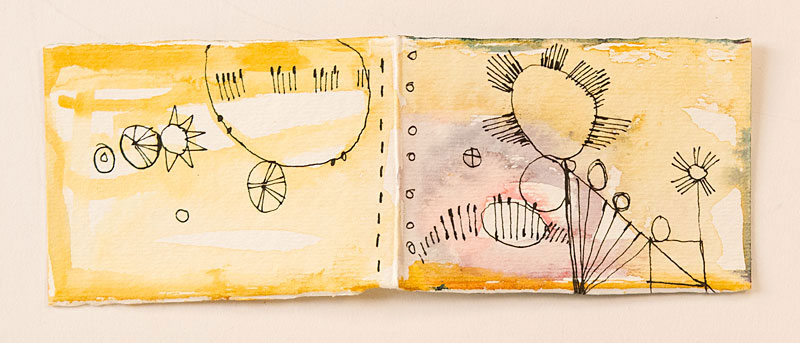
Lesson 1 – Seed Drawings: Tiny Flowers, Big Designs
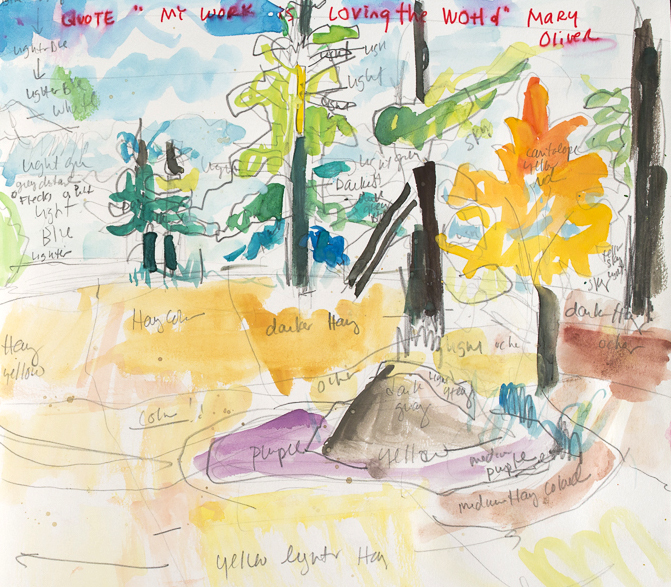
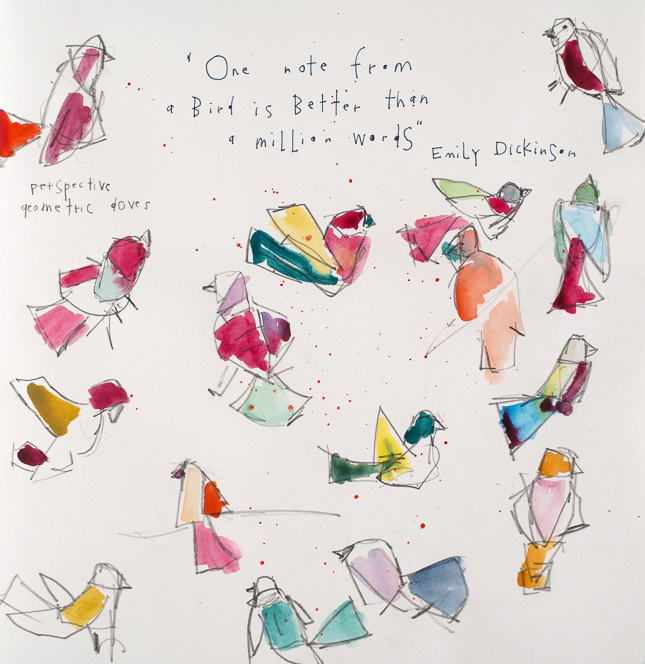
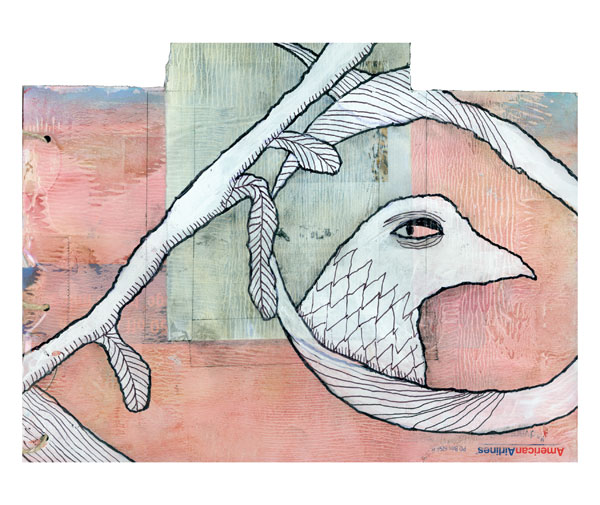
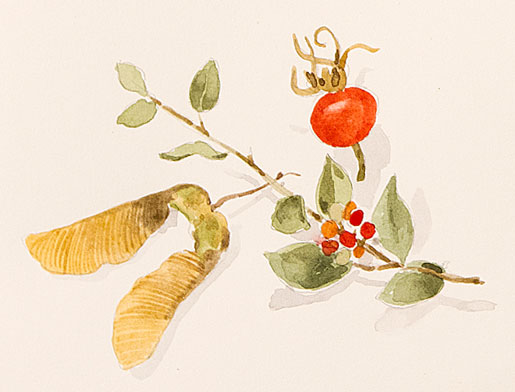
There is something exciting about playing with design early in the painting process — at this stage everything is possible! We will warm up our hands and minds in our sketchbooks and create lyrical line drawings. Let’s build small maps of large paintings and keep it loose and free! We will draw fresh flowers from life and add a little music to keep us in the moment. We will design in square and rectangle formats and take special notice of our dark values, putting them in boldly to create structures for our future paintings.
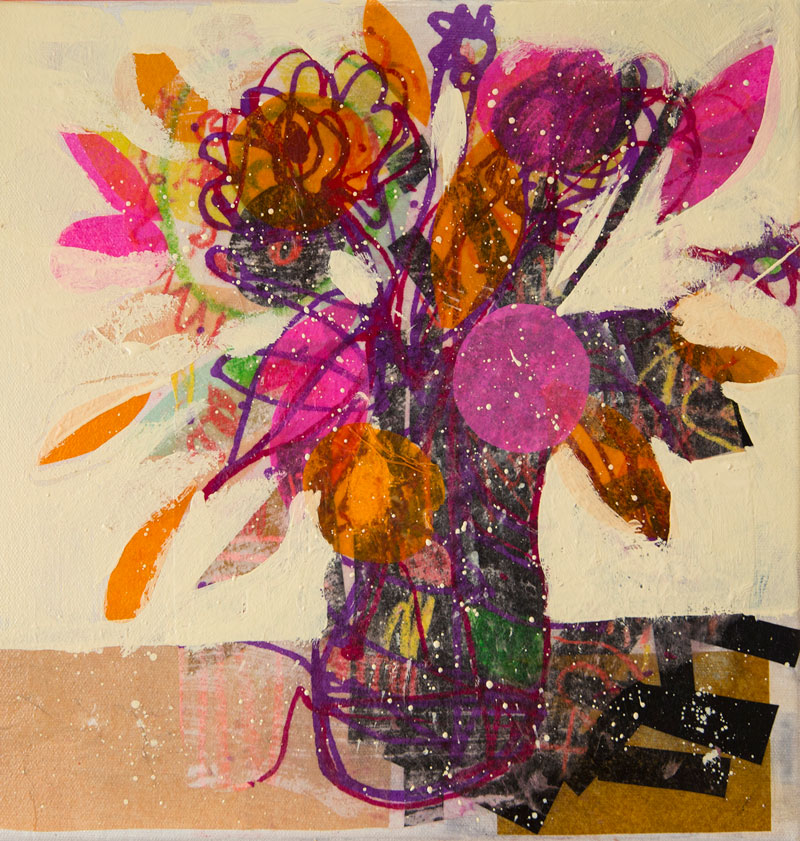
Lesson 2 – Beginning Blooms: Layering Line, Collage & Color
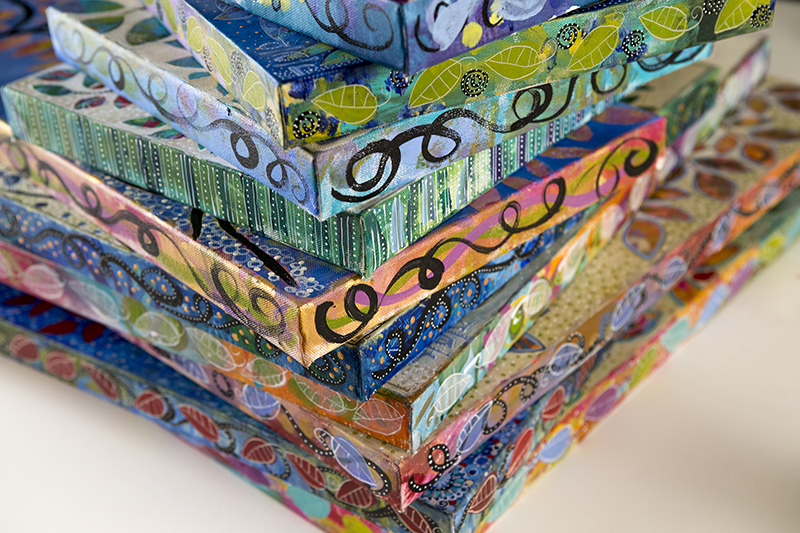
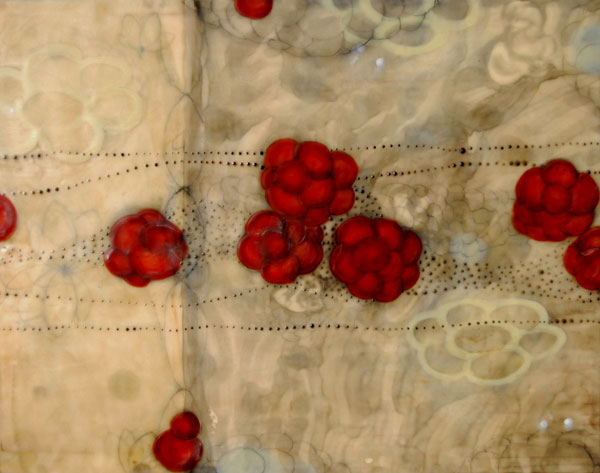
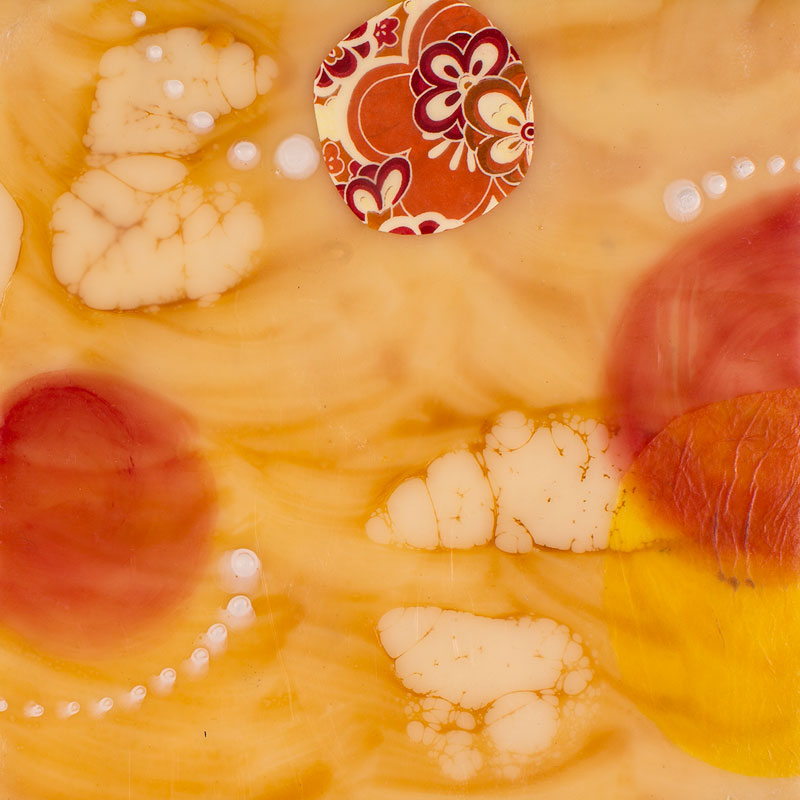
Choose your favorite seed drawings from Lesson 1 and let’s play a new layering game! Using tissue paper, we will start our design structure by first putting down our dark shapes, with tissue, on a 12″ x 12″ and a 11″ x 14″ canvas. We will collage and build from the ground up, using great shapes, great darks and great design. The next step is a drawing layer on rice paper and then we will continue to add layers of color, paper, line and paint as the Beginning Blooms come into focus!
Week 2
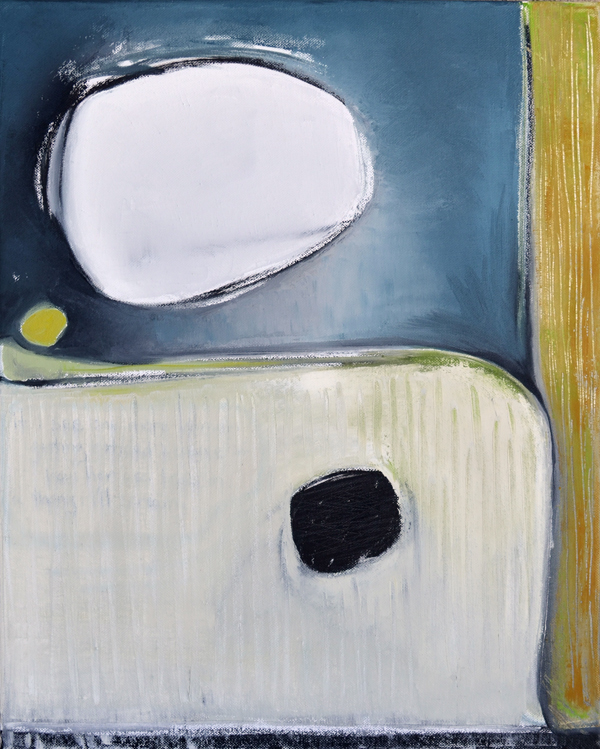
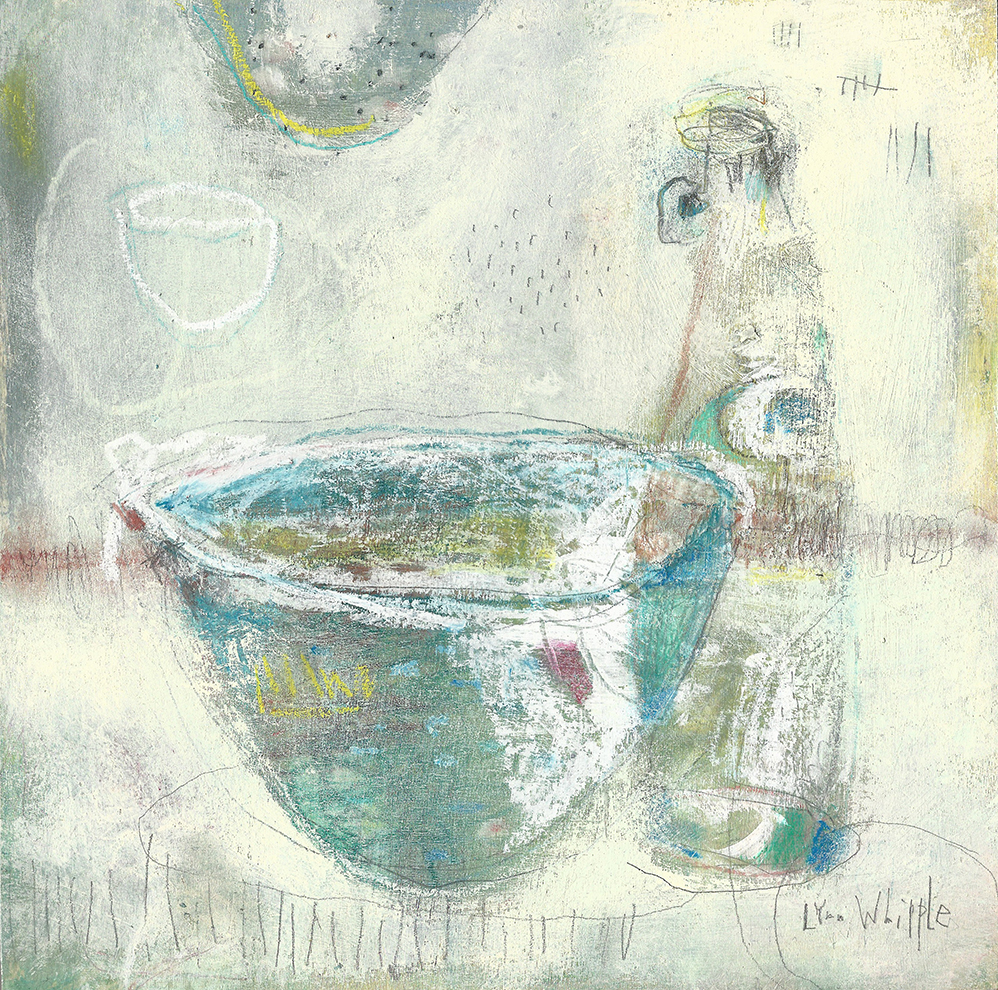
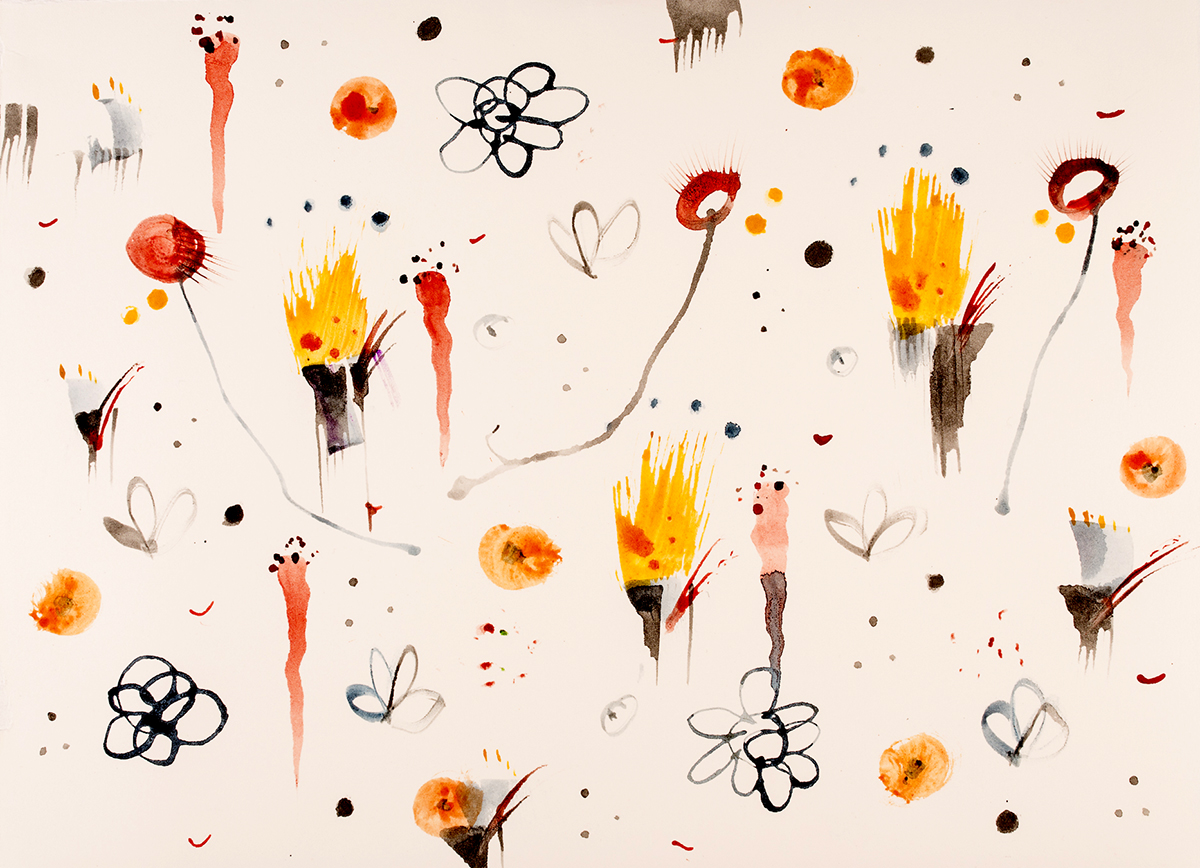
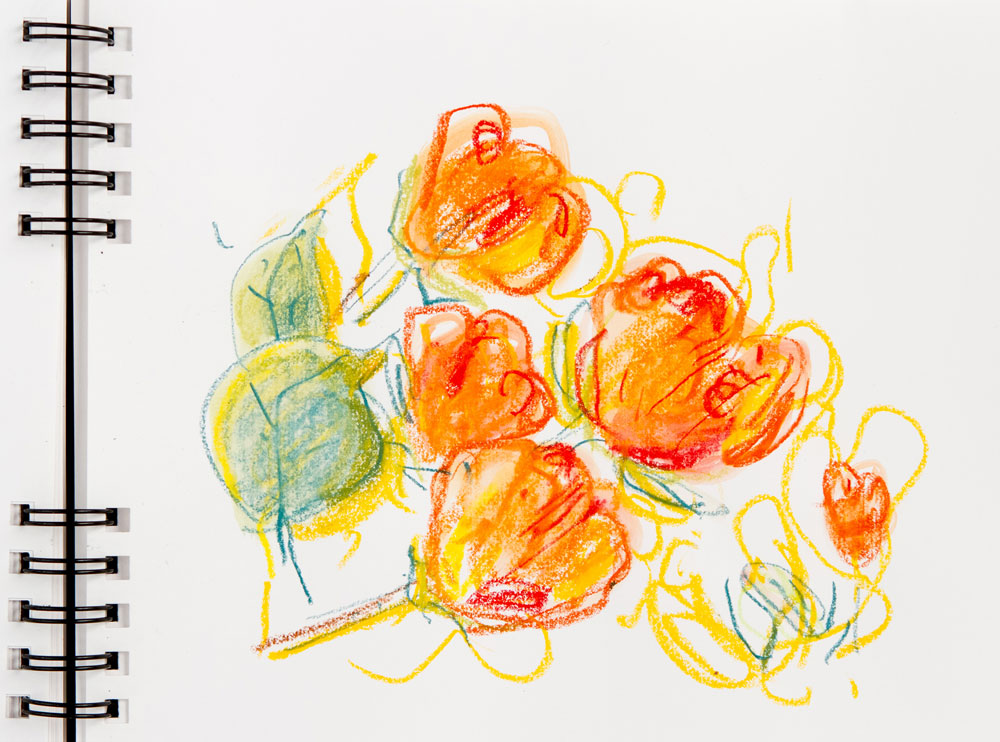
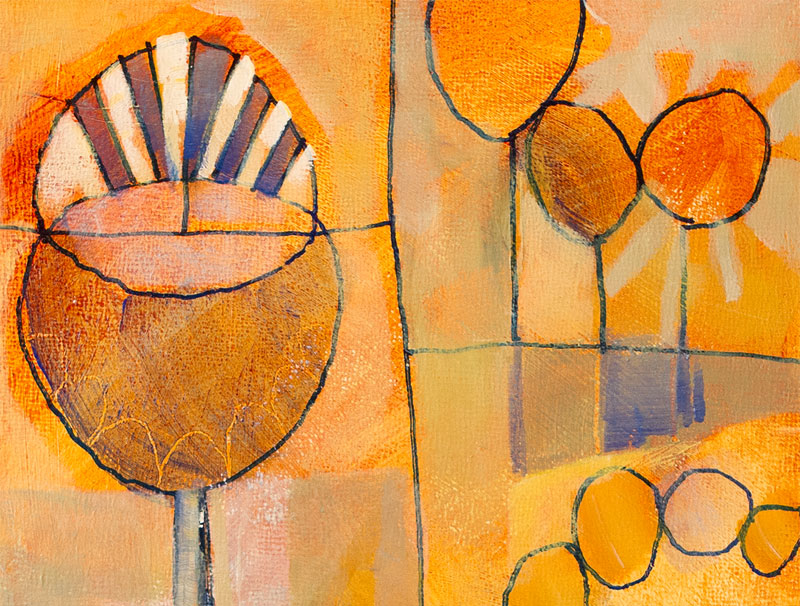
Lesson 3 – Chalk Flowers
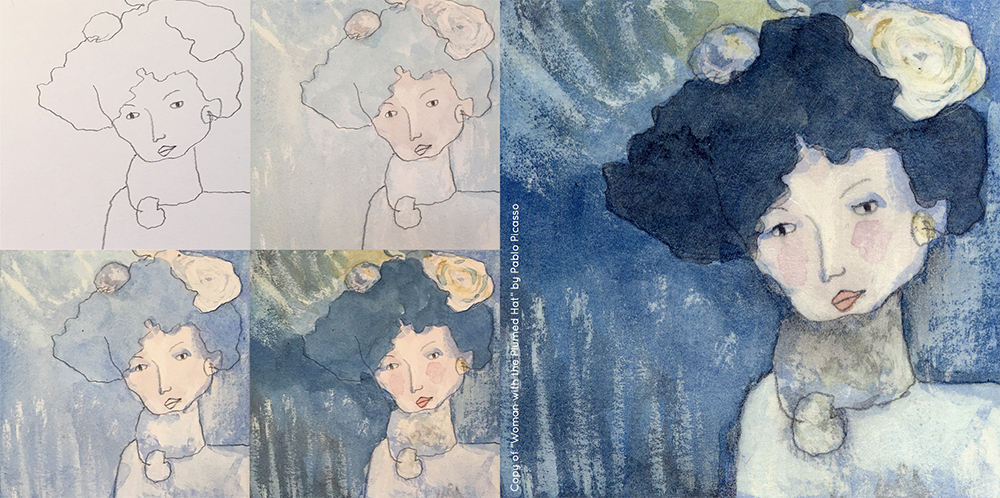
I am excited to share with you another new technique that marries our soft pastel drawing with paint. We begin by toning two smaller canvases with two different ground colors and perhaps a bit of spattering. We will softly carve out simple pots of blooms with a dry brush, creating one large shape. When the paint is dry we draw with chalk pastels and other markers and tools. Our next layer will help us create a “quieting visual noise” which will take down the vibrancy of the color. This is a lovely way to combine drawing and painting with a poetic, new twist!
Lesson 4 – Chalk Flowers cont.
As we continue to layer and draw, add paint and soften, we will start to see our Chalk Flowers emerge. Using darker colored pastels now, pencil, colored pencil and charcoal, let’s begin to find a finish by squinting and finding the perfect place for the darks. You might refer to your seed drawings here, and bring in an area of focus. Continue to “rock” the painting back and forth until the perfect balance speaks to you.
Week 3
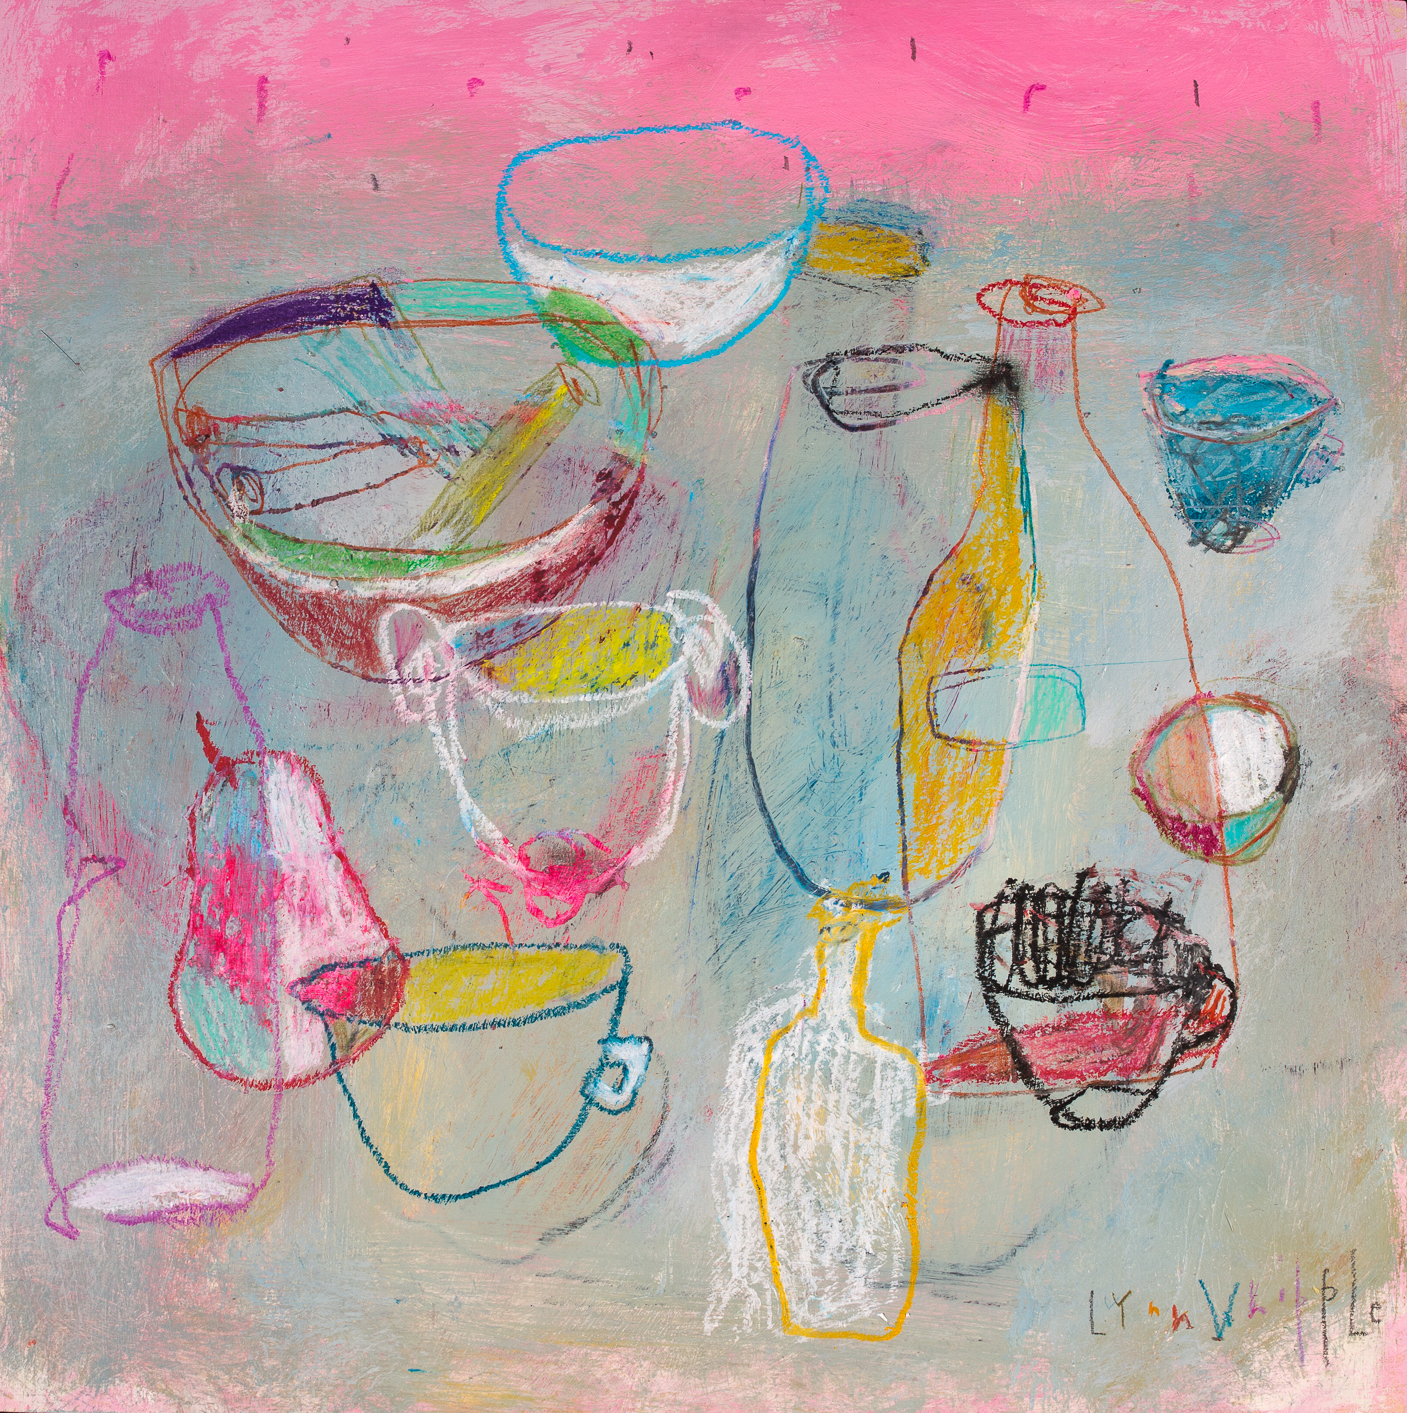
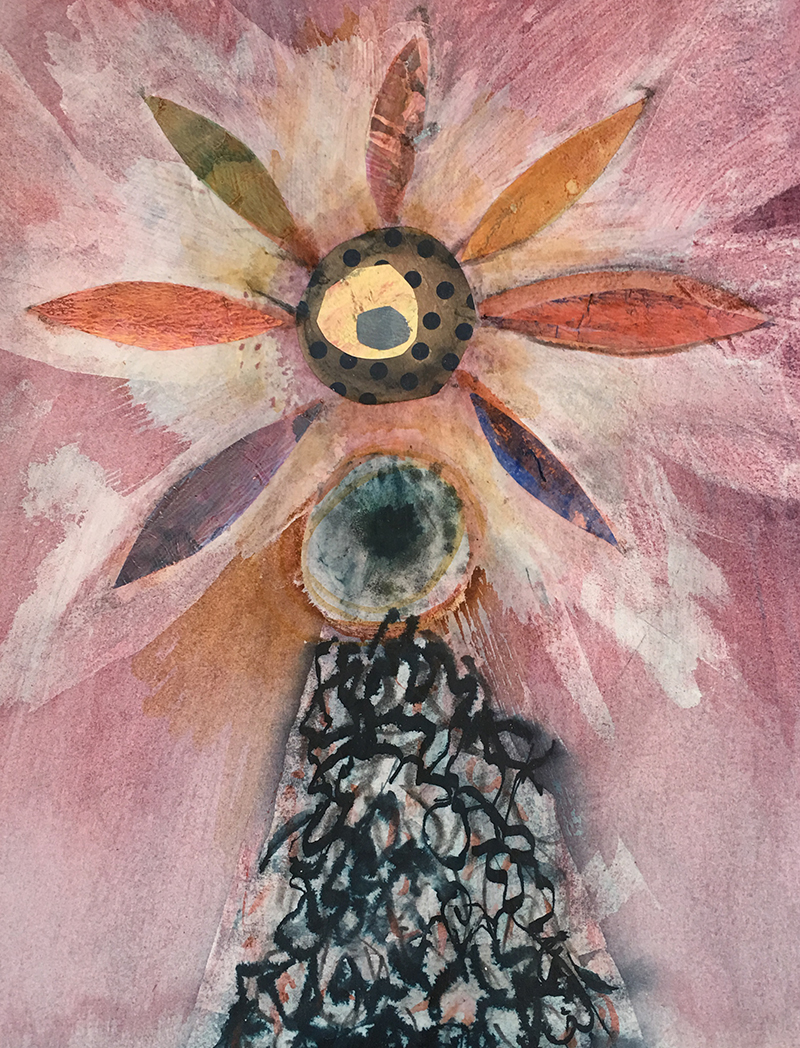
Lesson 5 – Bigger and Bolder! New Layers!!
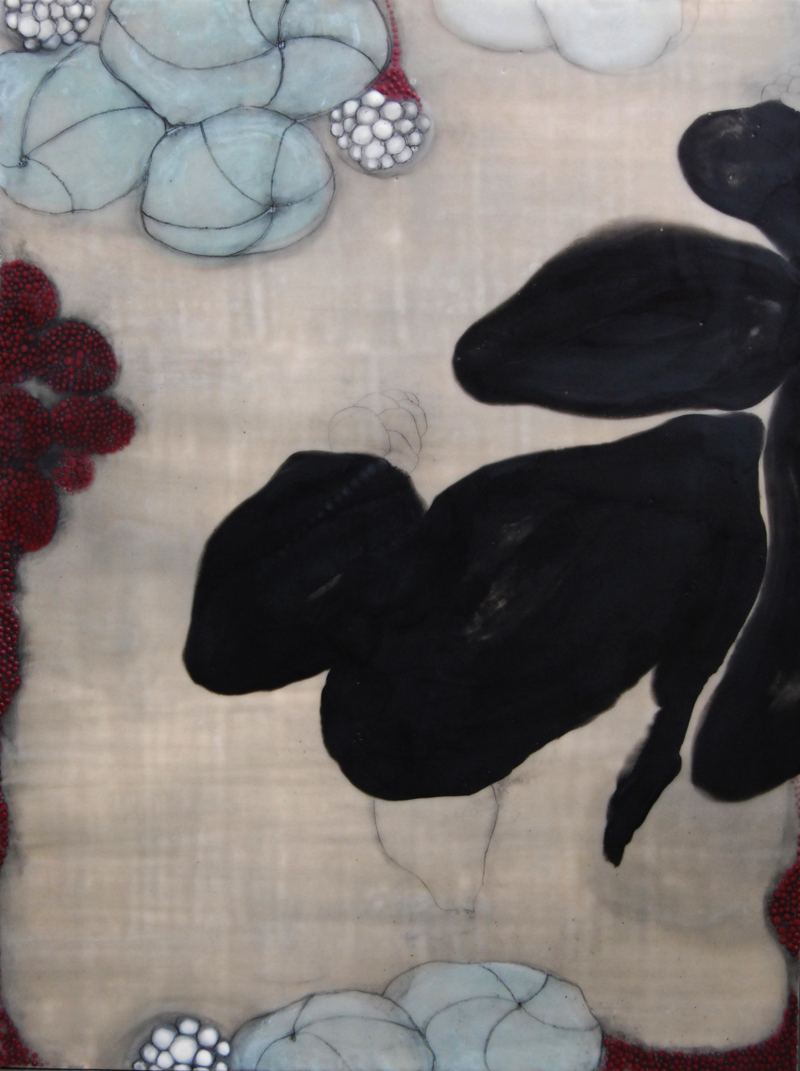
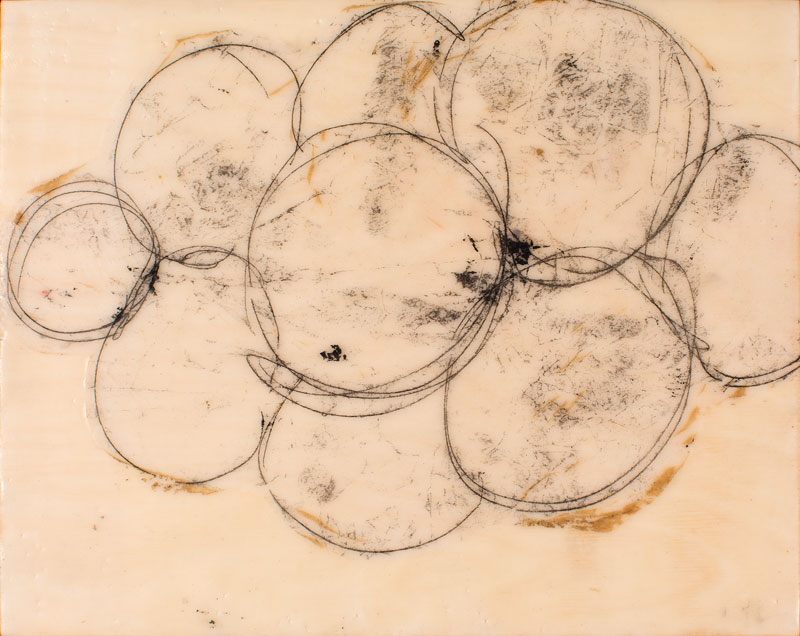
Let’s start one of each of our larger canvases: a 24″ x 24″ and a “24 x 30”. Tone one canvas in the warm orange tones and one in the greenish tones. We will do a “spin composition” step… a wonderful way to not only to keep your hands moving, but to create an abstracted patterned layer. Move the wet paint with the brayer as you paint neutral tones into the shapes. Be sure to leave a bit of your first layer peeking through! Let your painting breathe. Next we will add drawing!! Away we go!!
Lesson 6 – Bigger and Bolder! New Layers cont!
As you continue, there is always time to risks and try something new because —as you know — it’s only a layer! Spin the canvas and look for a great place to plant your large pot of blooms. Draw in loose and free with chalk pastel using lots of color. Music up! Add thin layers of light colored paint, as you cut in around your large shape. Create visual noise by moving the paint with your brayer. Spatter! Build your larger blooms! Draw on top! Add darks! Create shadow! Add highlights! Have fun!!
Week 4
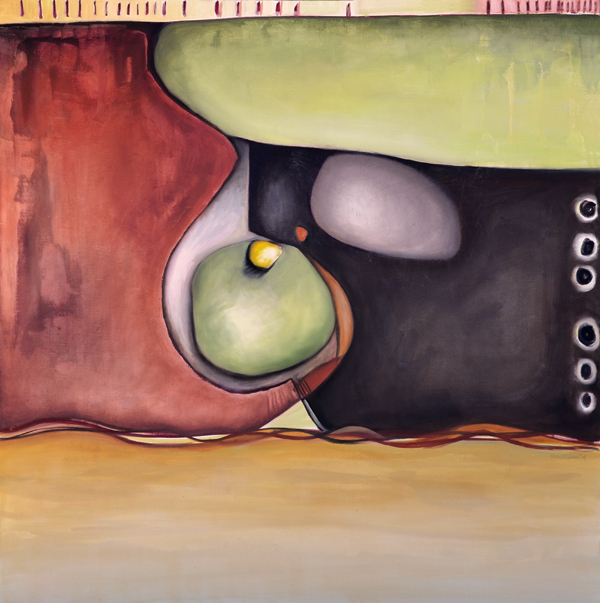
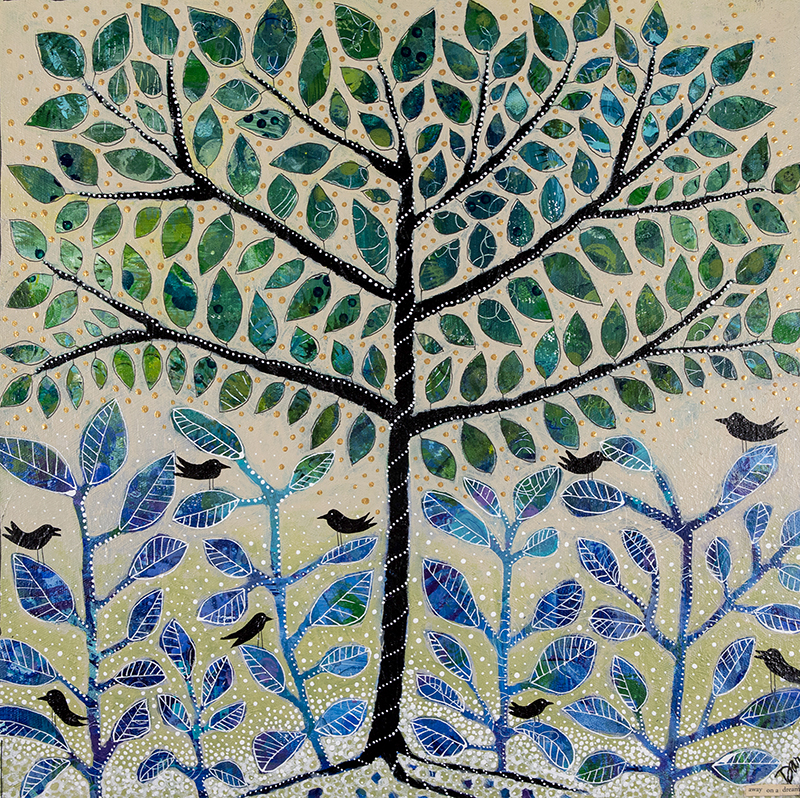
Lesson 7- Big Bold Blooms!
This week you will begin two more larger canvases. We’ll start with spin drawings — one of most satisfying layers I know; spin drawings keep us looking and freely drawing flowers, loose and fast, with and eye on composition and shape making. The pattern you create will give you an amazing place to add your next layer of neutral colors. Let the ground layer show through! Music up! Play! Spin! Draw! Repeat! Paint!
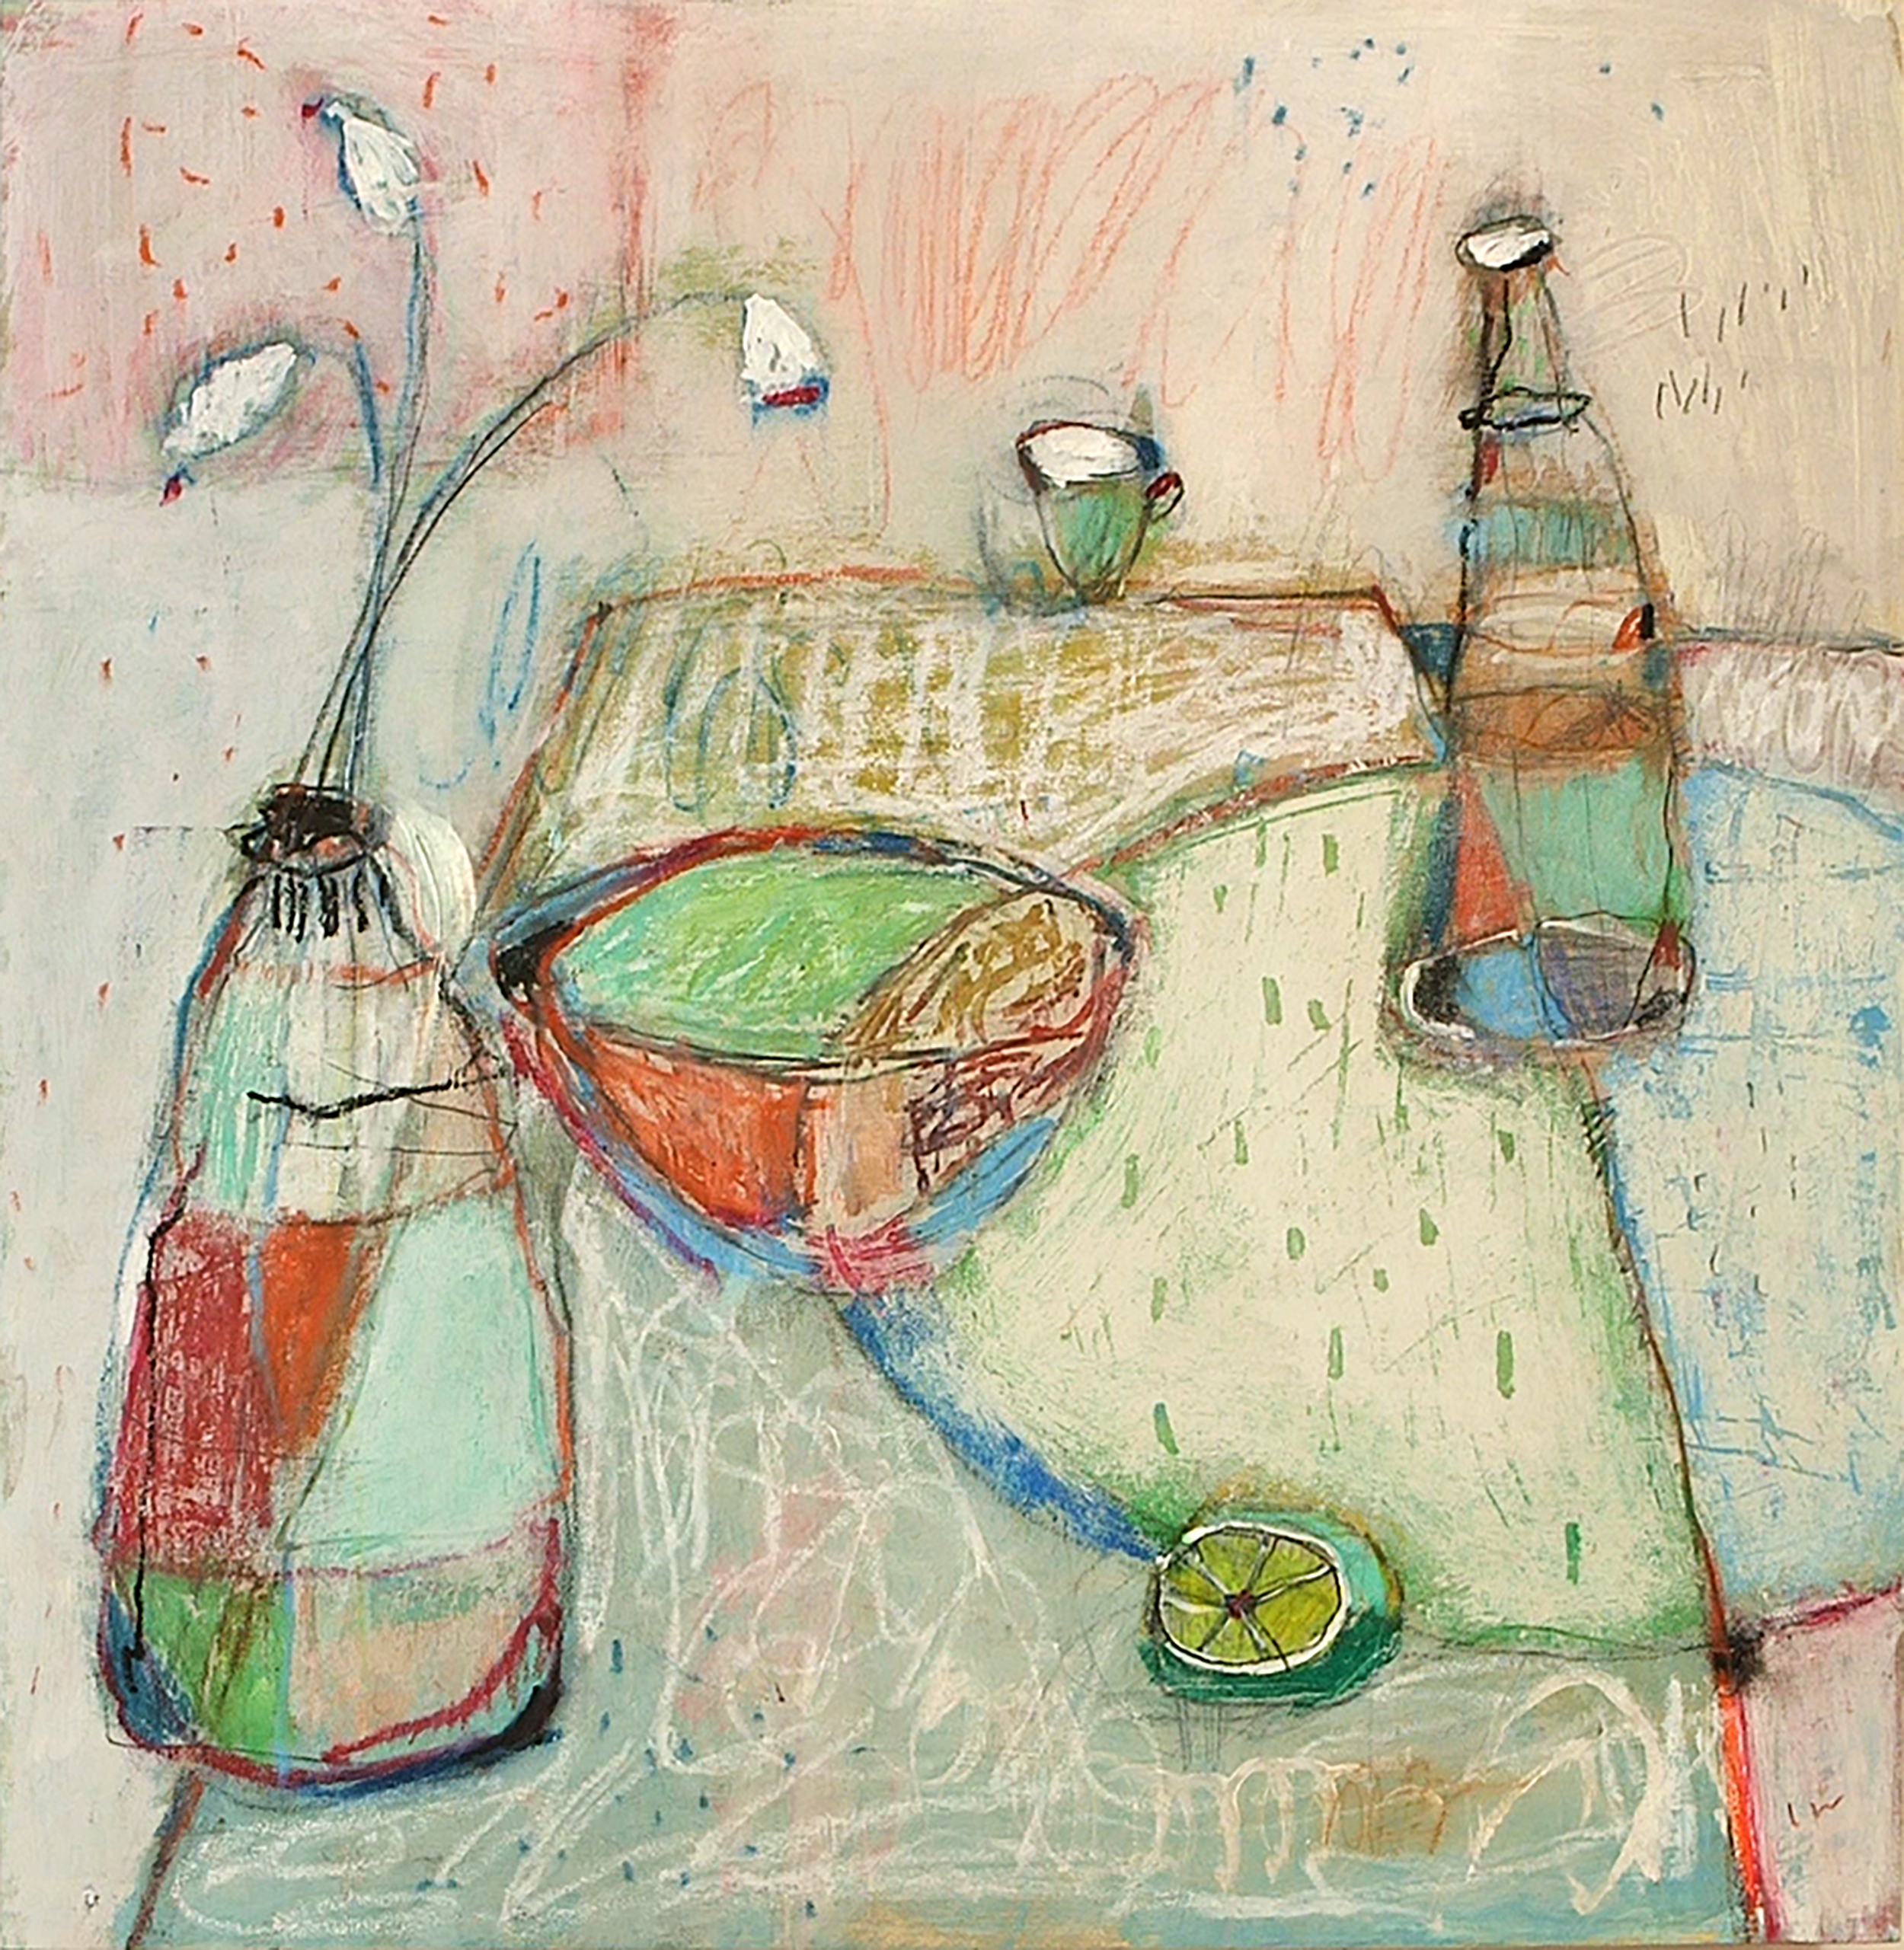
Lesson 8- Painting Blooms – One form, one flower at a time
It’s time to sling some paint! Using your vibrant colors now. Paint your flowers with big, bold movements. This is a time to with play with your brushstrokes. Try and touch the canvas with a different angle of the brush every time you touch it! Celebrate one flower at a time. Look carefully and let the light source tell you what side is bright and which is in shadow. This will inform your colors which will help create your forms. Fill your canvas with colorful blooms, spatter, drip, put in darks.. have fun!
Week 5
Lesson 9 – Painting Blooms, Big and Bold, your beautiful instincts leading the way!
Yes!!! You have gathered so many wonderful preferences! Do you prefer vertical or horizontal? Muted or bright colors? The first step is to look through your drawings and paintings and create a new design to turn into an 11″ x 14″ tissue paper collage “map.” This will help guide you as you scale it up to our largest painting, 36″ x 48″! Now it’s time for loose ground color and some spatter. With larger pieces of tissue paper, put down your large collage pieces and see your design come to life!
Lesson 10 – Painting Blooms, Big and Bold, your beautiful instincts lead the way!
Music up! DRAW! Start by using your pastels and drawing on top of your collage, change the flower shapes, go over the lines. PAINT! As you practiced in Lesson 8, paint in big, loose flower forms, with drips and spatters and light and shadow side. When the paint is a little bit dry, use the brayer. Have fun as you use a favorite color to paint and “cut in” loosely around your arrangement. Keep rocking the painting back and forth, brayer, drawing, paint, spatter, pencil, markers and even the dot dot dot! When you think you’re done, back up, have a cup of coffee or some chocolate and let your painting tell you what it needs to take it to a beautiful finish.
Sign up today!
(For a 2-payment plan option, click HERE!)
What previous Big Bold Bloom Students are saying:
“From the bottom of my heart, YOU, dear Lynn, are just the best art teacher I’ve ever had. You challenged my senses and encouraged me to play and have fun; something I’ve forgotten to do. Now surrounded by the many blooms in my paintings, I’m dancing, feeling the joy of being free, and waiting for the next adventure with you. Thank You!” — Tina
“Life changer for me. Finally took the leap to set myself up and be painting again!! And painting large flowers…always my dream! Looking forward to how this evolves. Thank you for everything, Lynn and amazing, kind and hugely talented artists!!” — Cindy
“Lynn, THANK YOU! This has been such a great workshop (I refer to you, the content and the other members of the class). Really, this ranks as one of the best workshops I’ve ever taken and I’m soooo grateful!” — Stacey
“Hi Lynn, Finally I have finished my first BIG and BOLD. It really was a labor of love LOL and your wonderful lessons carried me to the end with big smiles on my face!! Love your teaching style and encouragement. I have never attempted anything this big before and now I can’t wait to start another. Thank you so much for helping me through my fear of the BIG blank canvas!!” — Sharon
__________________________
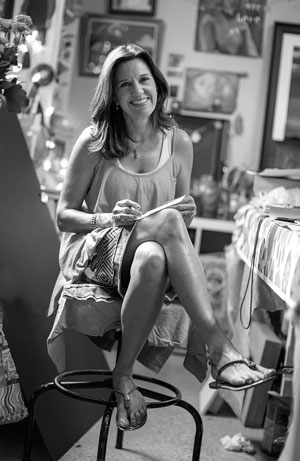
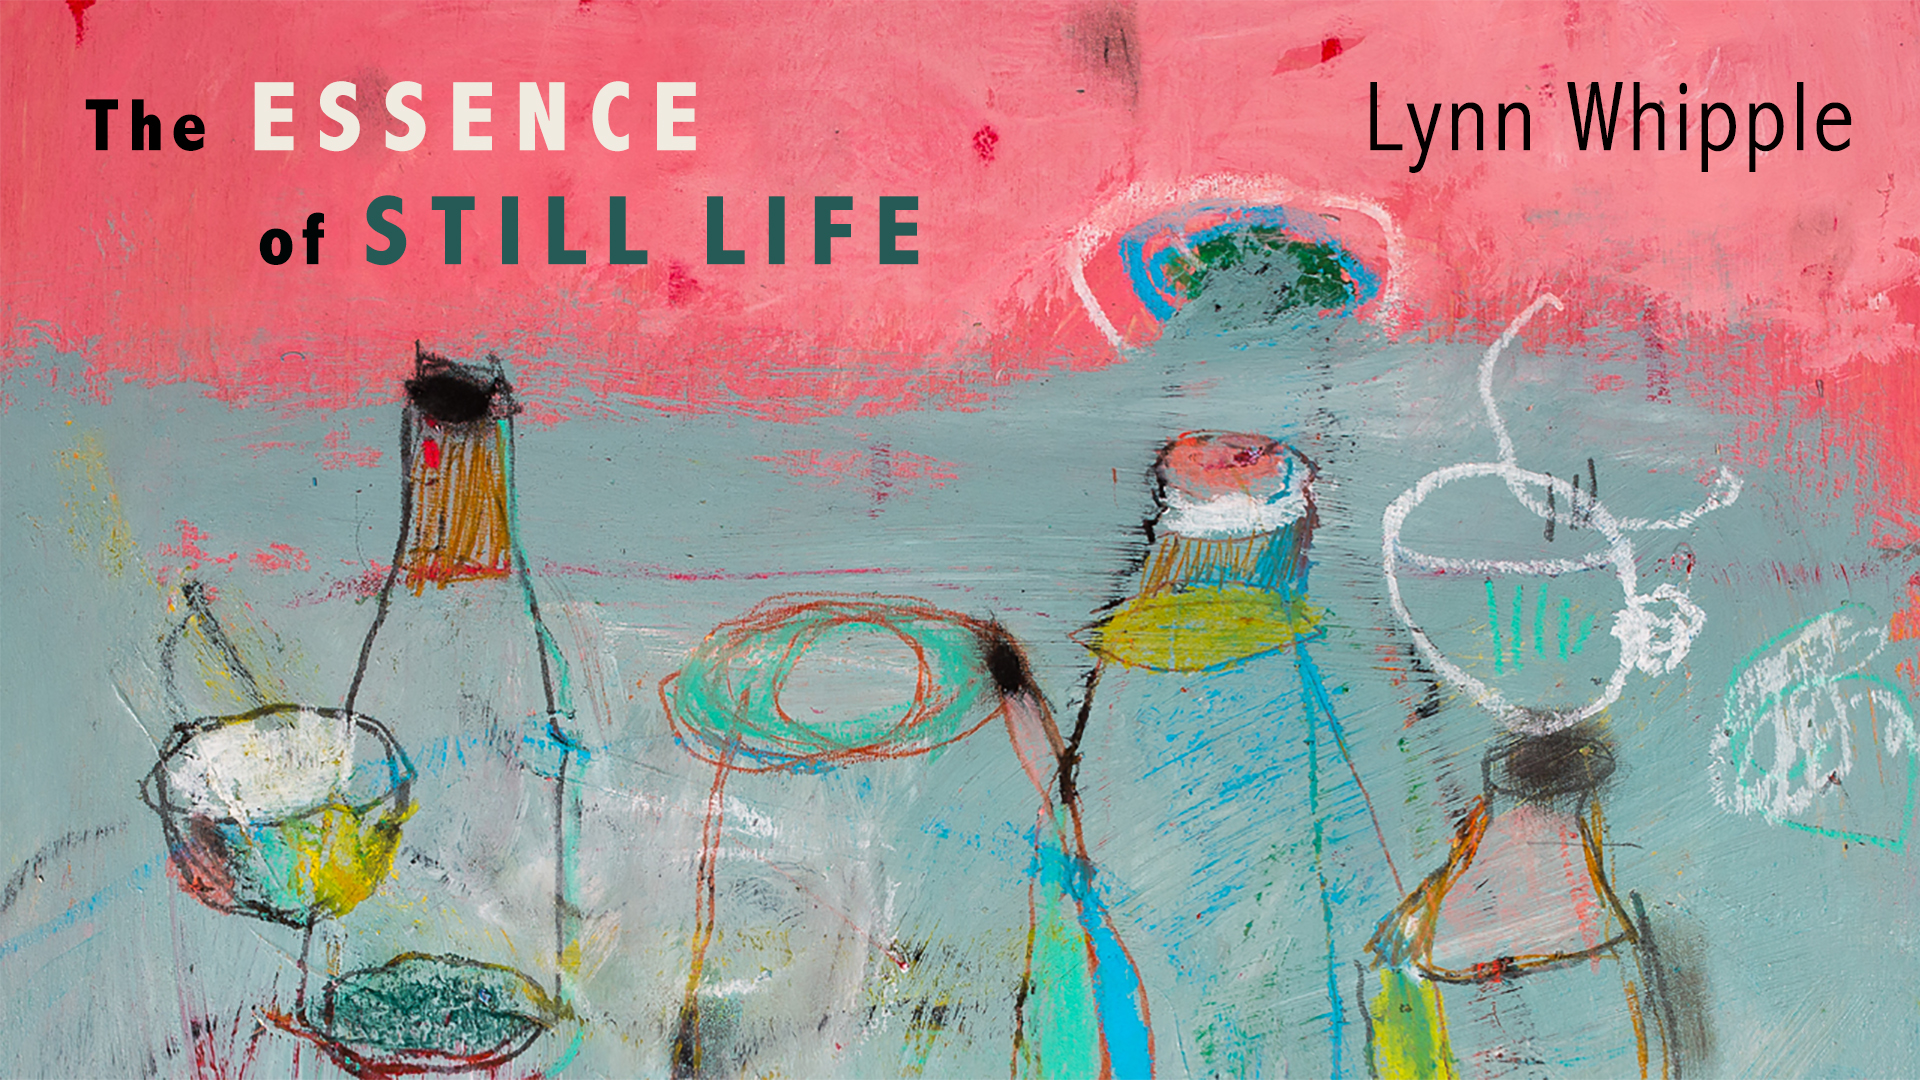
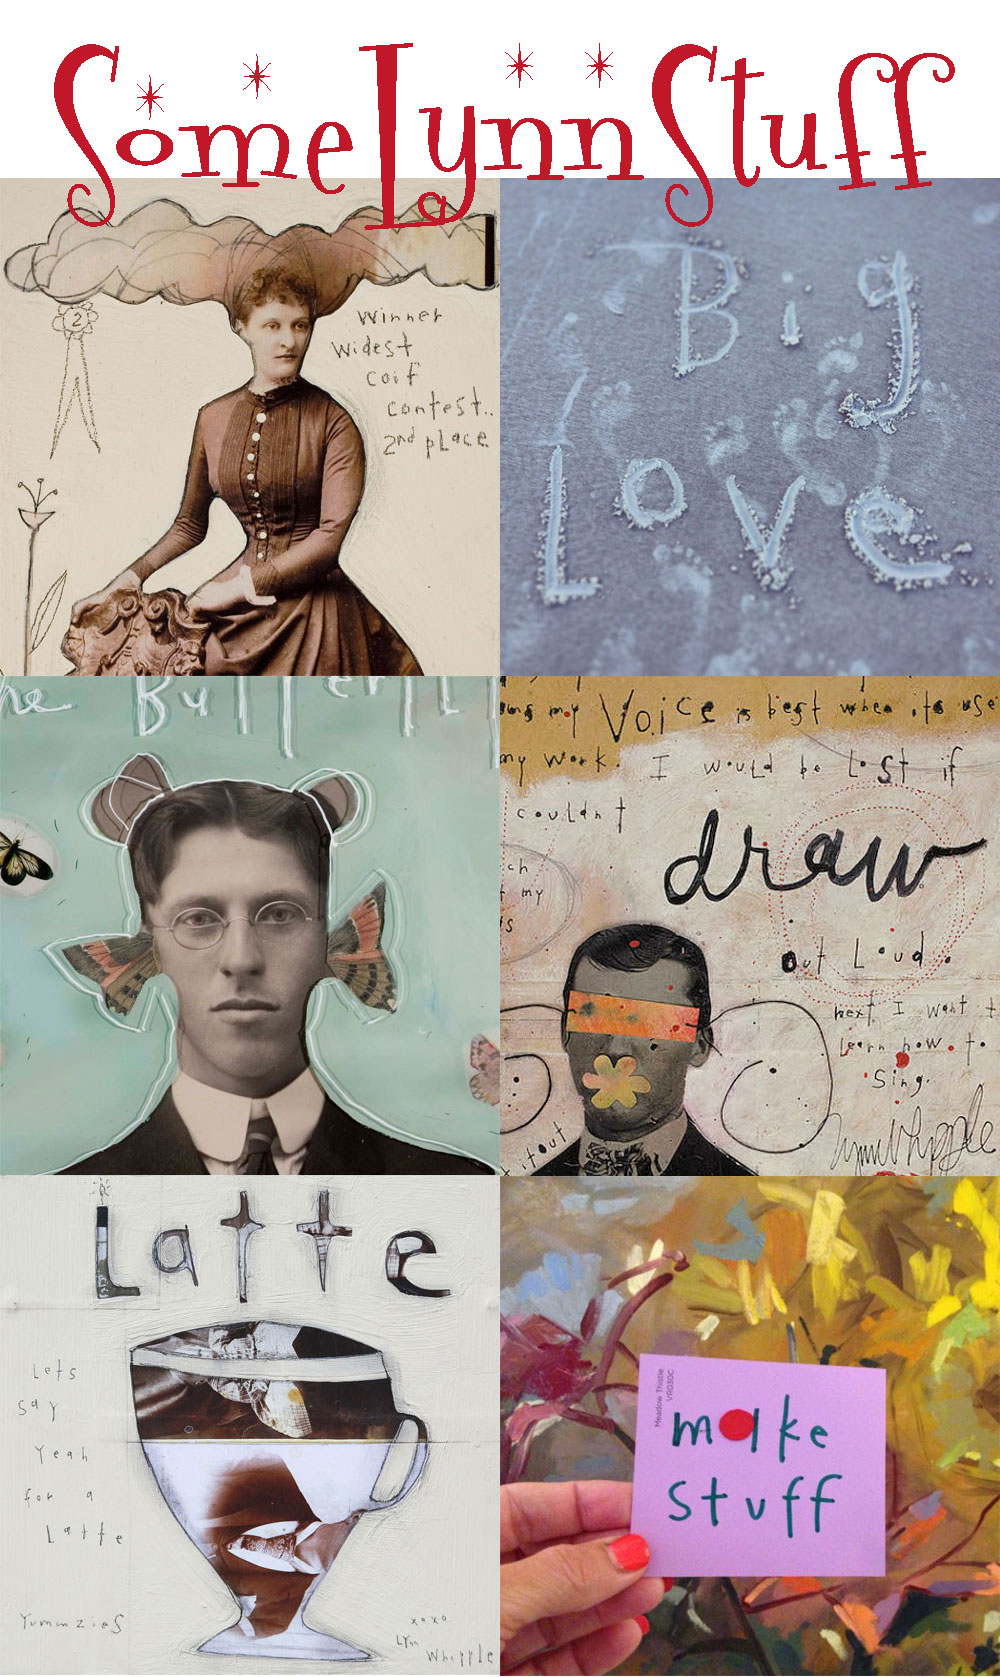
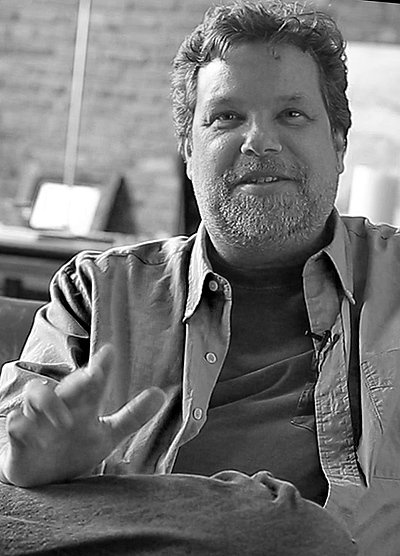
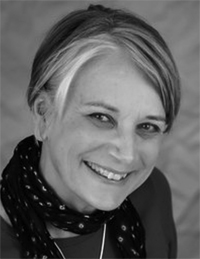
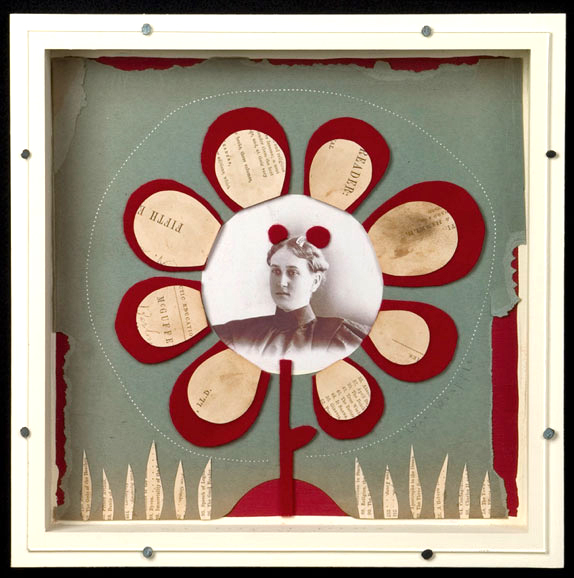
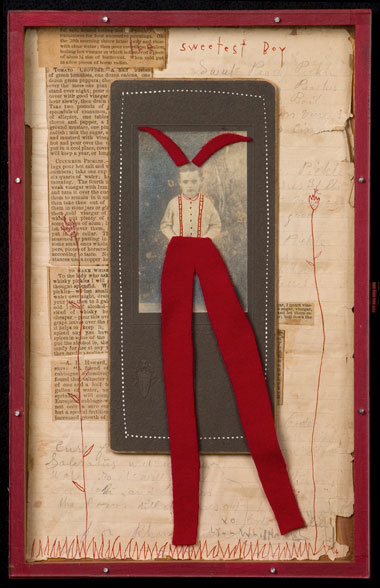
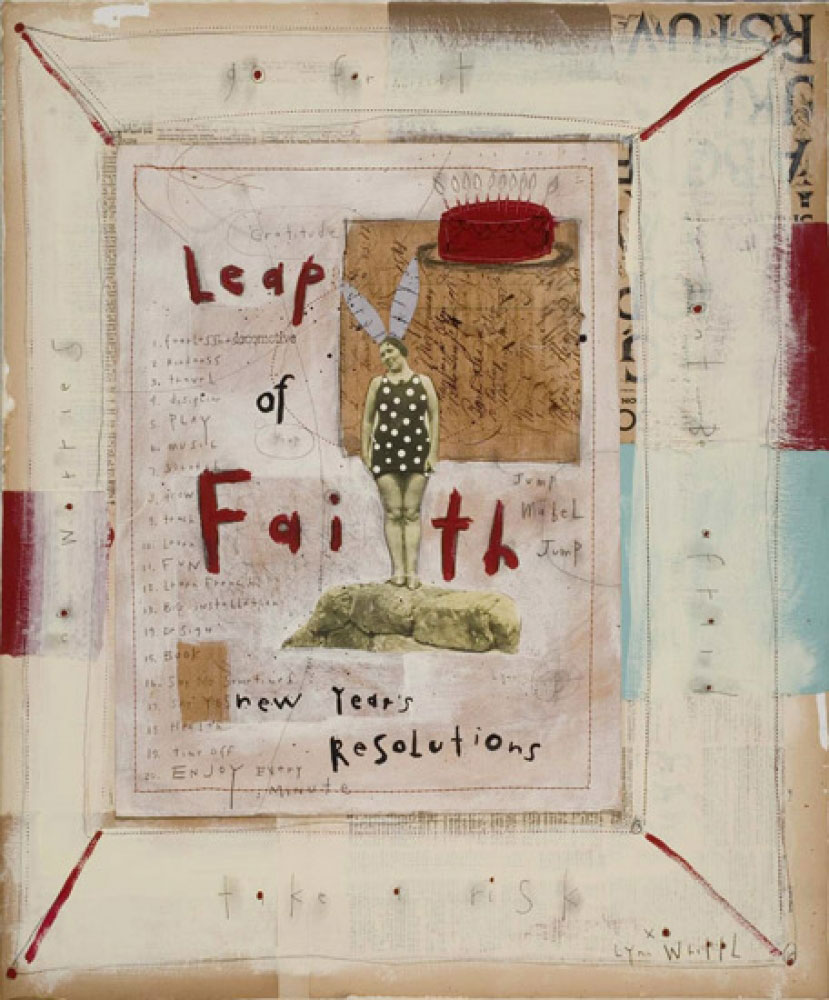
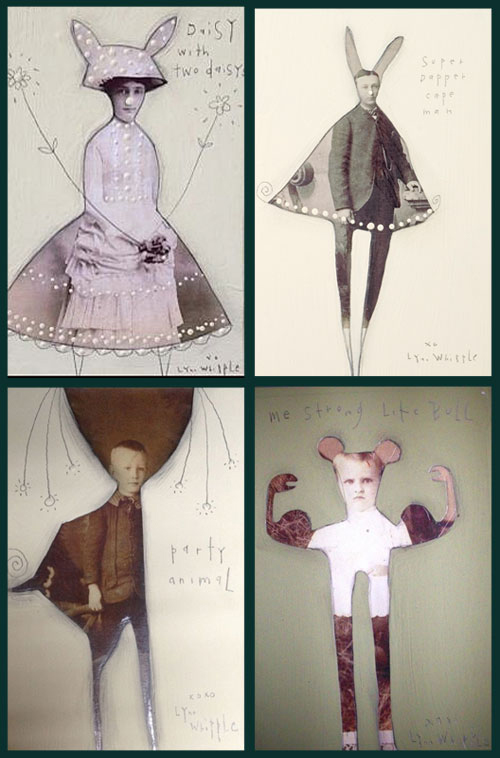
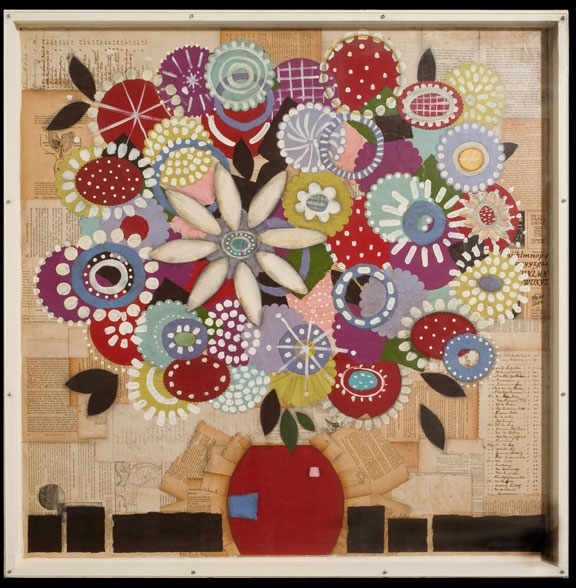
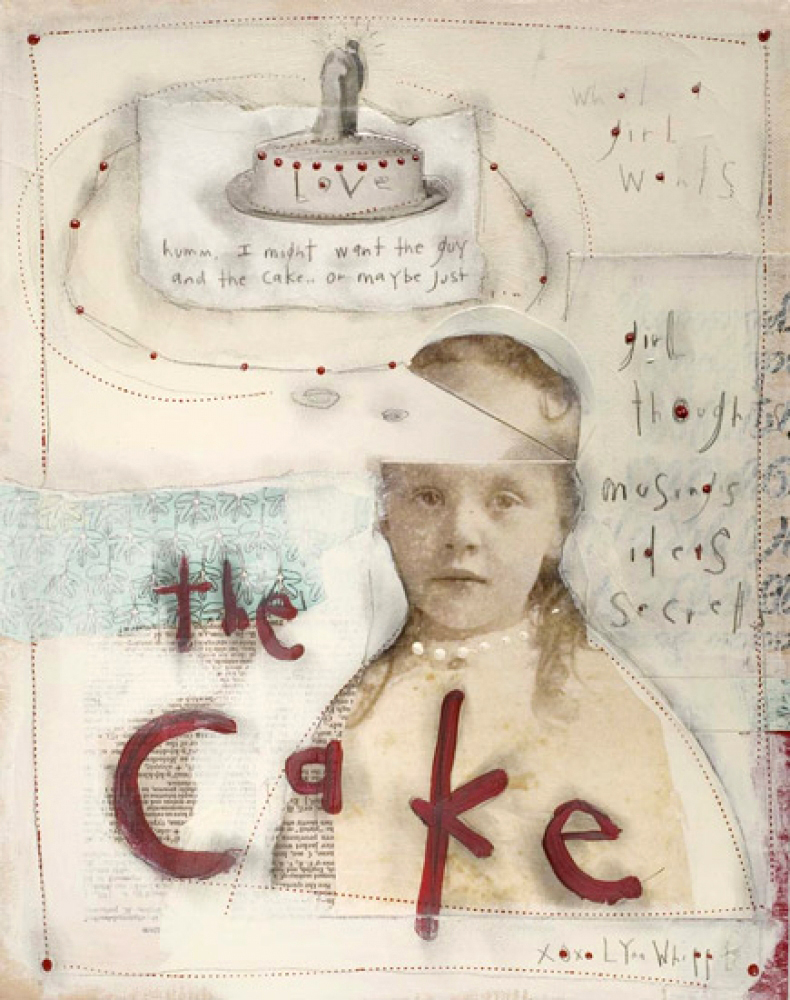
Lynn Whipple writes, “I am deeply grateful to live my life as an artist. Play and discovery are my dearest and most constant companions. There are a zillion tiny challenges in each art making experience, and so often I find, just as many small, sweet victories. Without a doubt, living creatively is the most enjoyable and satisfying game I know.”
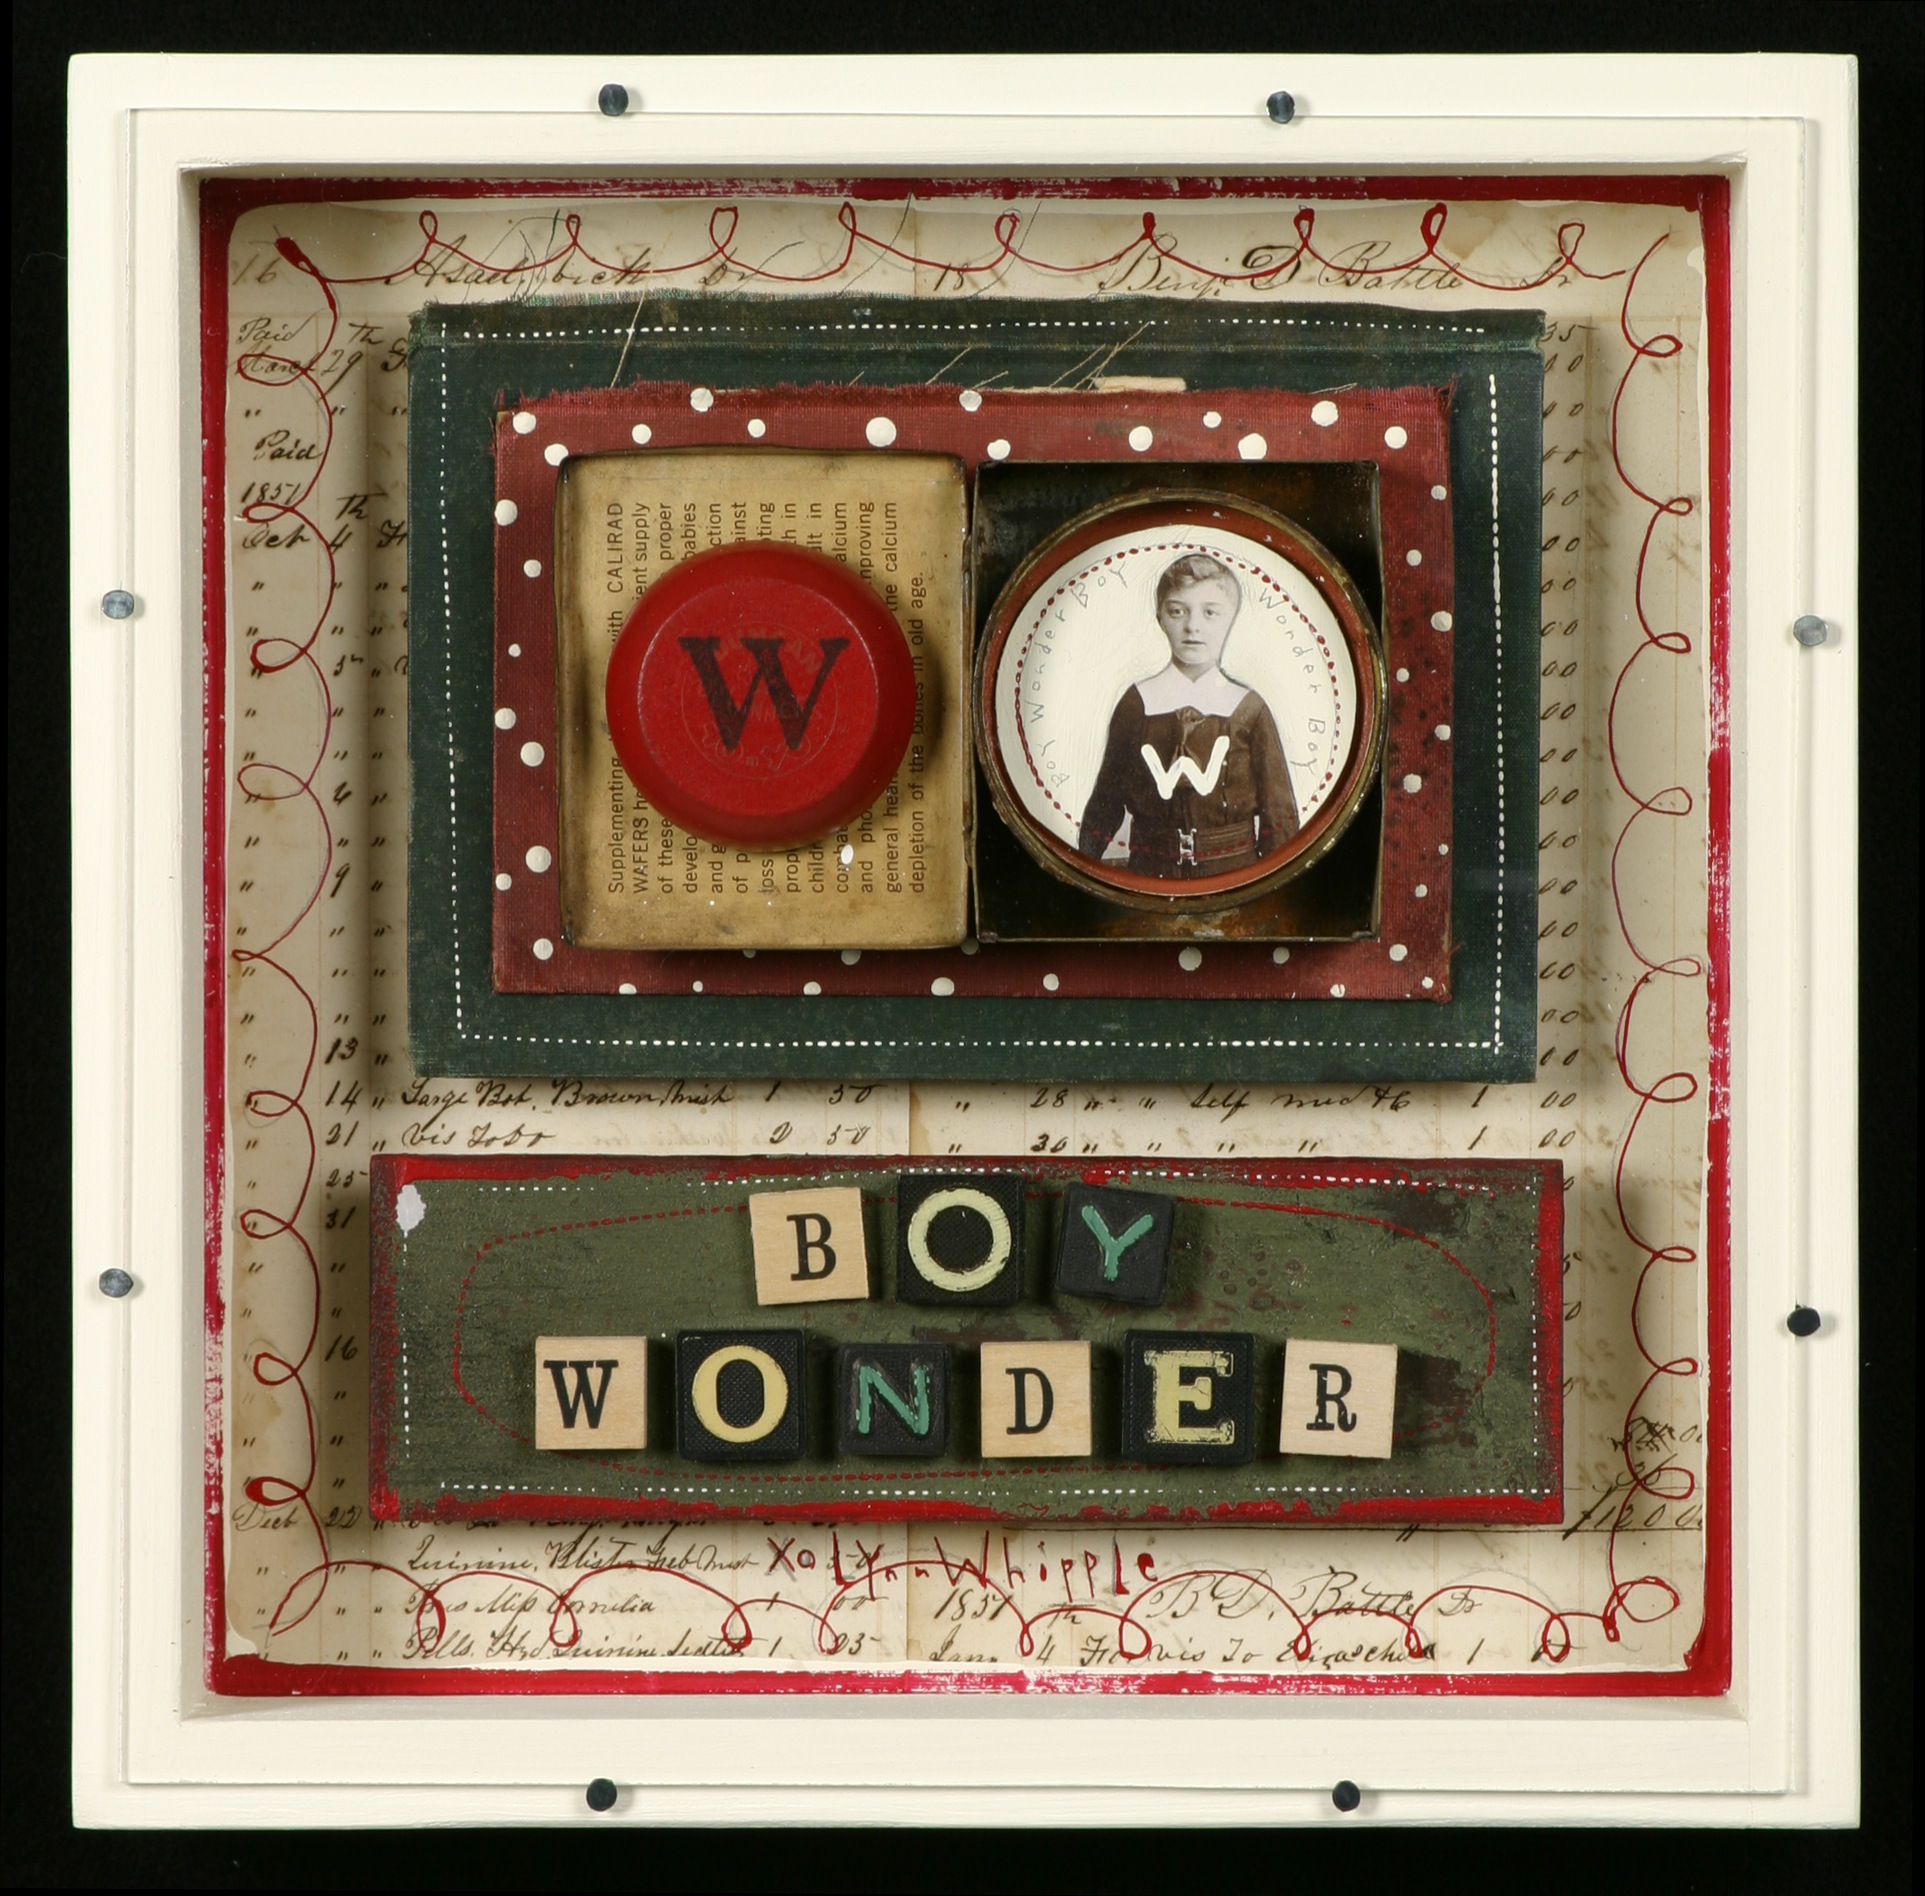
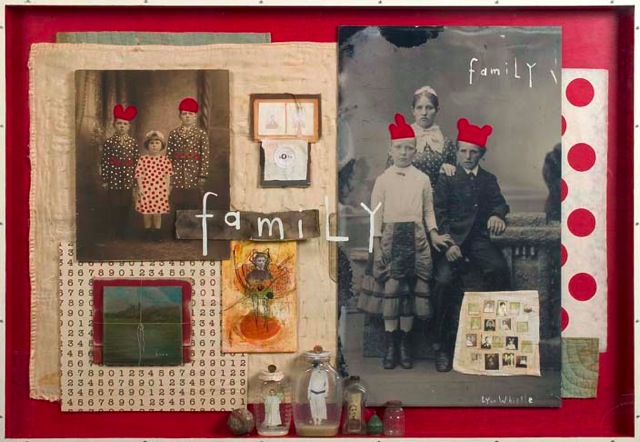
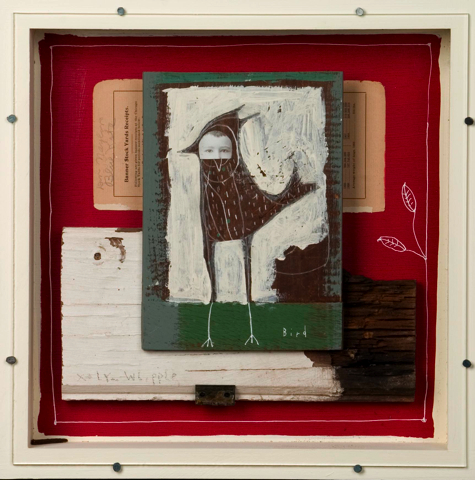
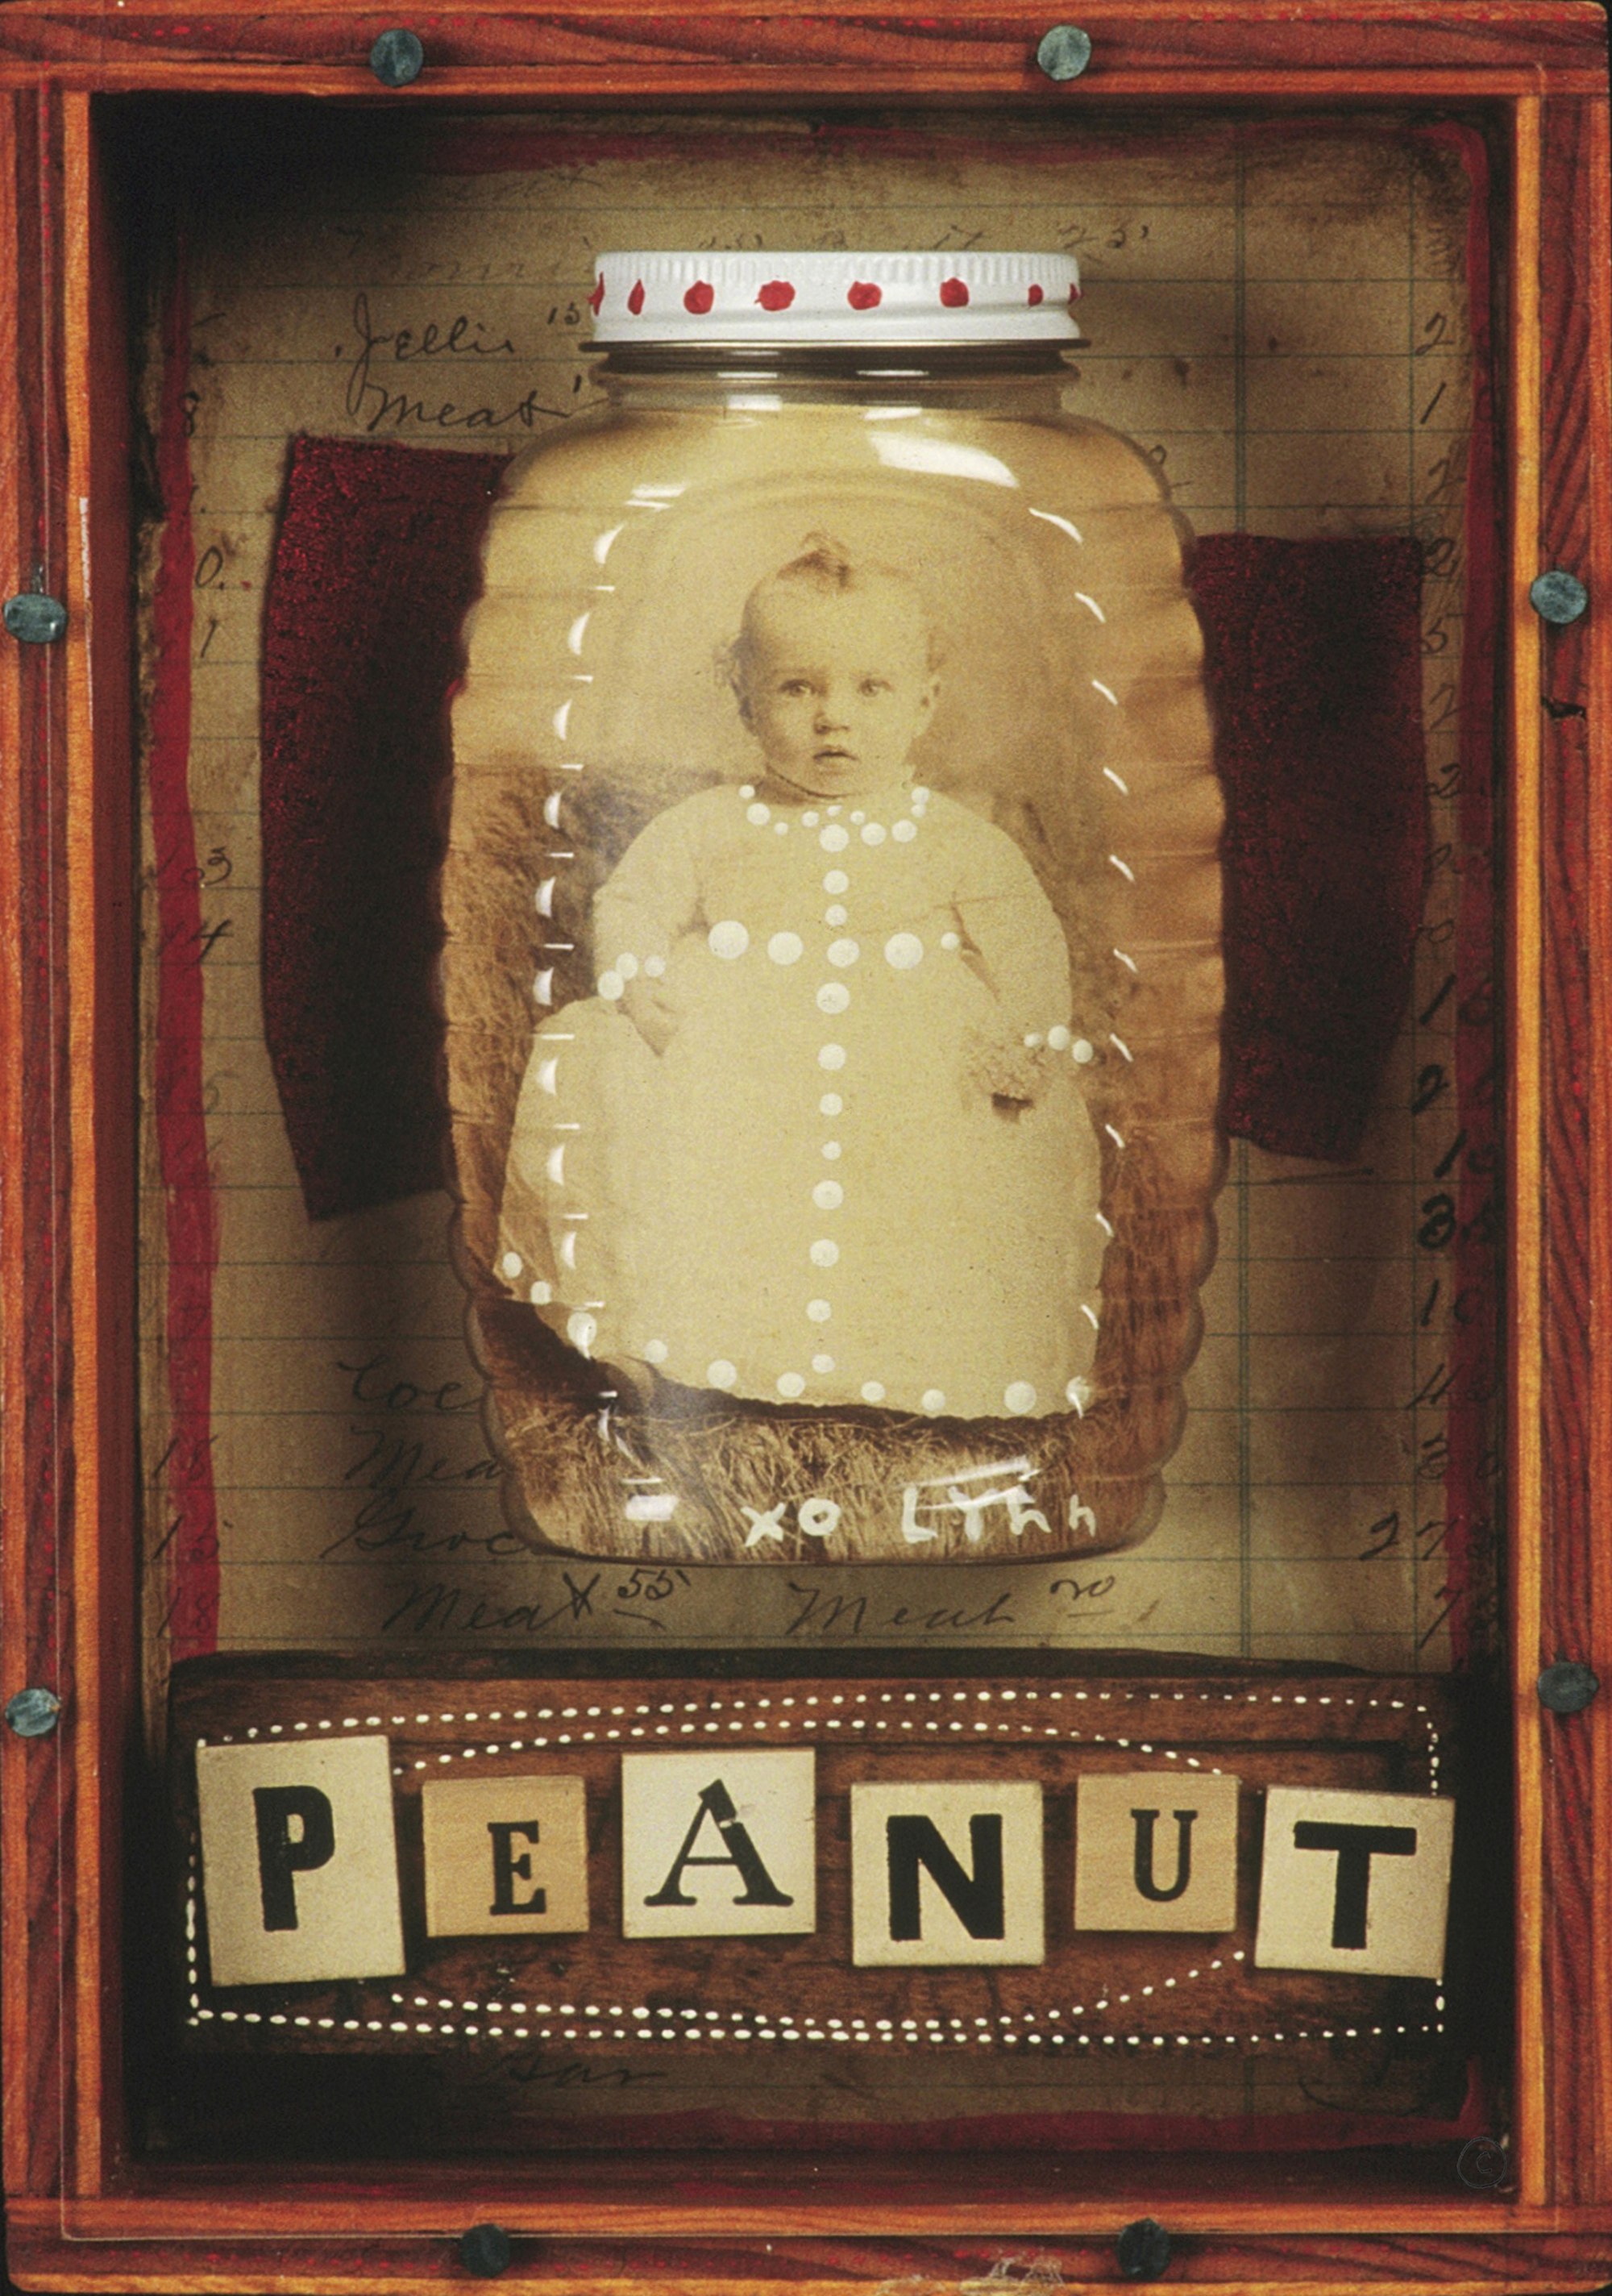
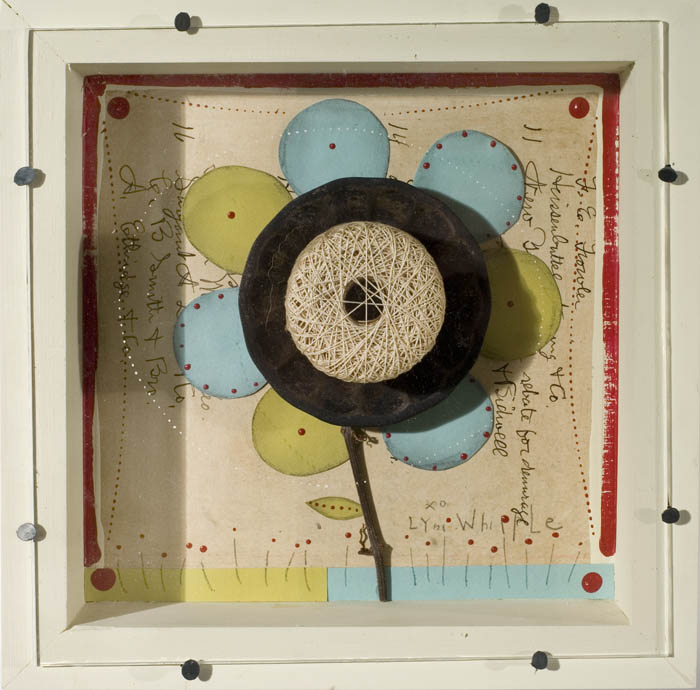
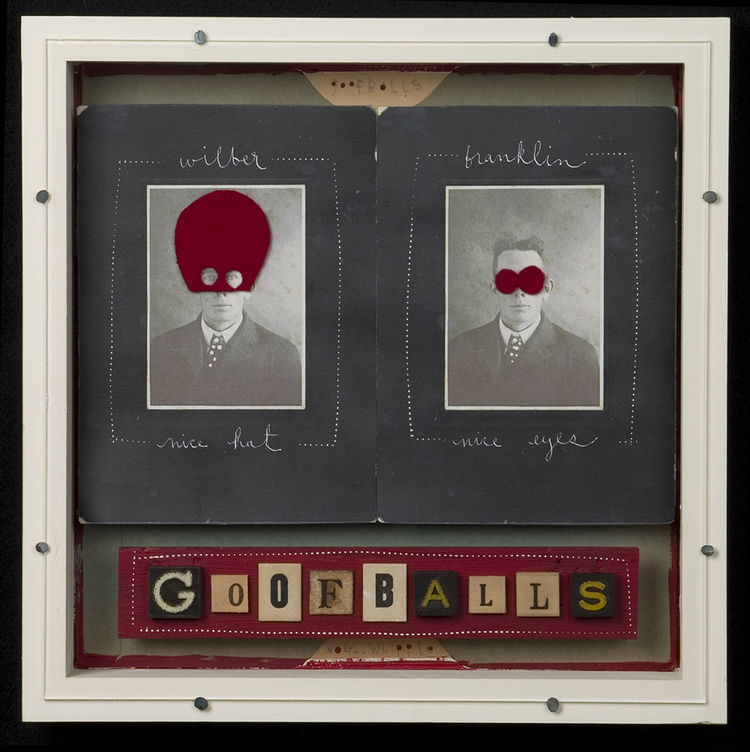
Lynn shares a warehouse studio with her husband, John Whipple, in Winter Park, Florida. Lynn’s work includes found-object mixed-media assemblages; found images altered with a combination of drawing, painting, sewing and more; and her well-known Ninny Boxes, collages combined with found objects, and assembled within a box format. Her unique pieces have a playful, quirky, and often absurd, charm.
Lynn explains: “I allow myself to play and let my pieces reveal themselves to me…I have been fascinated by old books, history, and odd bits of memorabilia. I find the things that interest me the most are slightly absurd…My hope is to create something real and somehow poetic but not commonplace. My goal is to keep communicating in my language.”
Lynn’s work has been exhibited extensively throughout the United States. Visit Lynn’s website at www.lynnwhipple.com.
– – – – – – – – – – – – – – – – – – – – – – – – – – – – – – – – – – –
NUTS & BOLTS
Here’s how this online class works:
• During the five weeks of class, you will receive an email each Tu-Th from Lynn with a reminder to visit the class blog for that day’s lesson.
• A password-protected blog dedicated to each class will serve as our clubhouse and where you will find all the class materials as they are uploaded.
• A facebook group will be created for you to (optionally) share your paintings, and enjoy and learn from the artwork of others. (However, if you are shy about posting your art, Lynn is always available to look at your work via email.)
• The class materials will be up and available for download indefinitely, if for some reason you need to miss a day (or a couple of weeks).

• Upon registration, you will receive an email within 48 hours confirming your sign-up. On the Friday before your session begins, you will receive your class codes and a “test” video to make sure you can receive/view everything (if you can view the above video, you should be able to view the class videos).
• Class fee is good for participants living in a single household.
QUESTIONS?
[email protected]
FAQs – If you’ve never taken an online class before and would like to know more about our online classes, click
HERE.
___________________


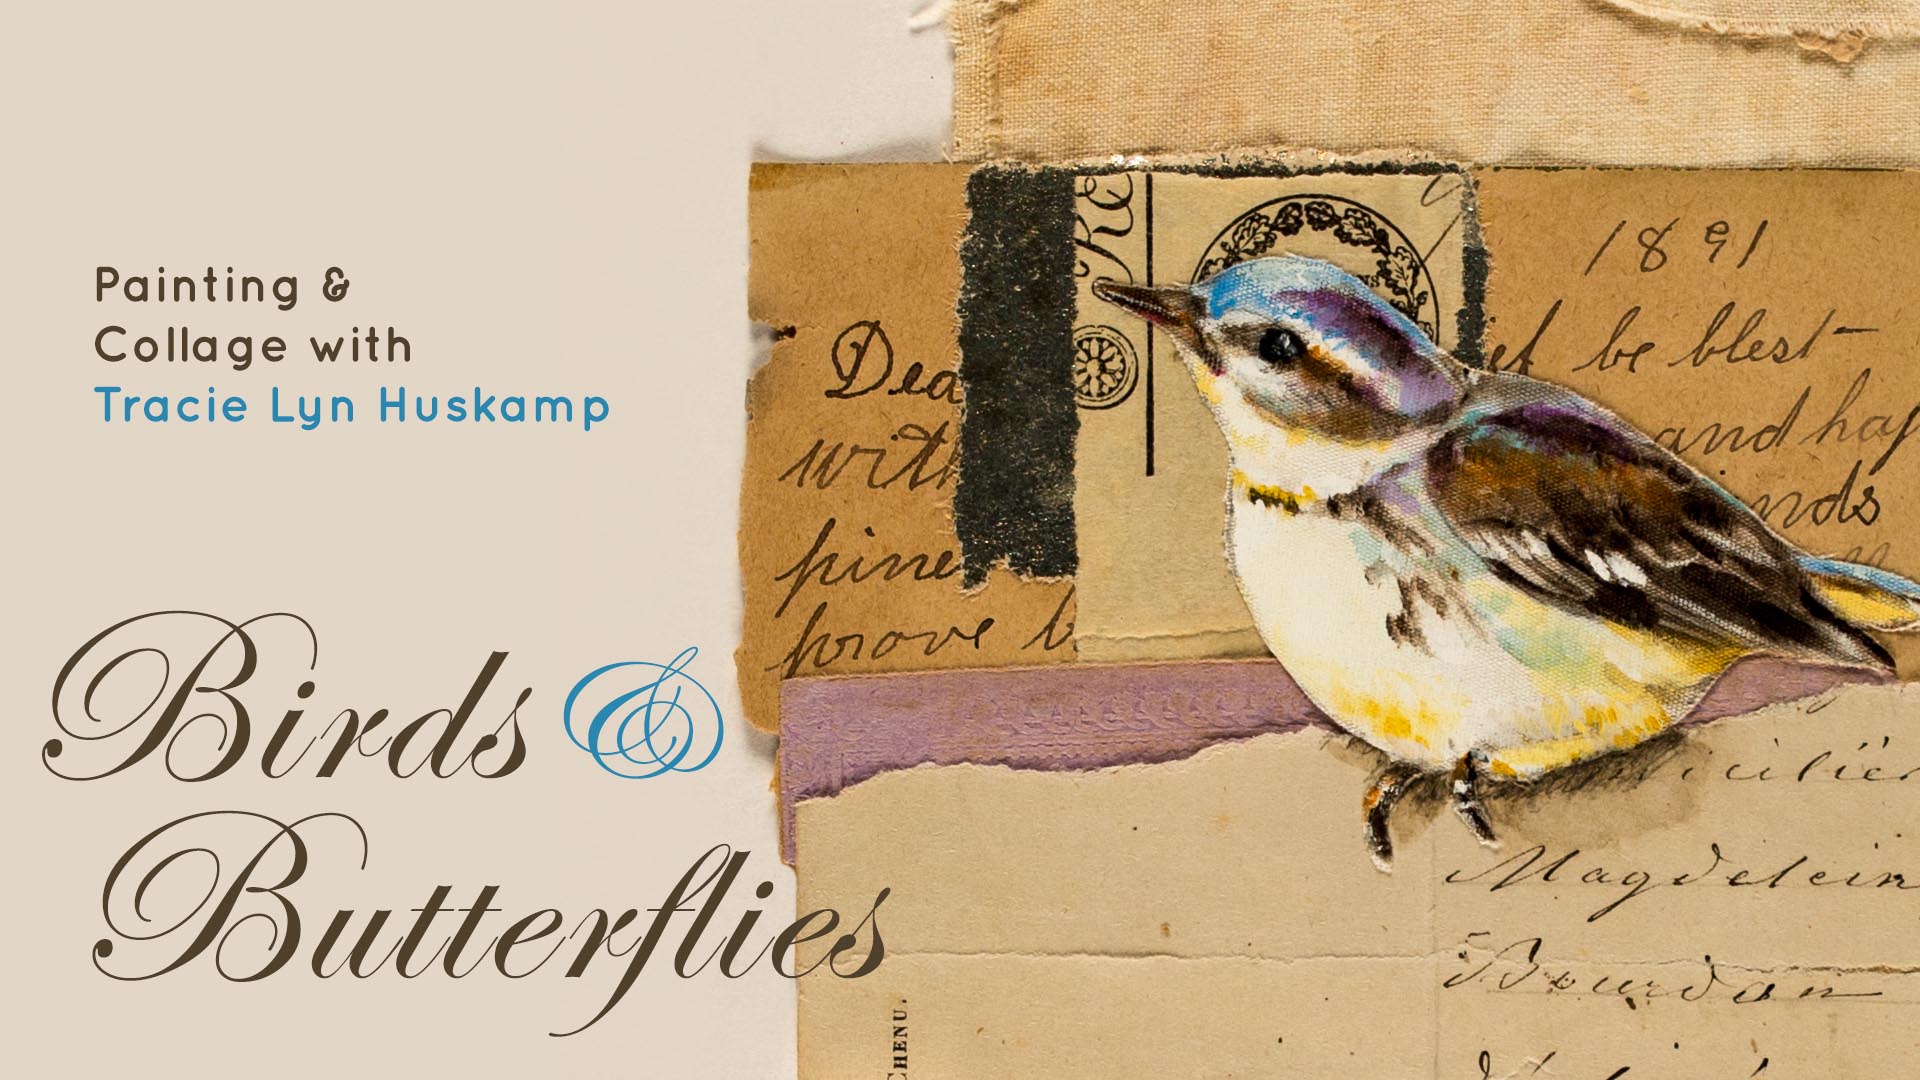
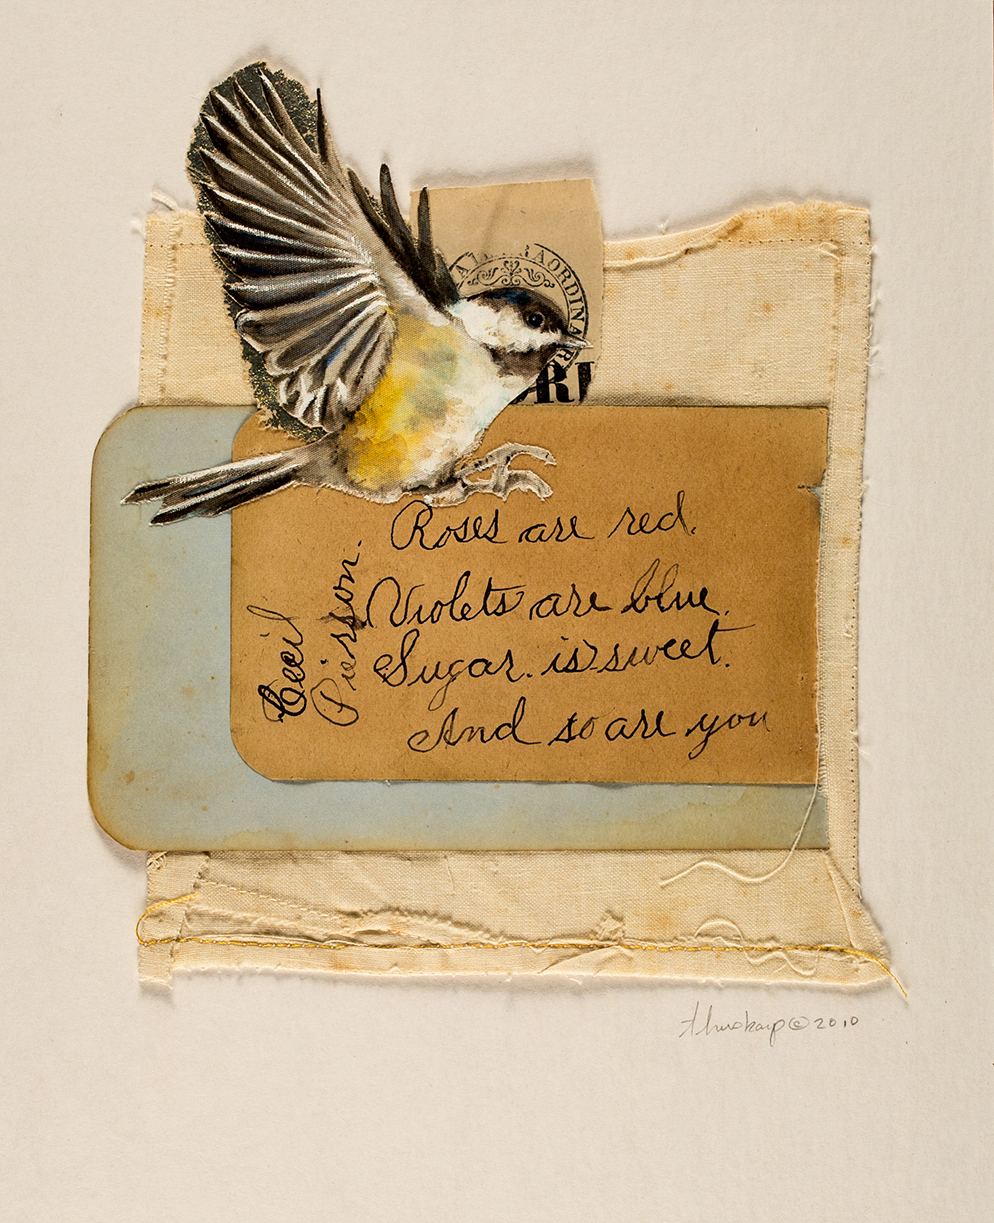
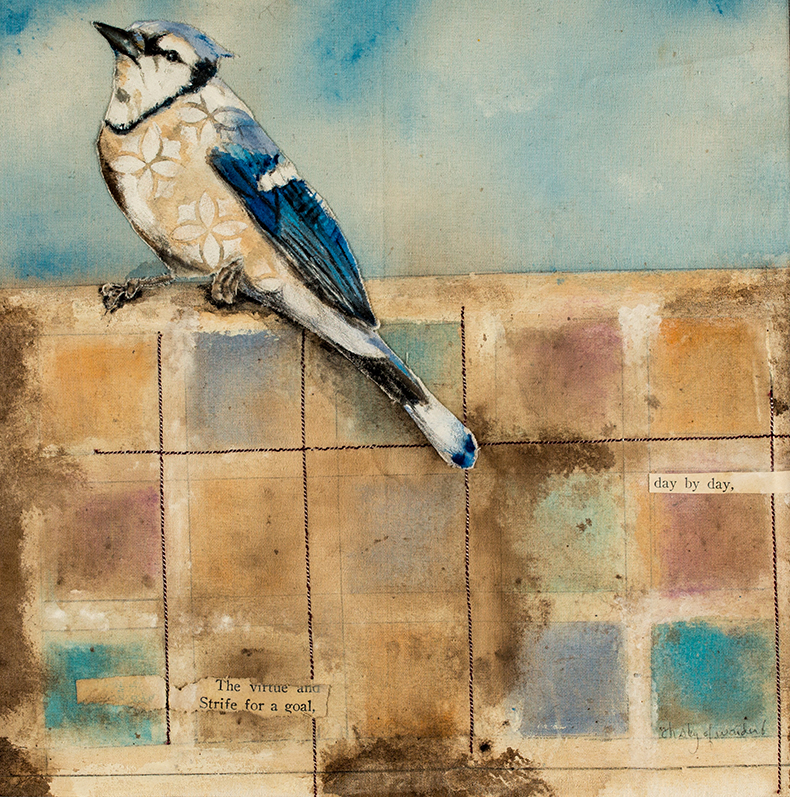
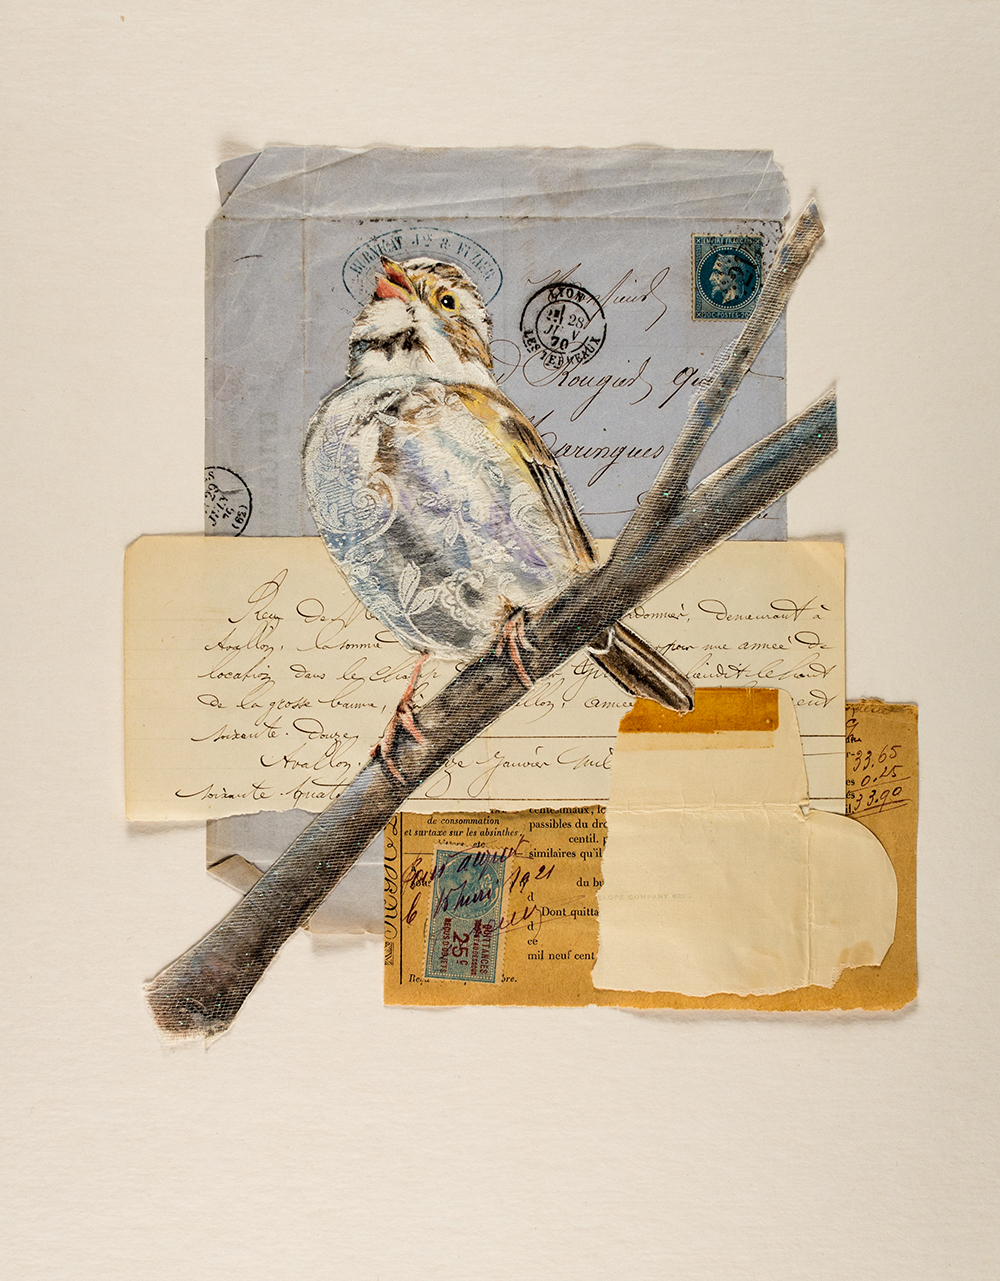
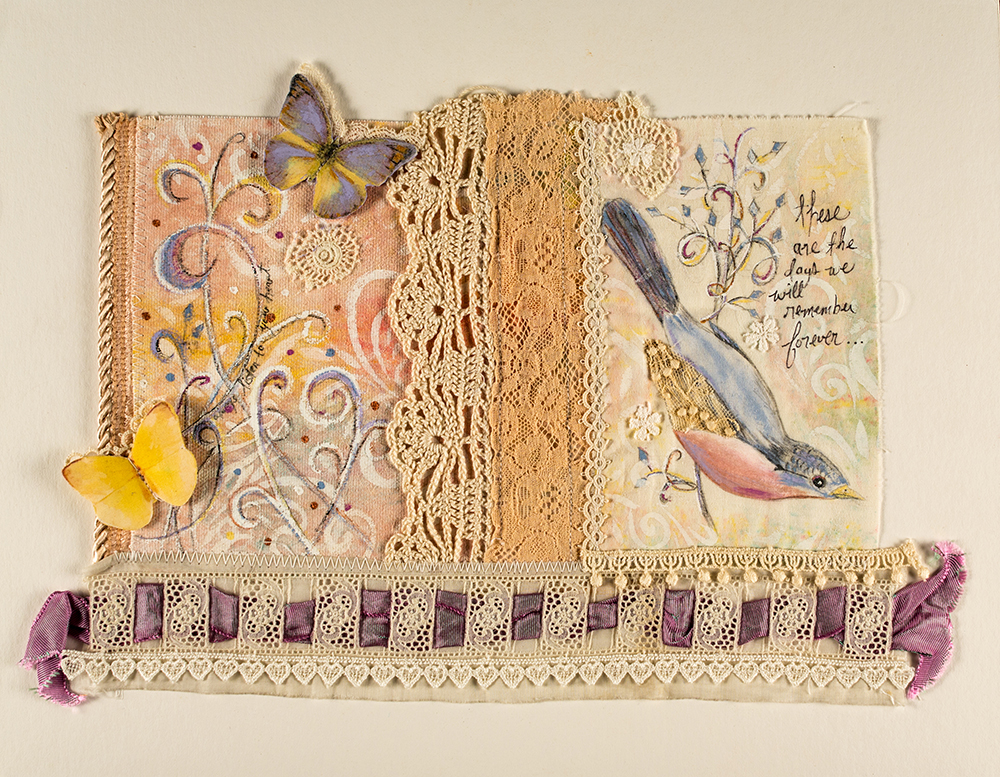
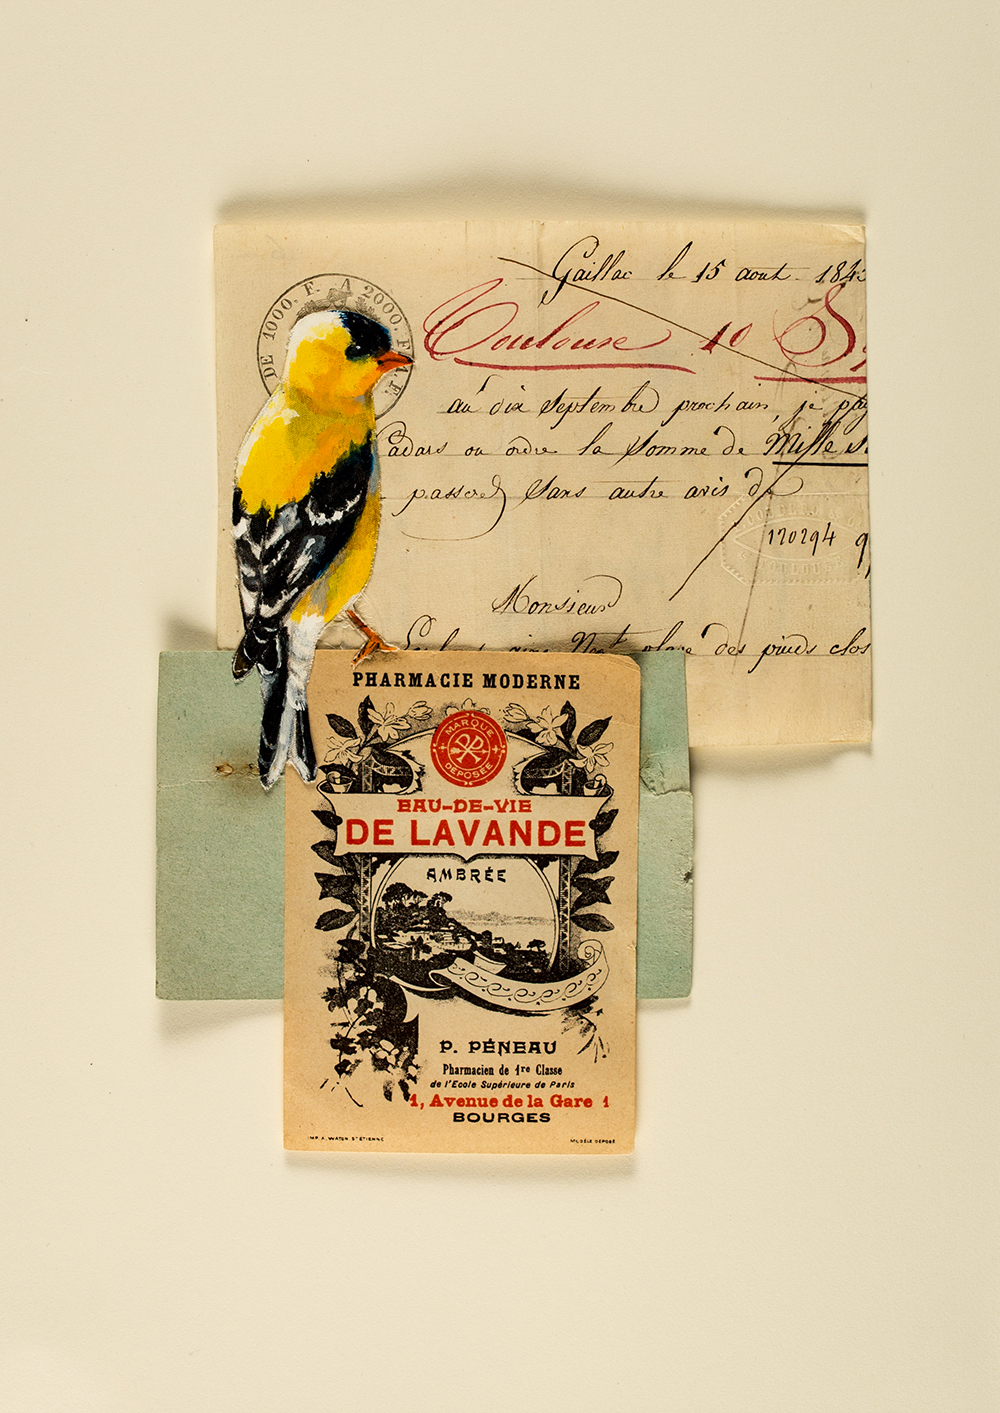
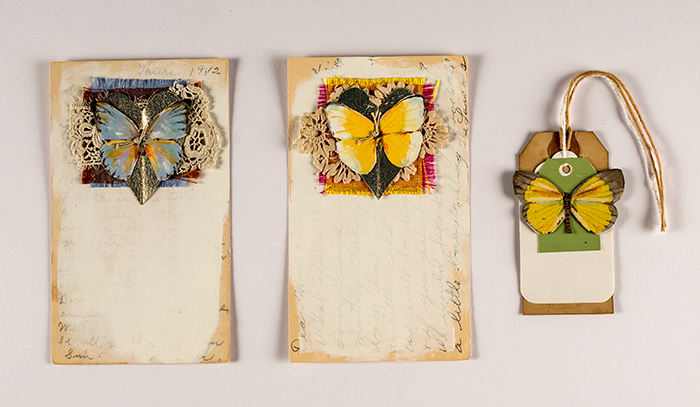
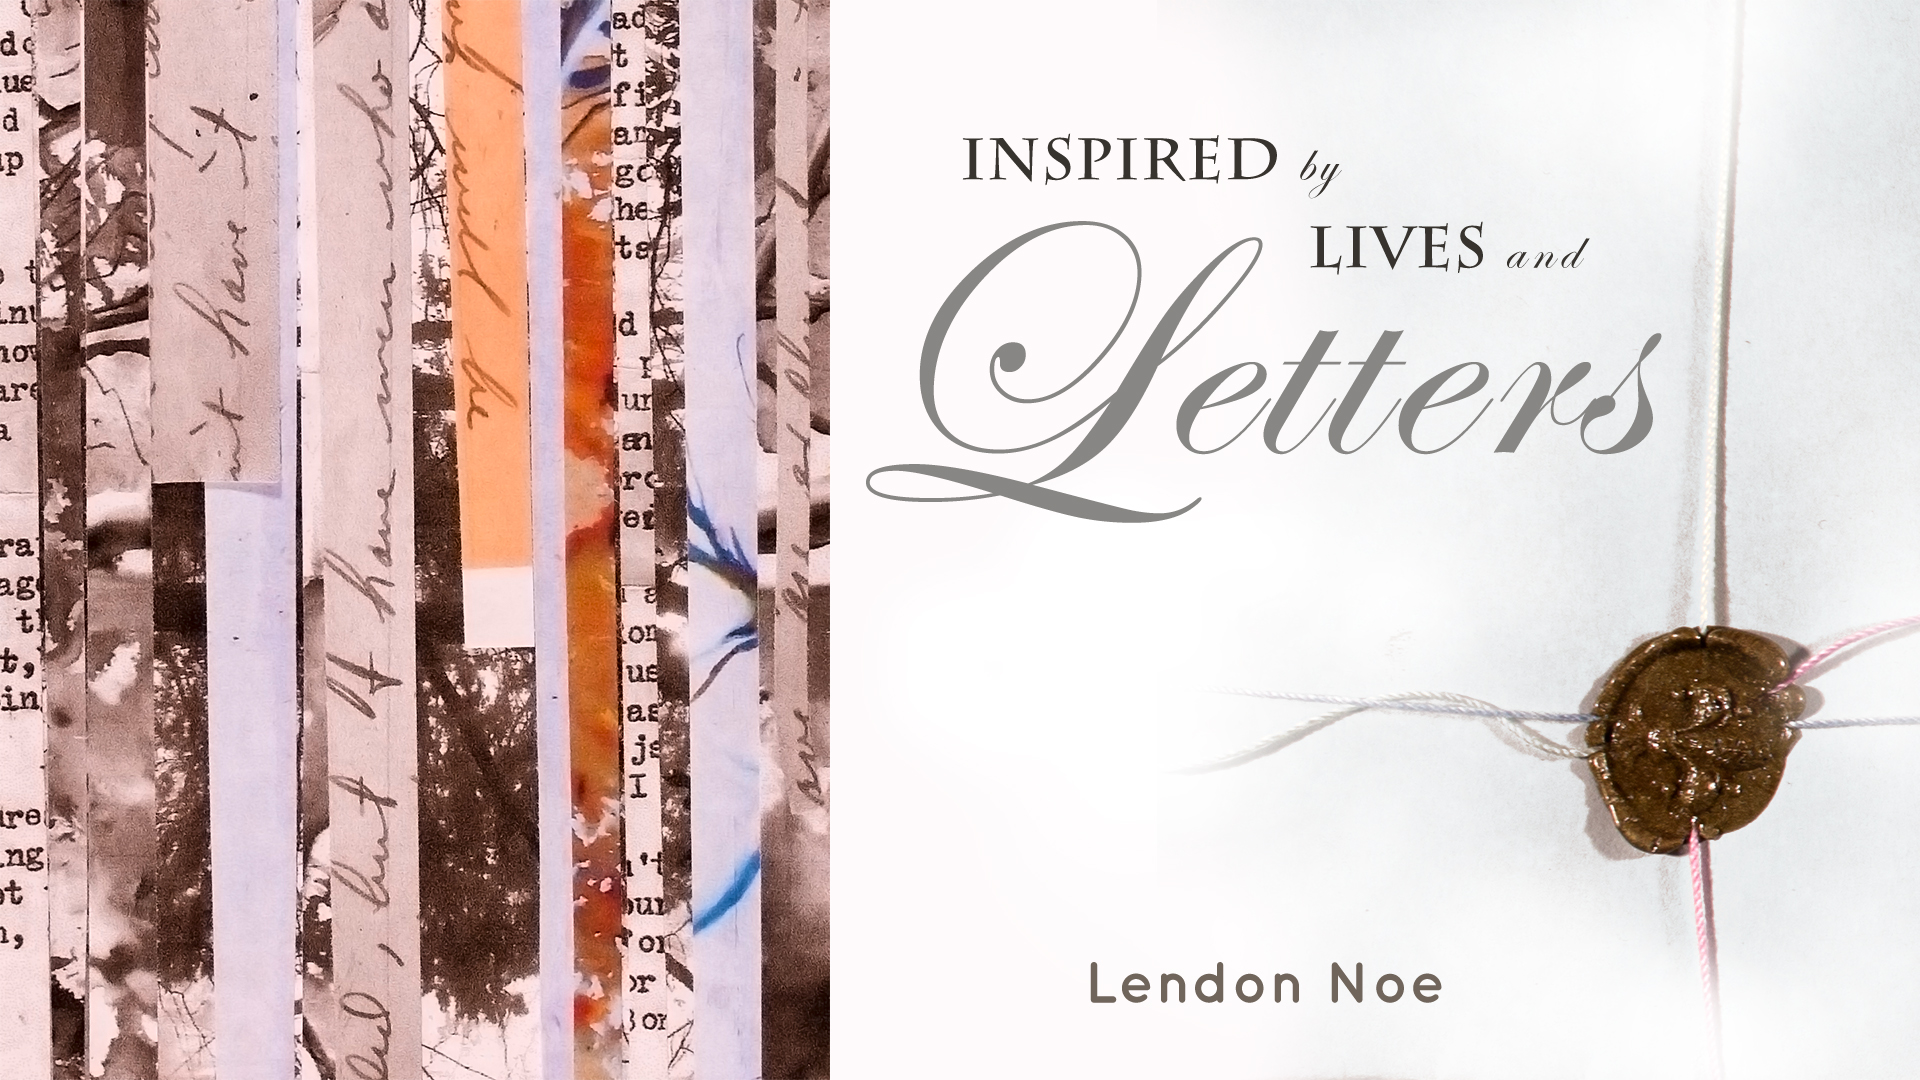
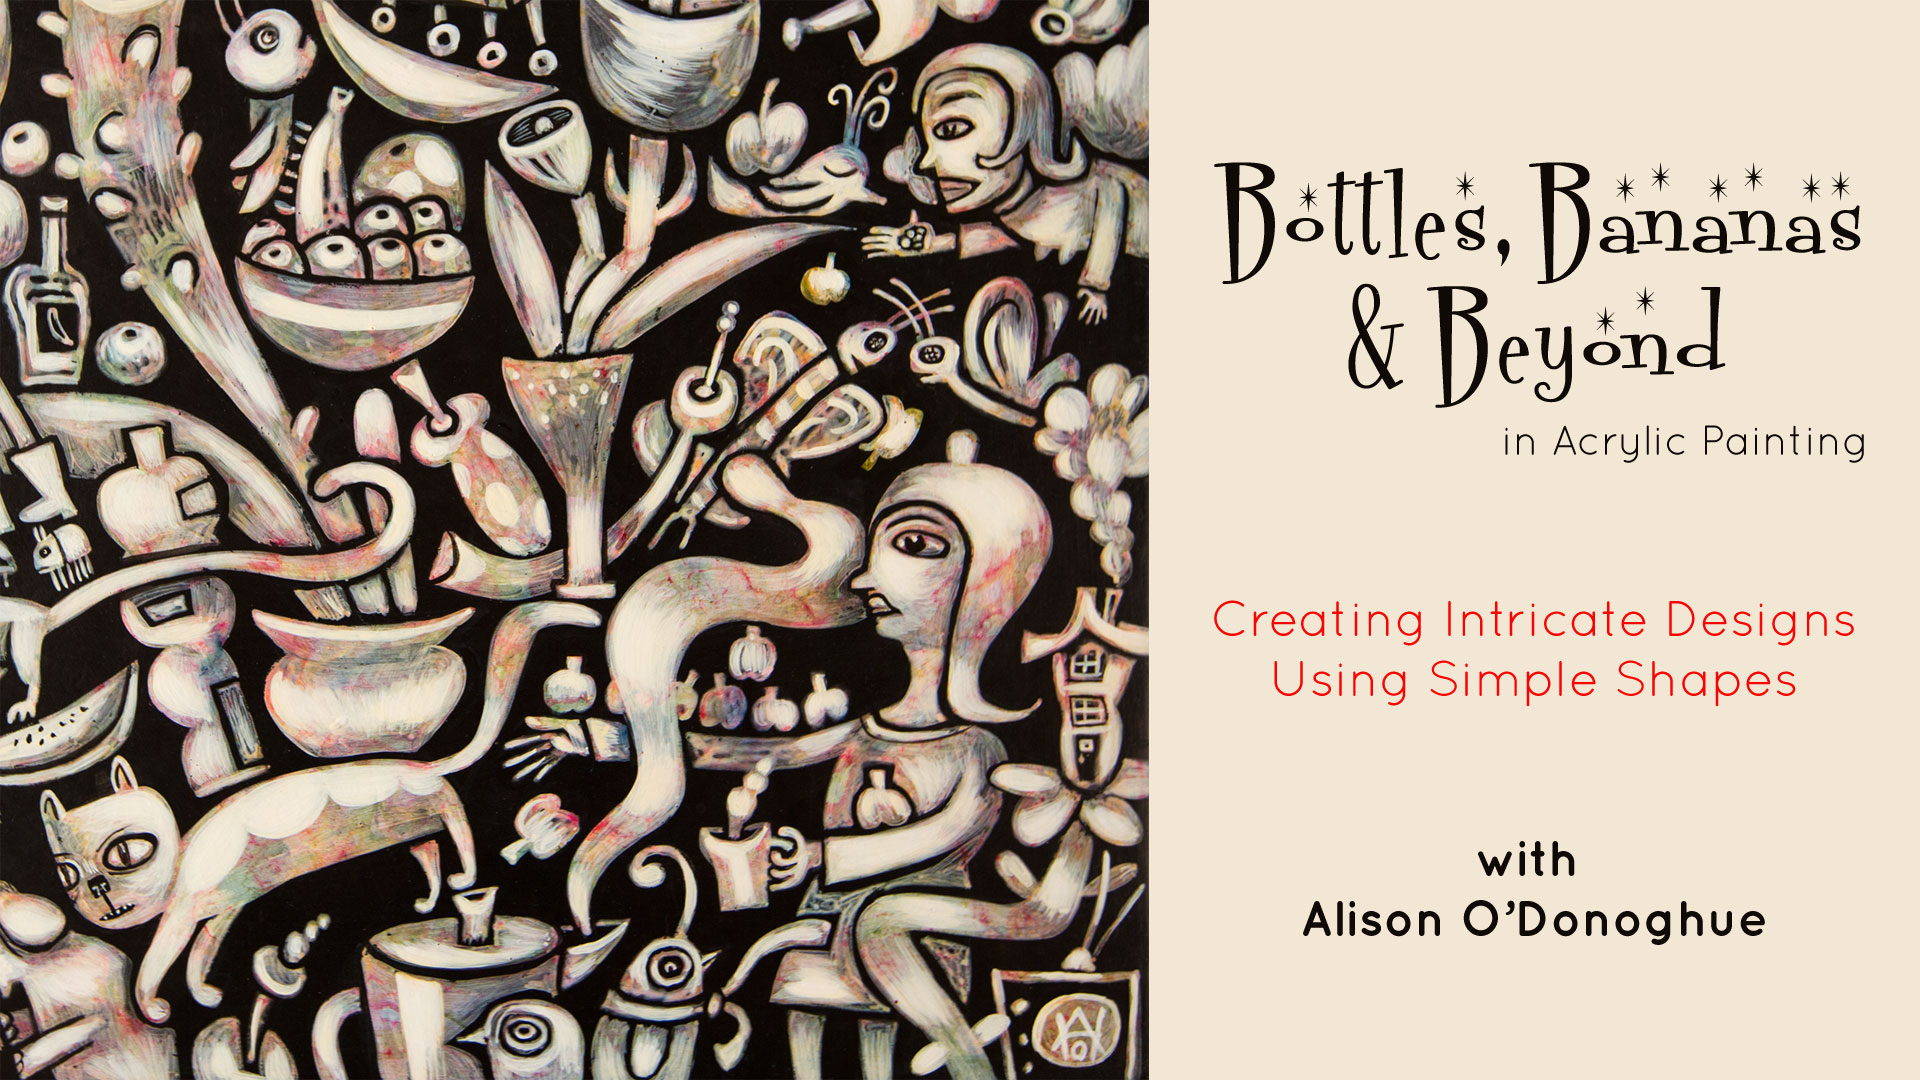
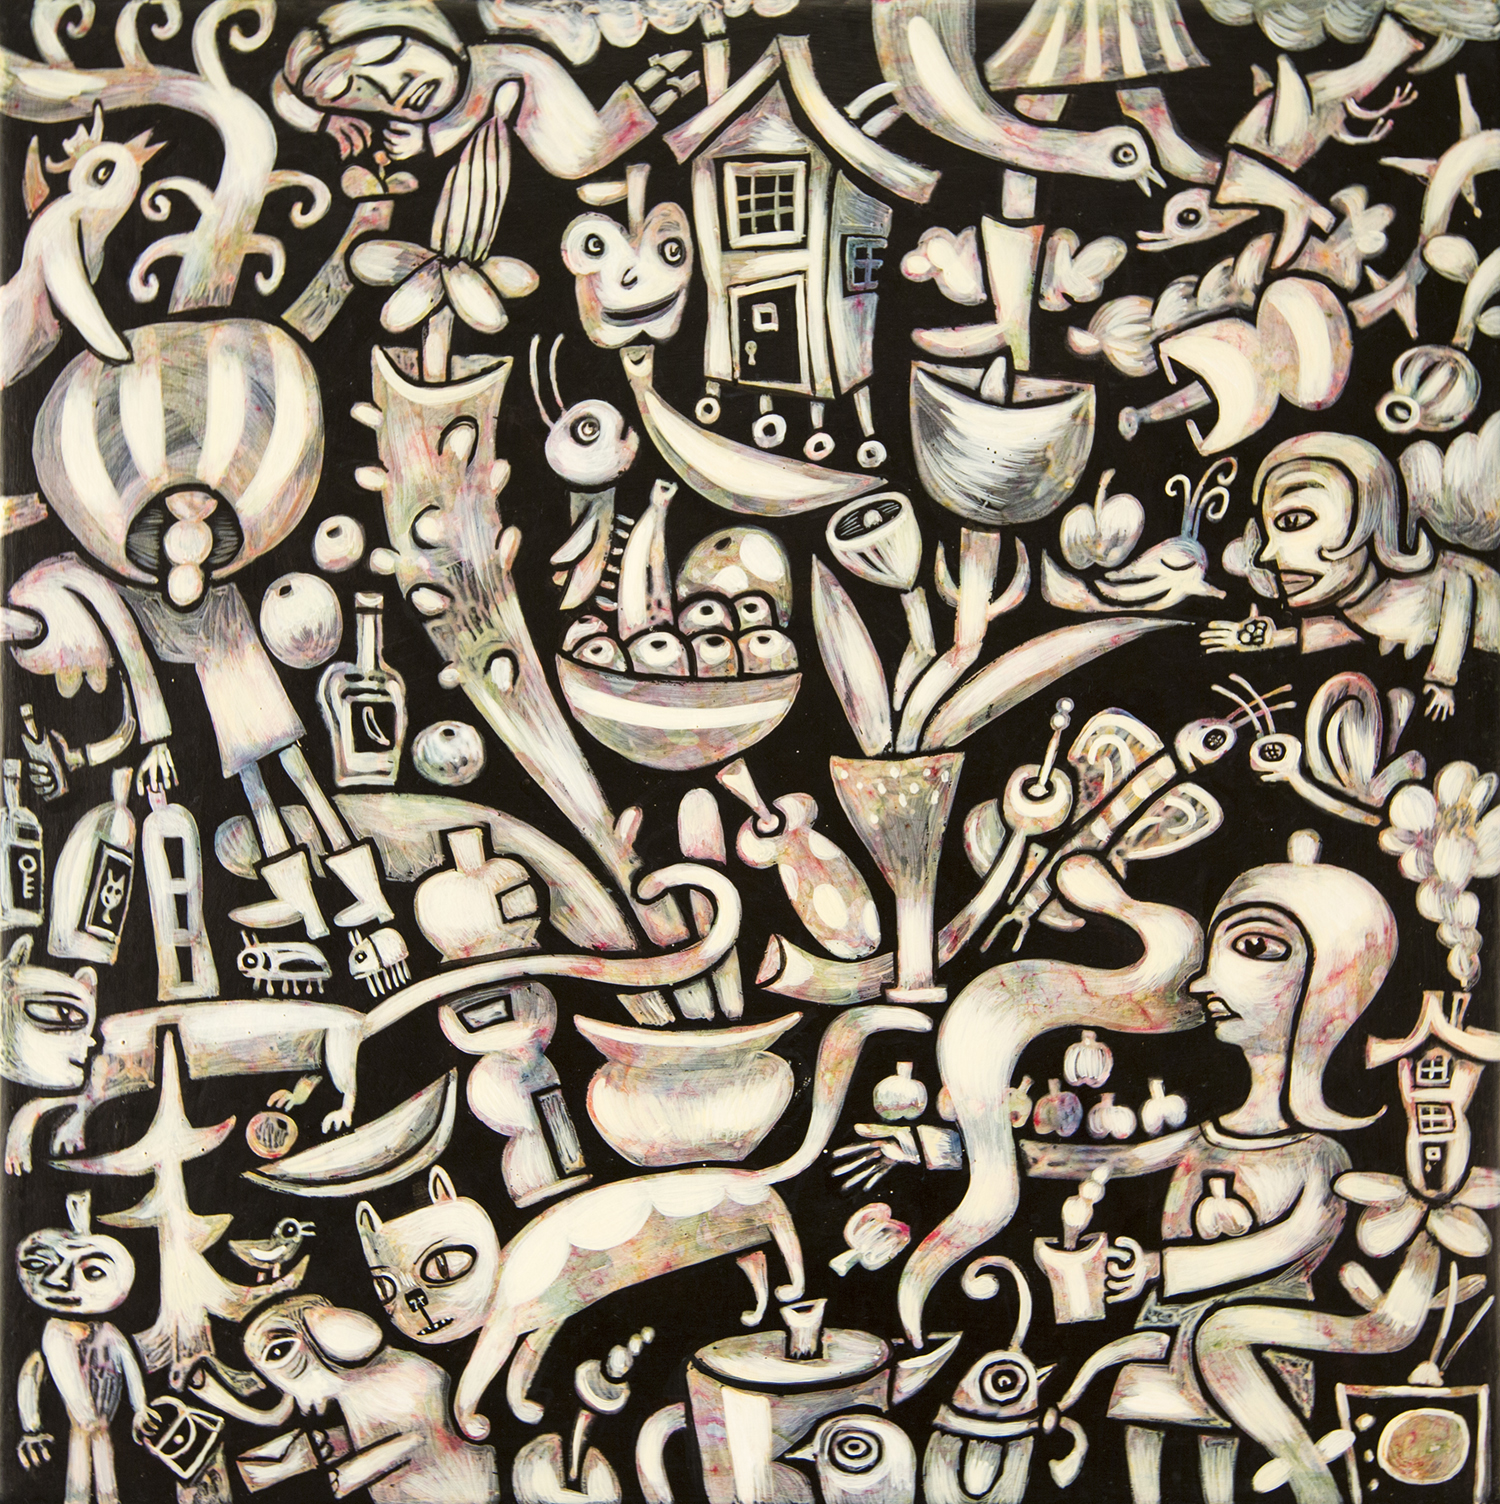
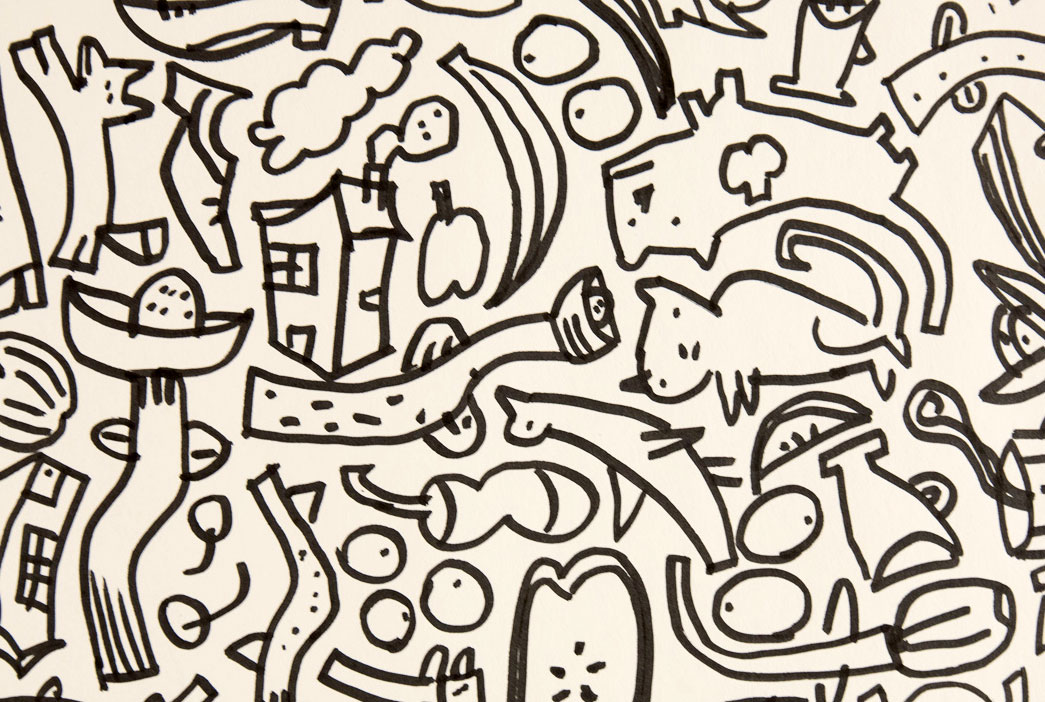
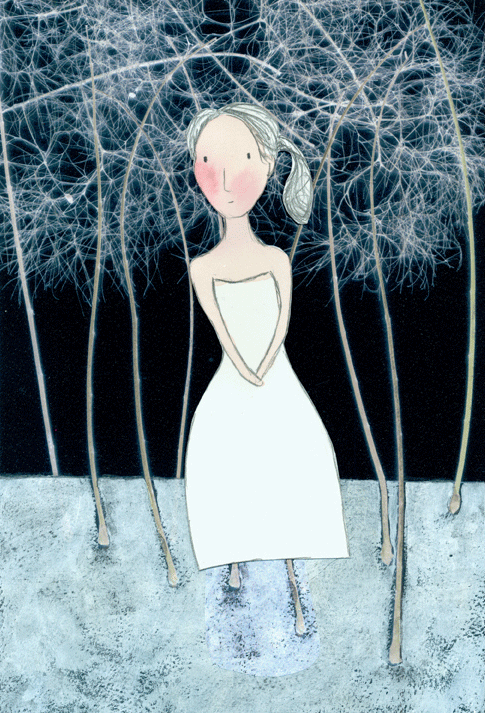
 Tracie Lyn Huskamp


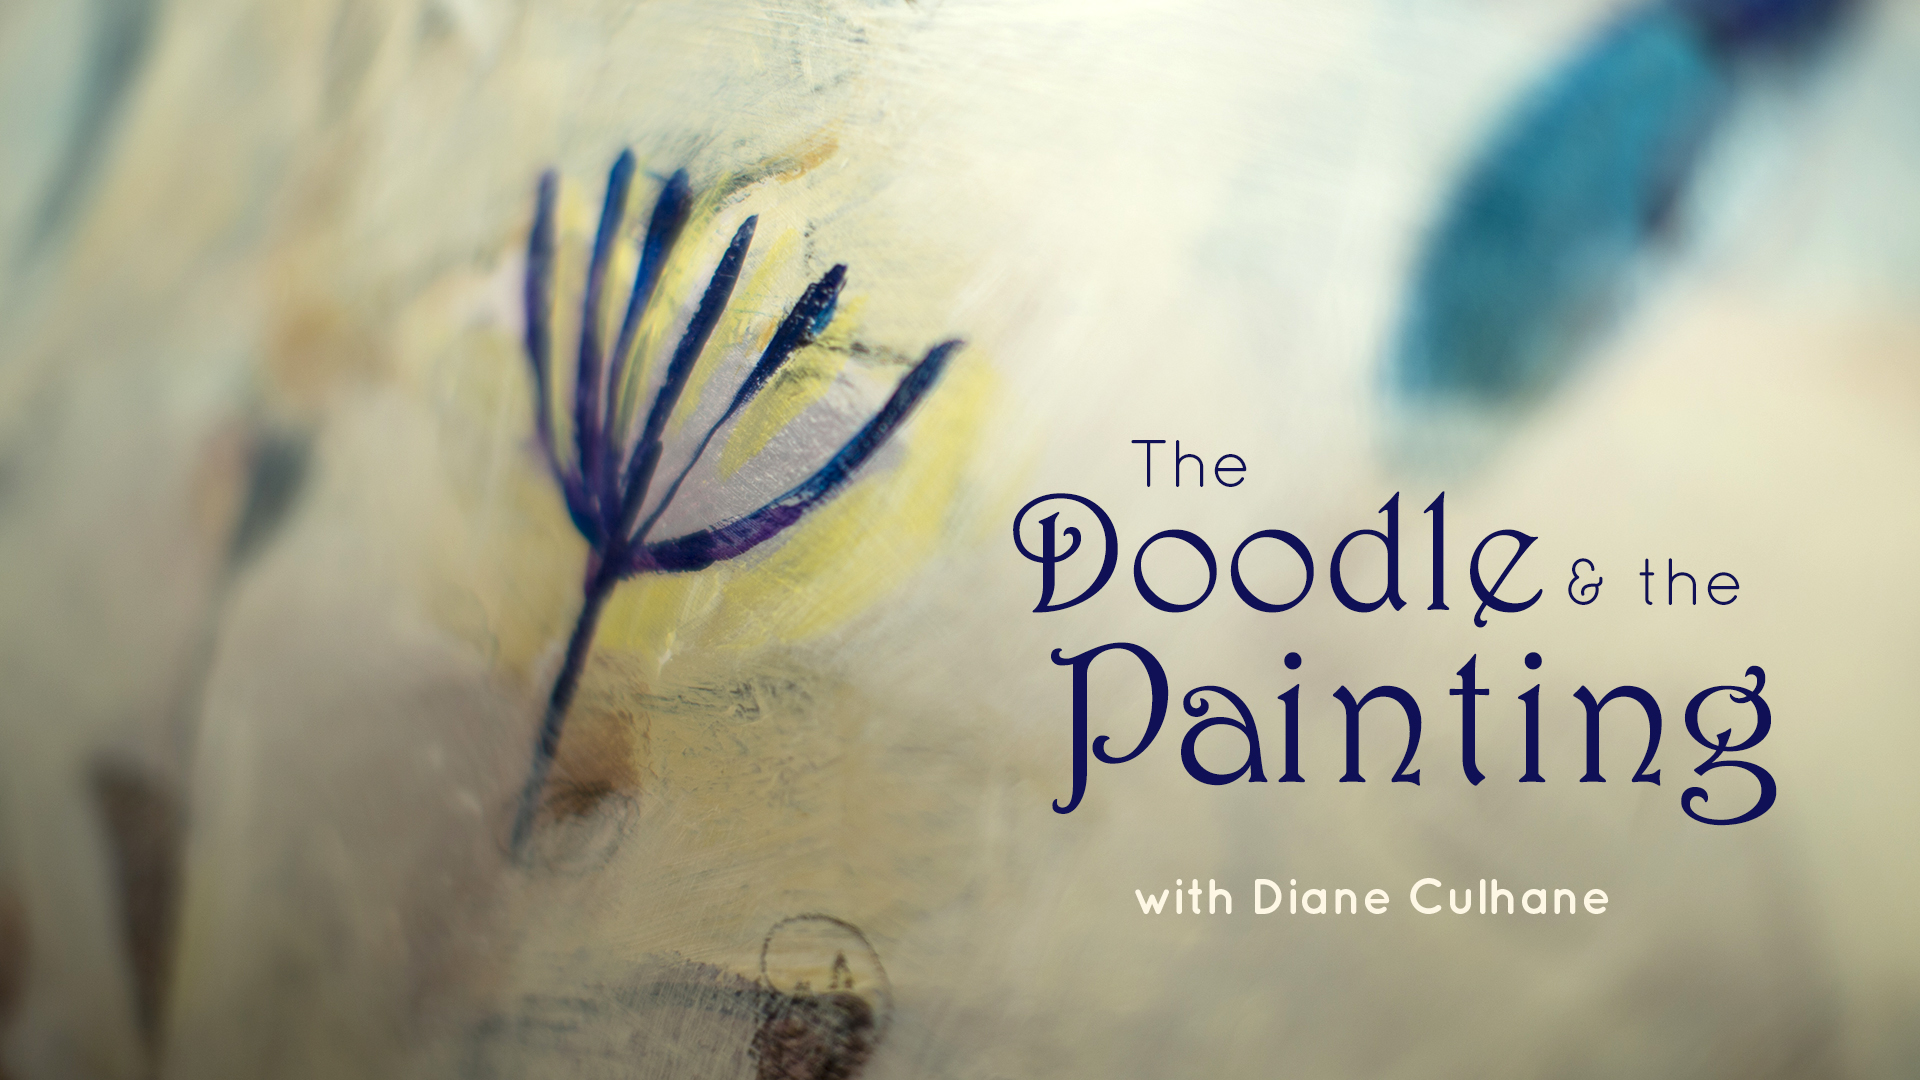
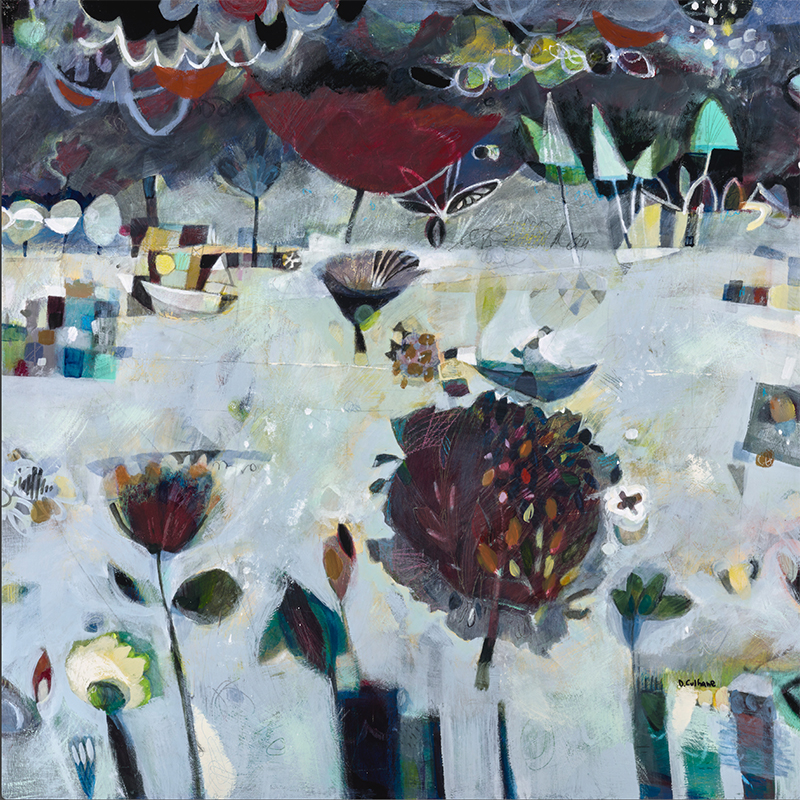
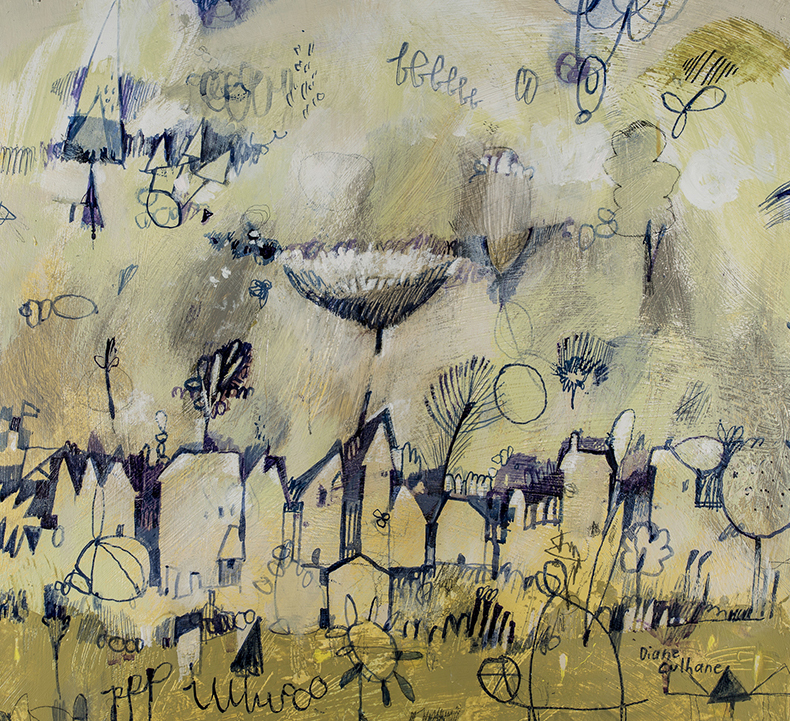
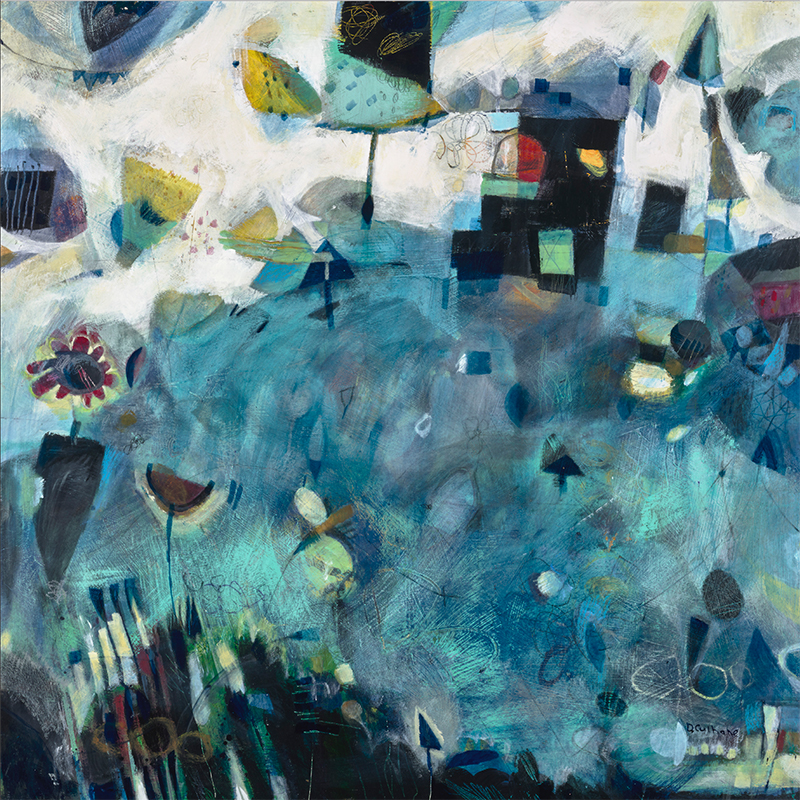
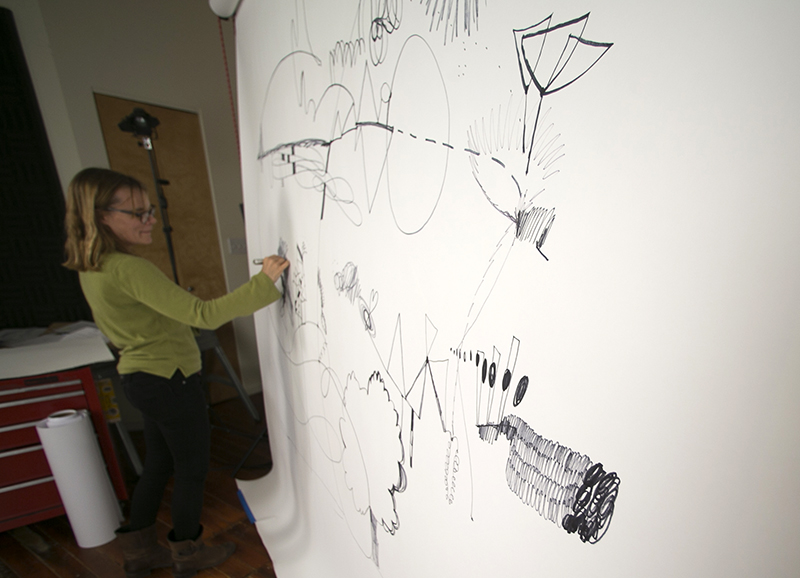
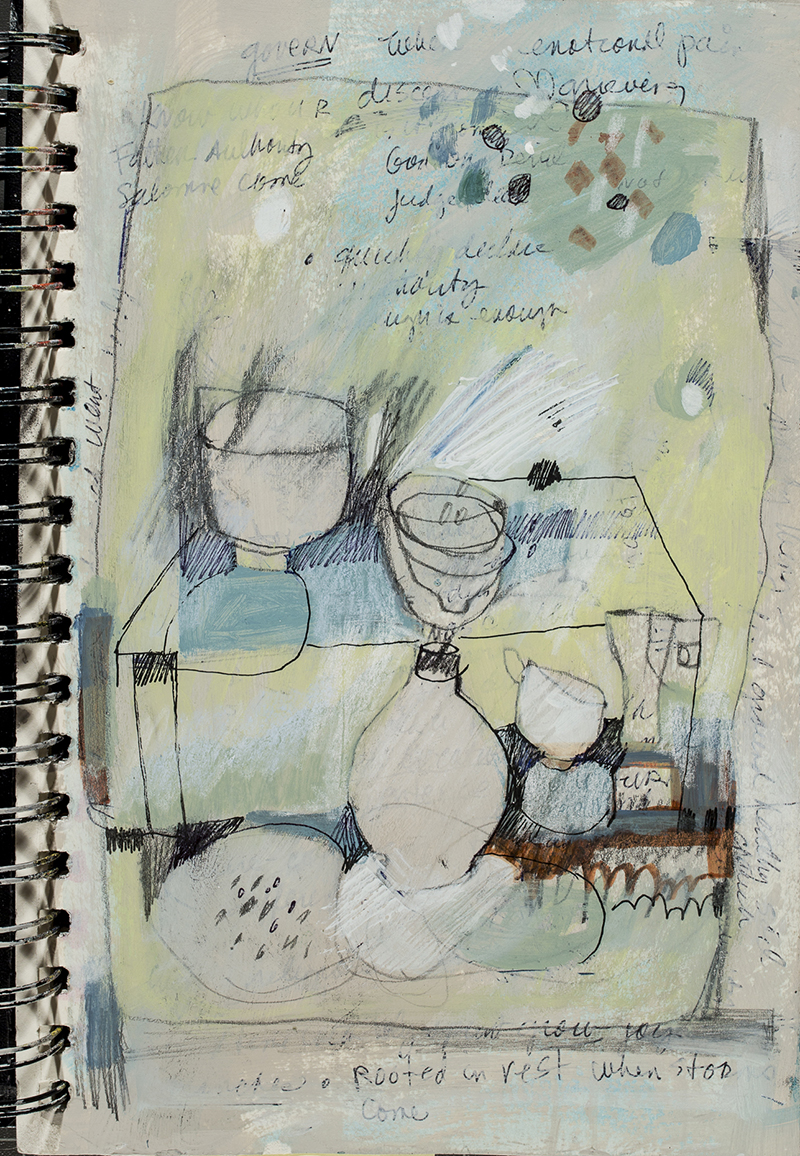

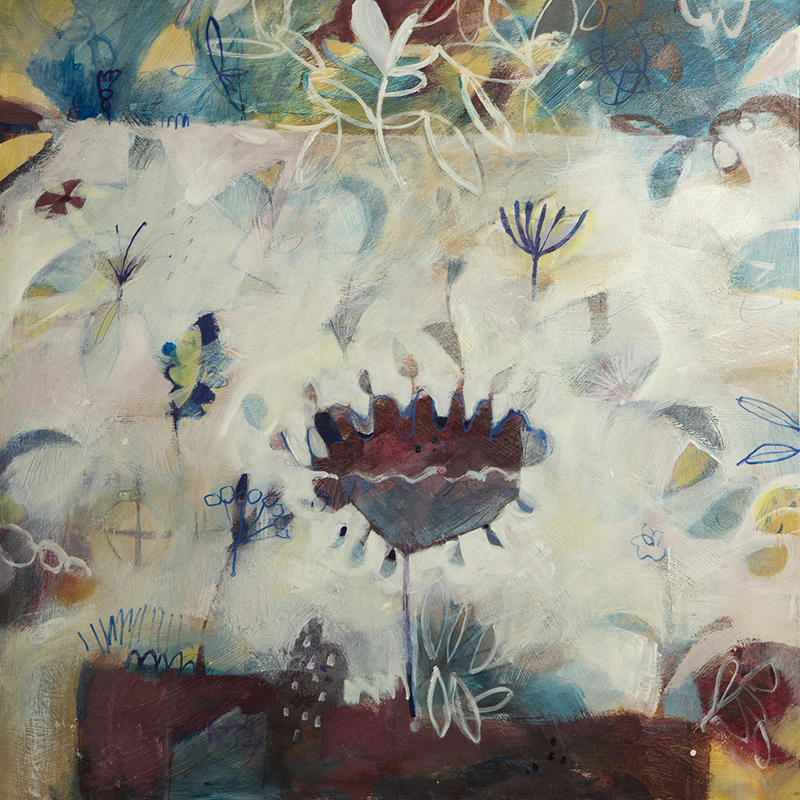
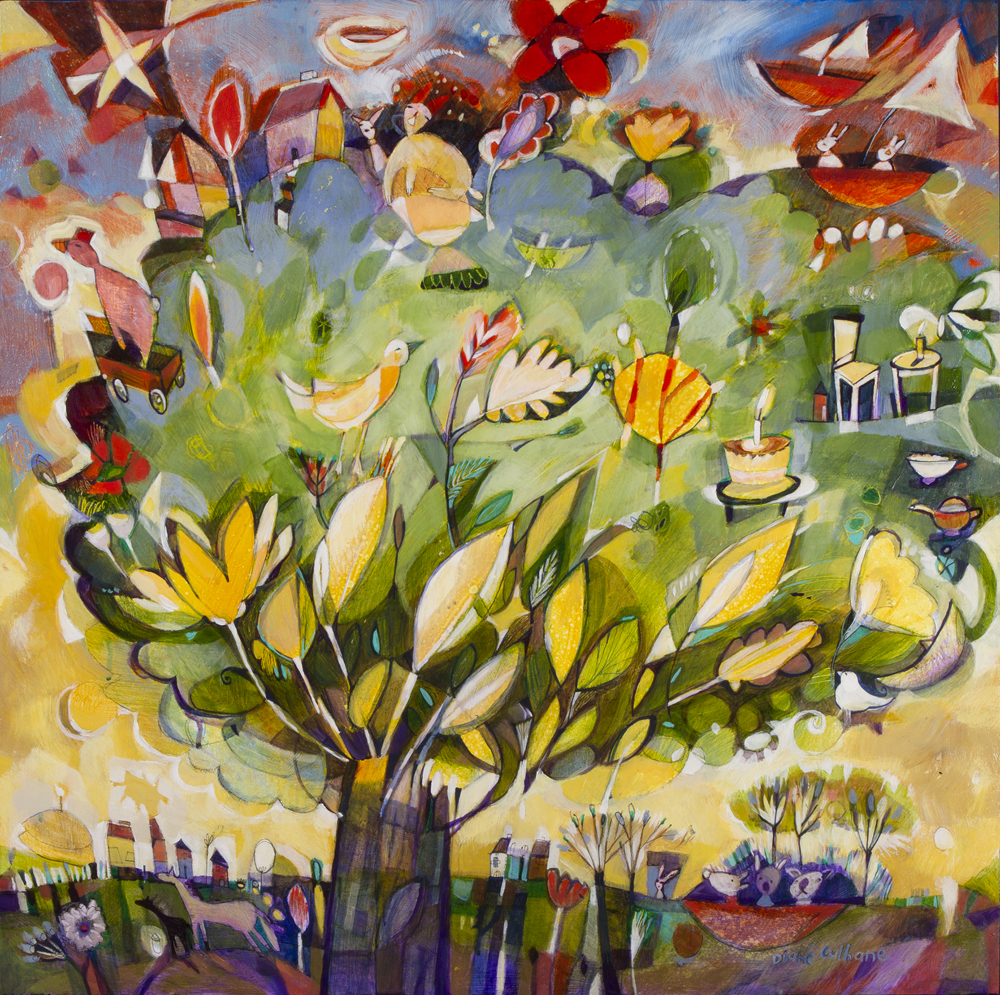
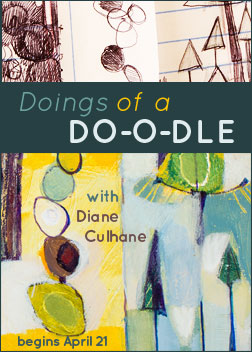
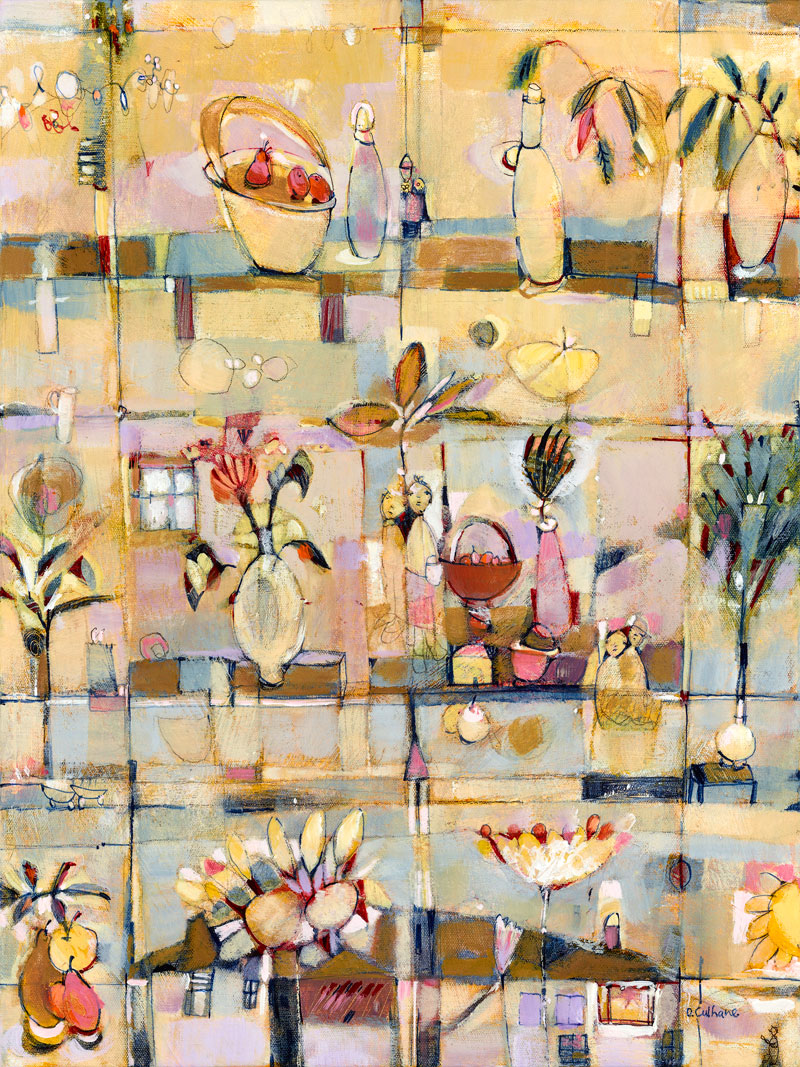
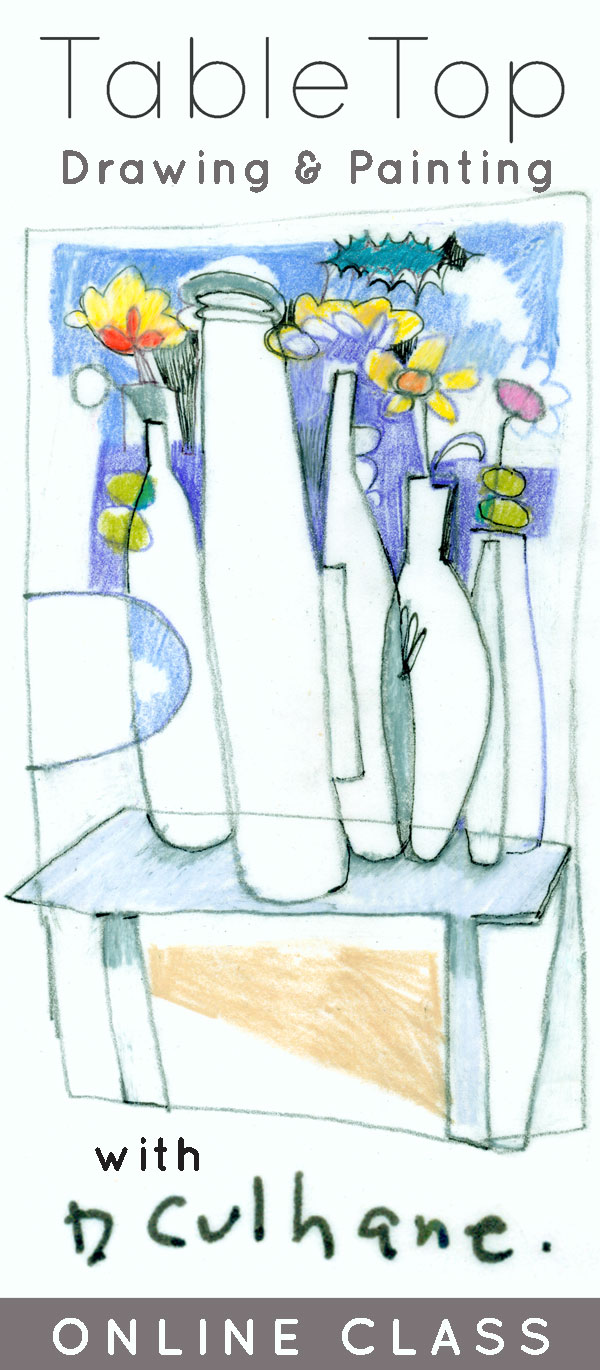
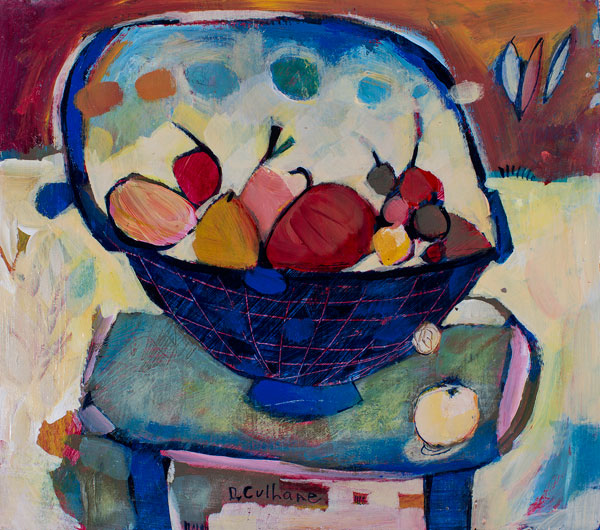
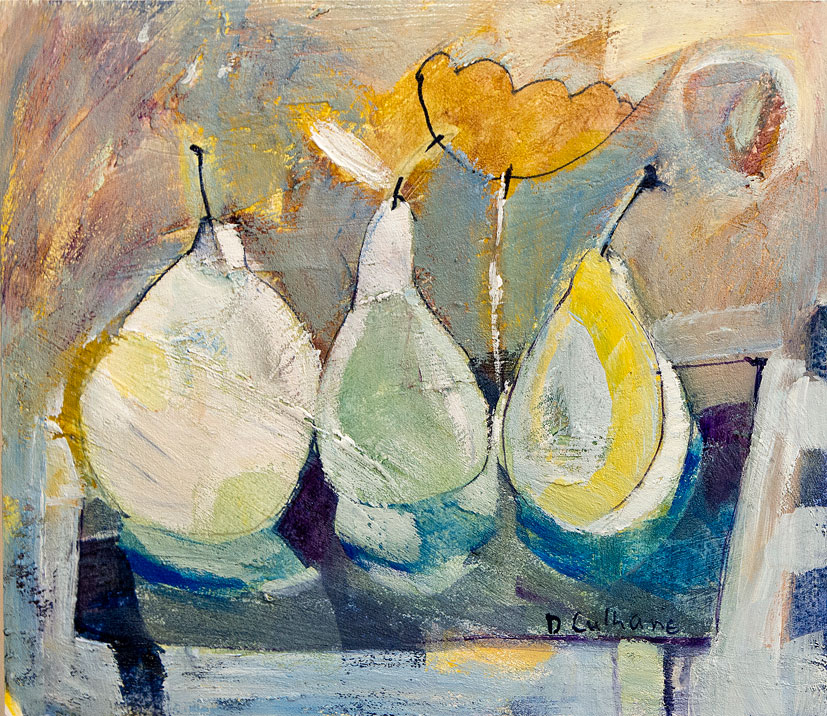
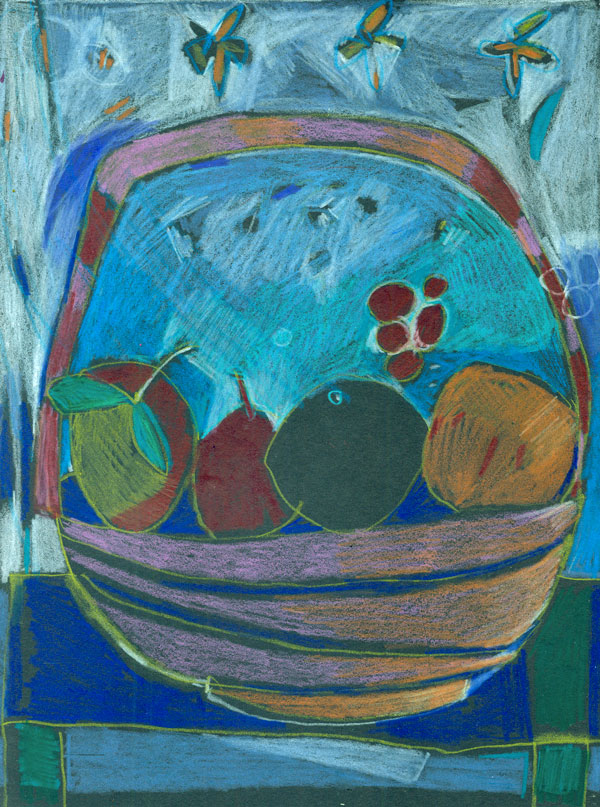
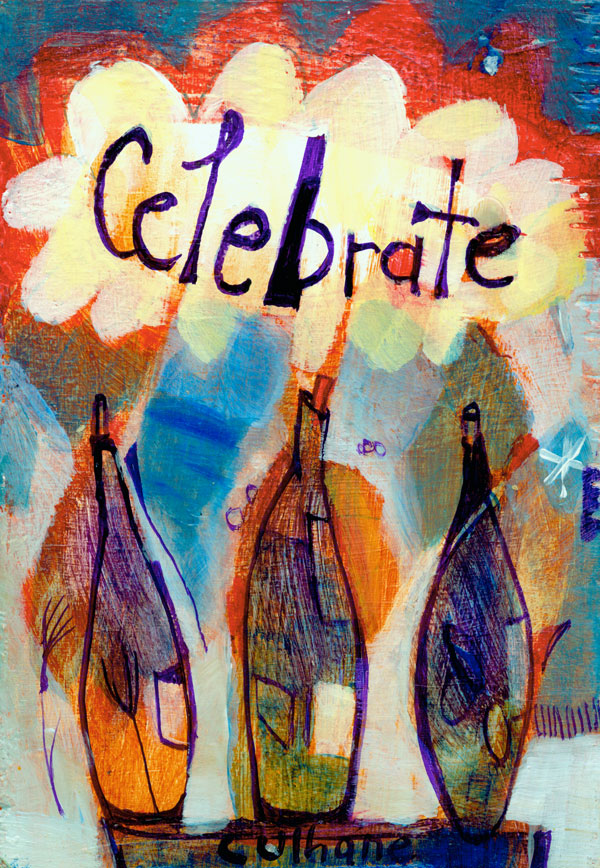
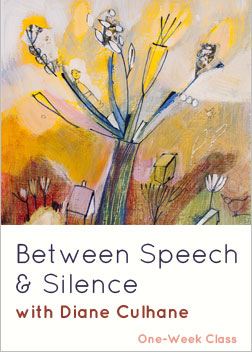
 Diane Culhane is a professional artist and art educator who lives in West Seattle in a 1910 home, and works out of her studio in Ballard, Building C. She received her BFA from the University of Utah and Master’s Degree from Seattle University. Diane has taught for The Bellevue School District, Seattle Pacific University, Kirkland Arts Center, Bellevue Arts Museum and currently directs and owns Kelsey Creek Fine Art Camp, ‘Go Go with Van Gogh,’ for children in the summer. When Diane is not in the studio painting you can find her on her bicycle or hiking. Learn more about her at
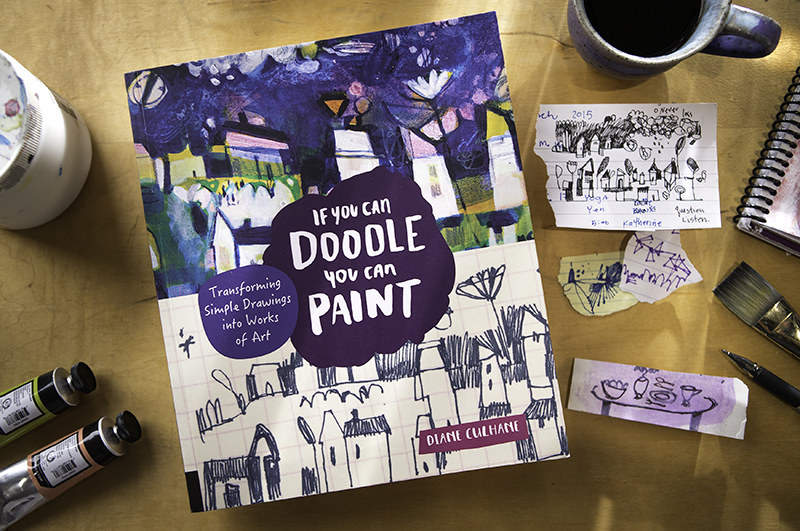
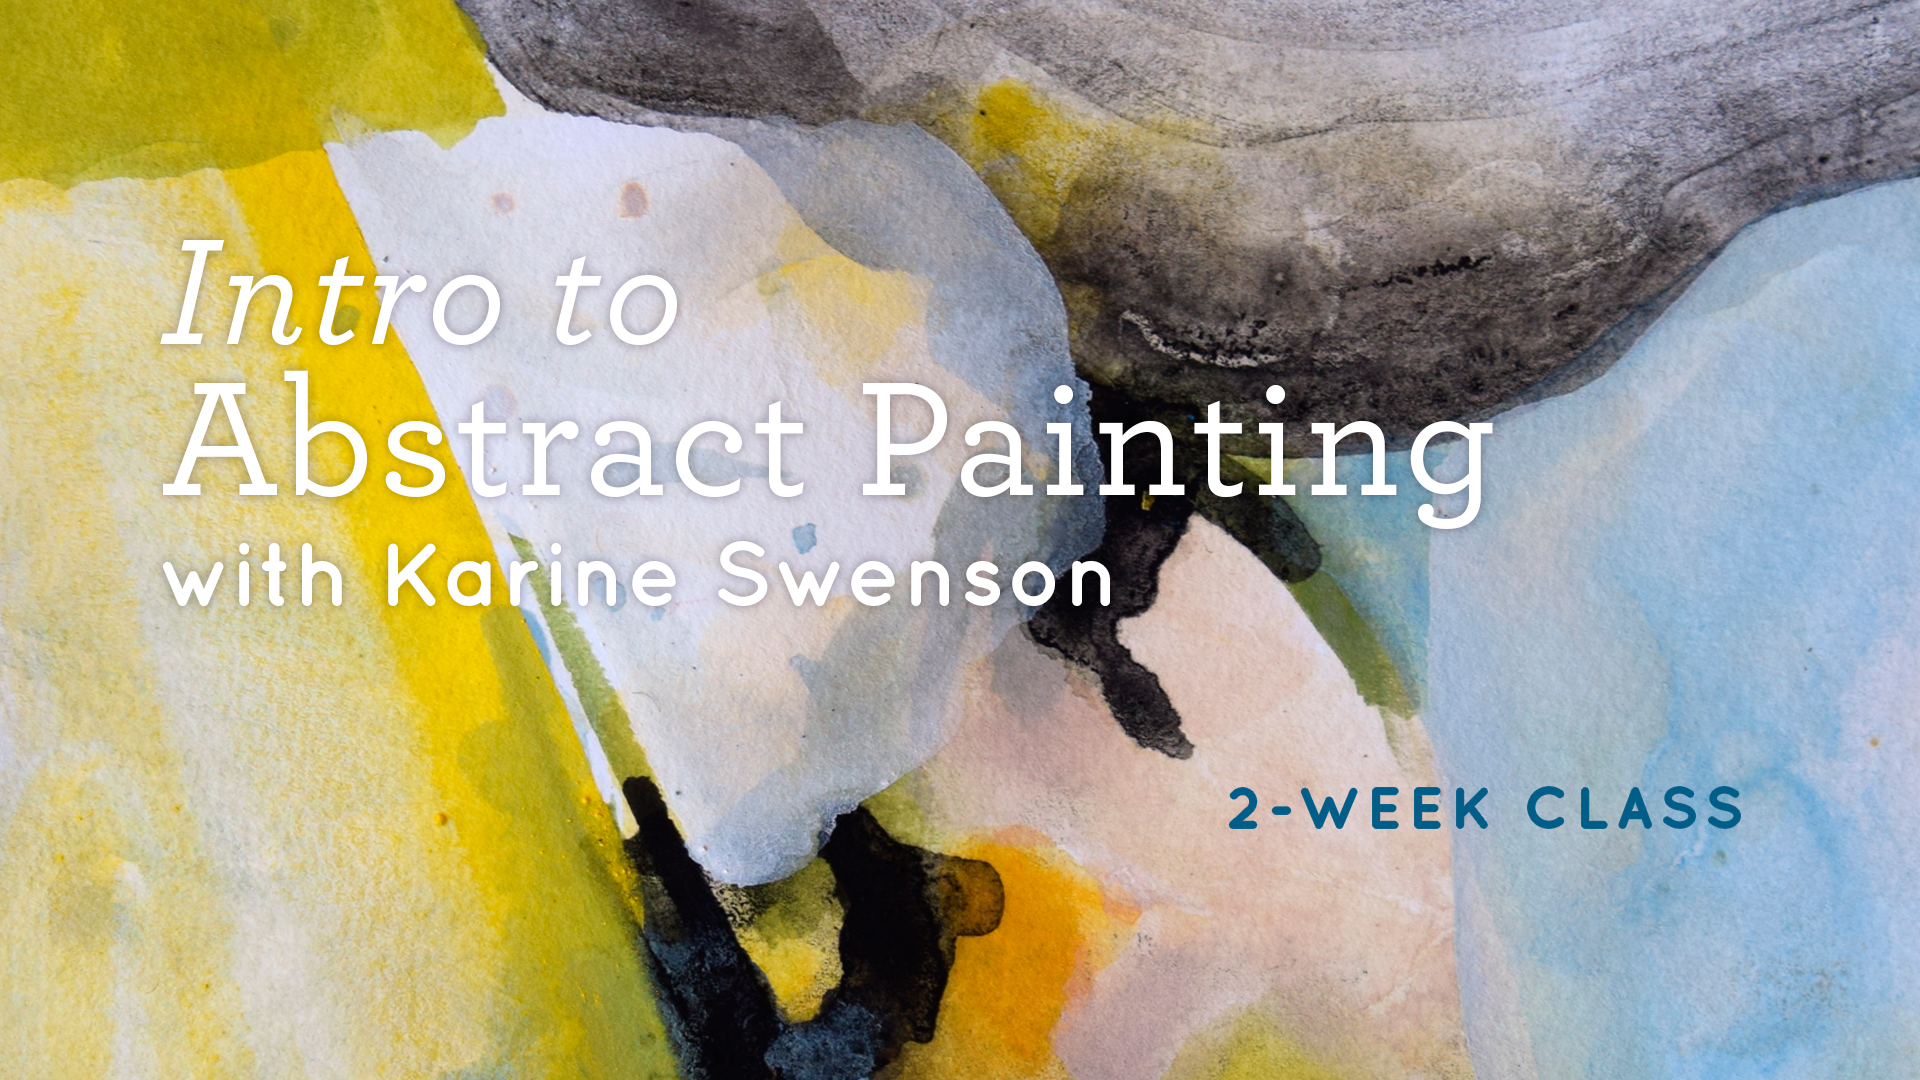
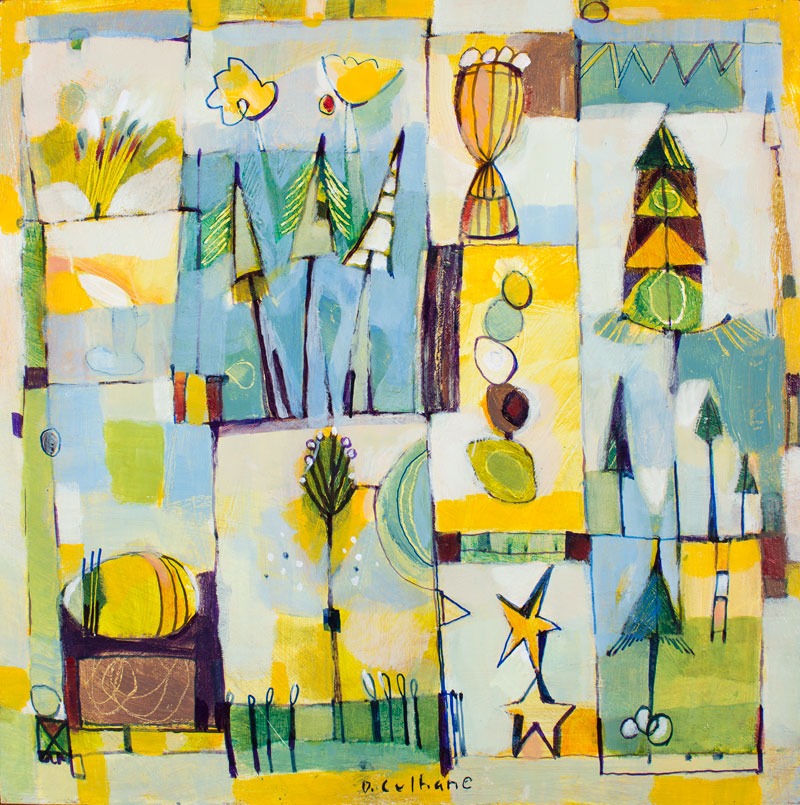
 Week 2
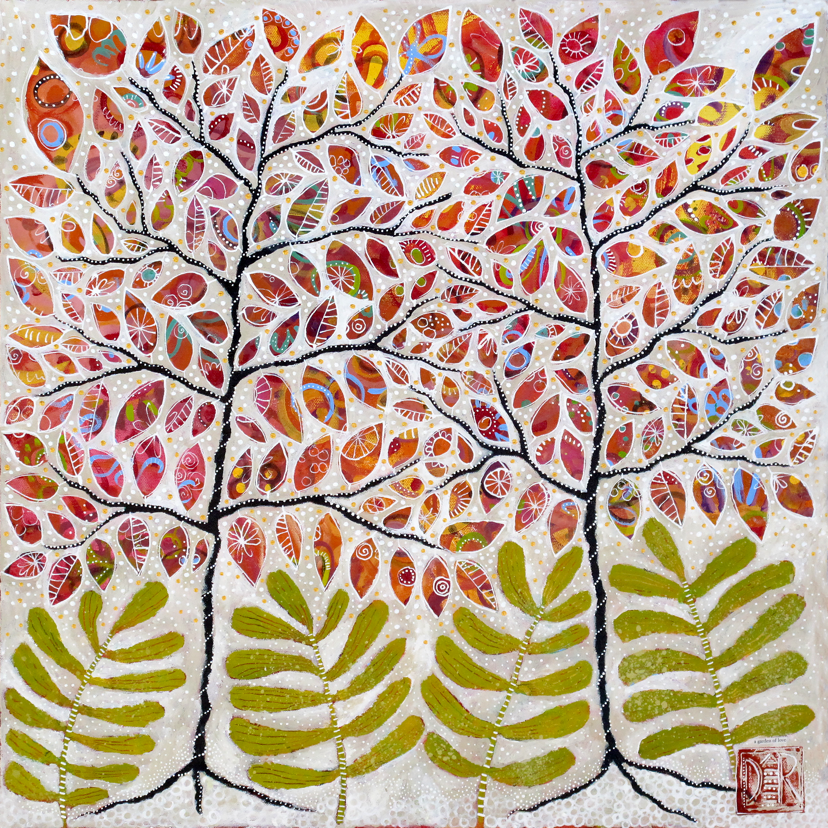
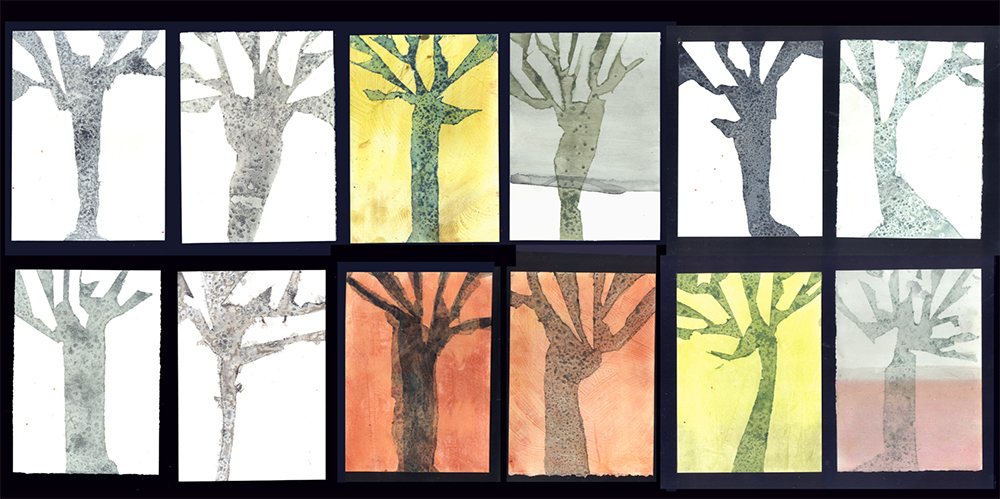
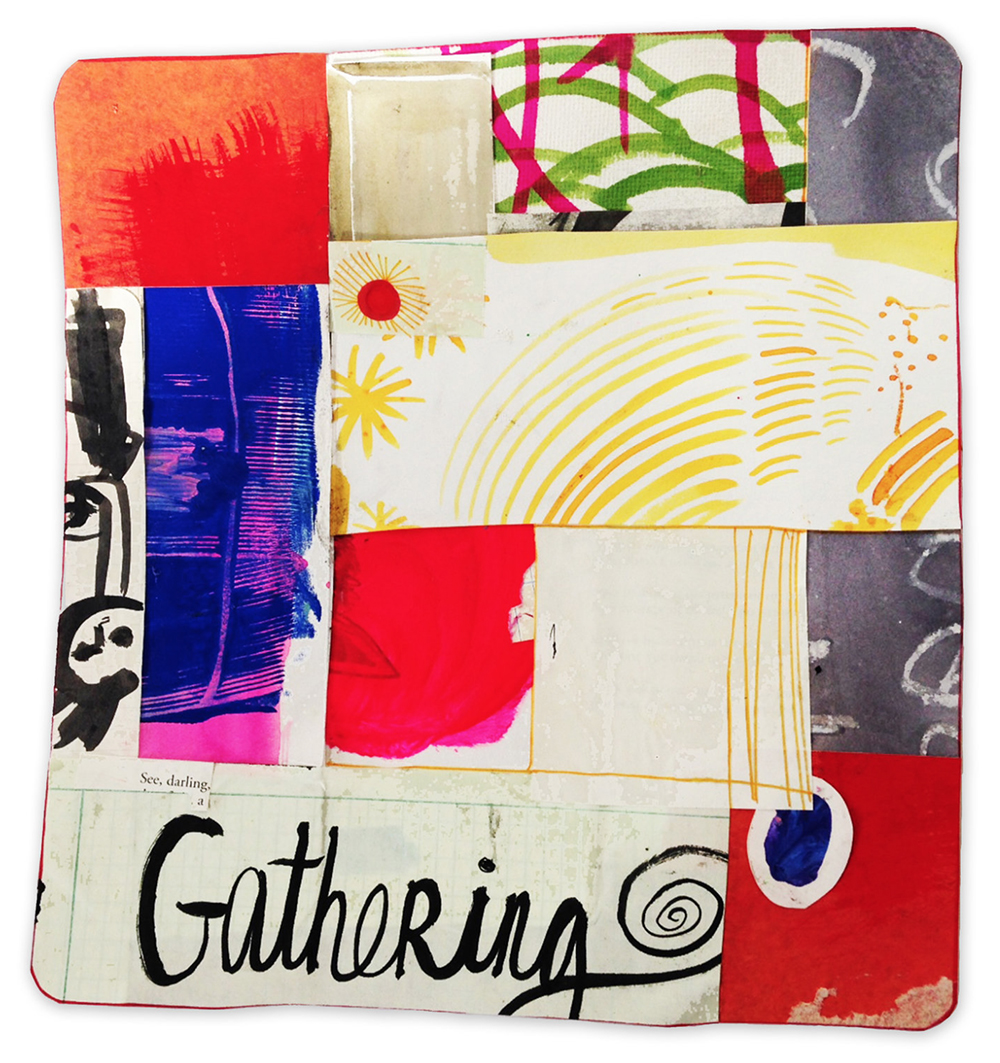
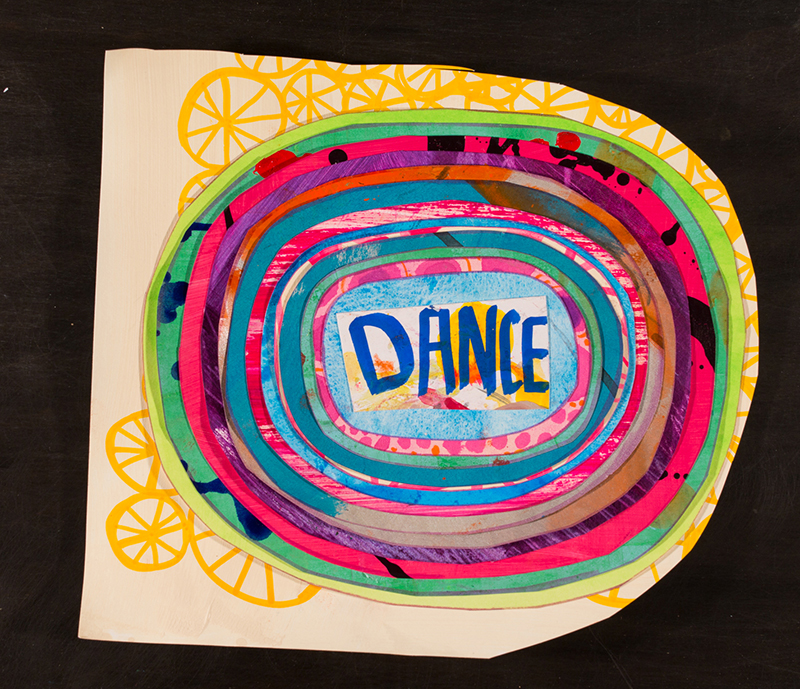
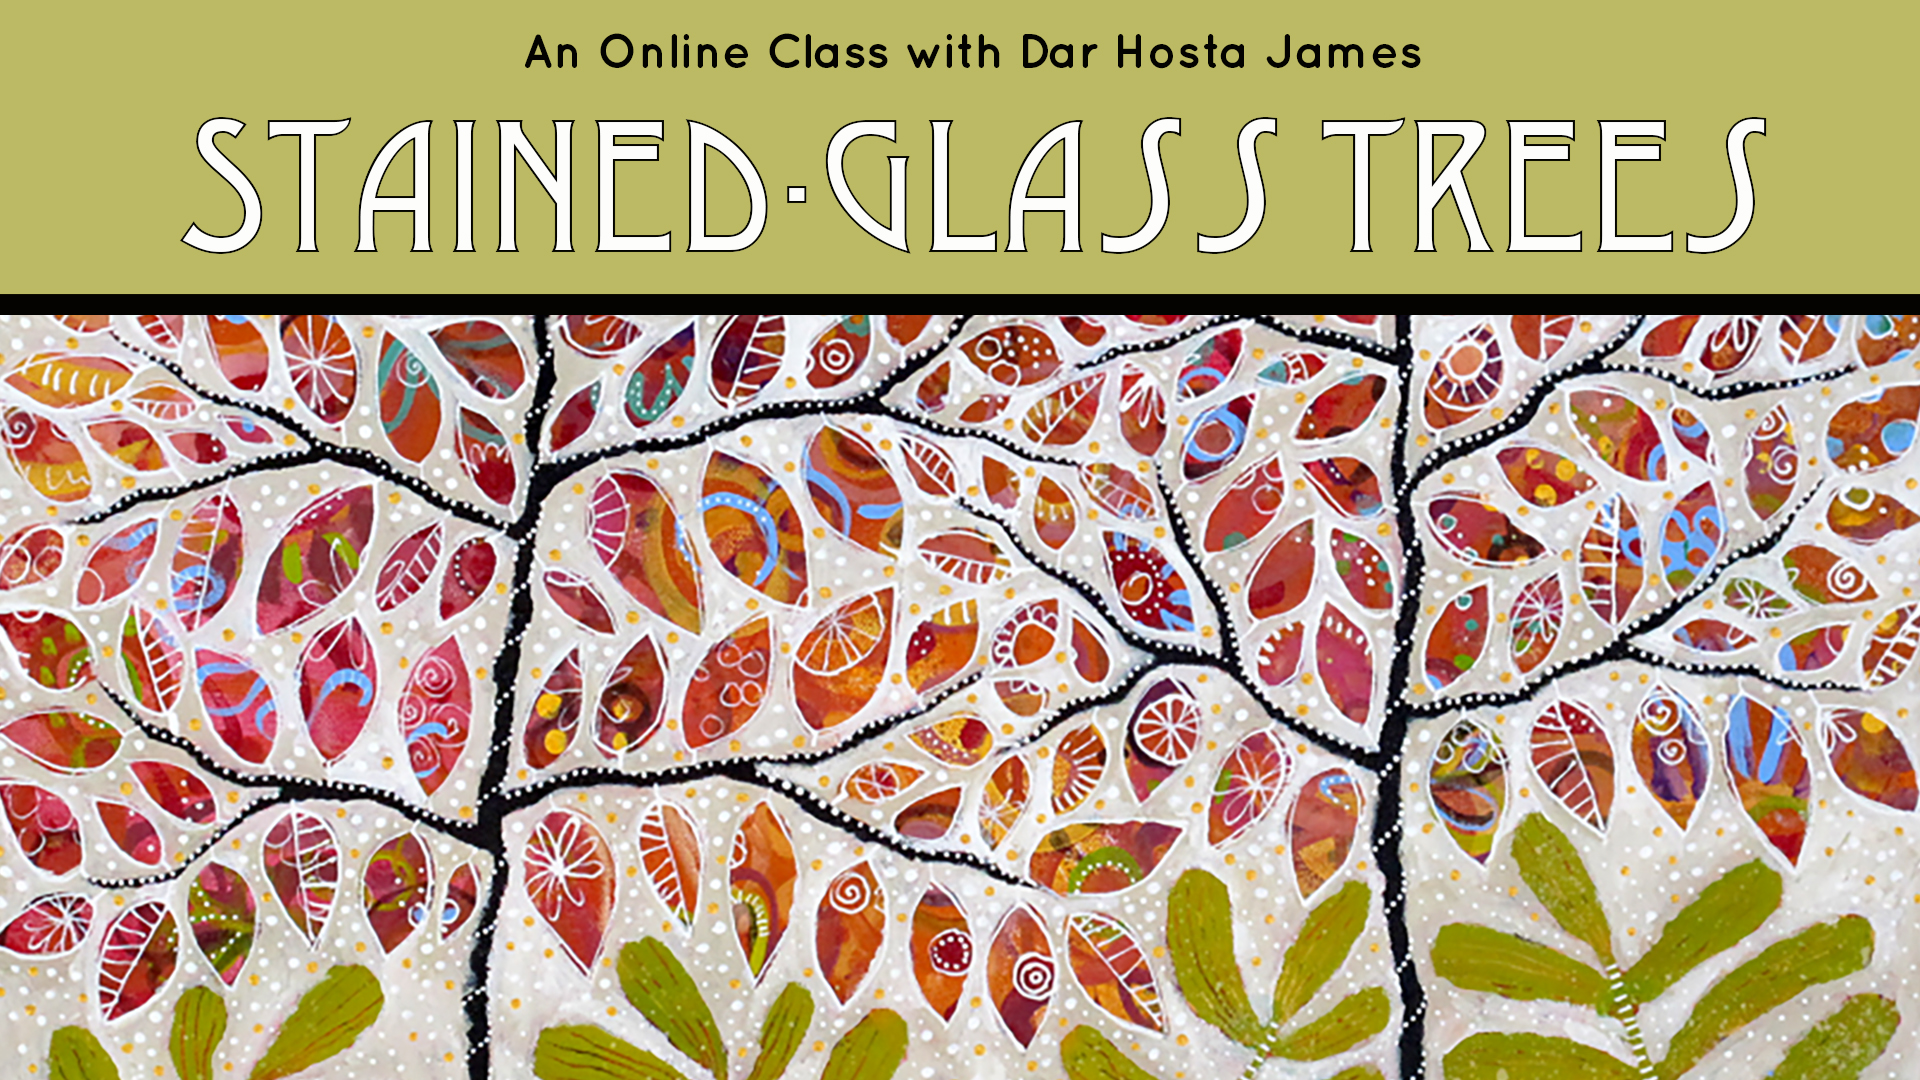
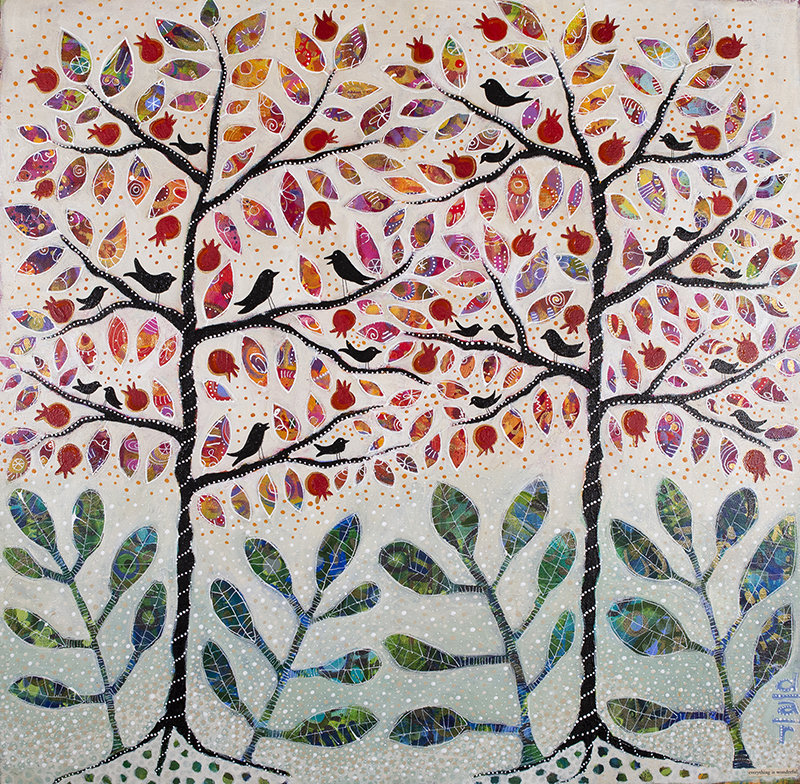
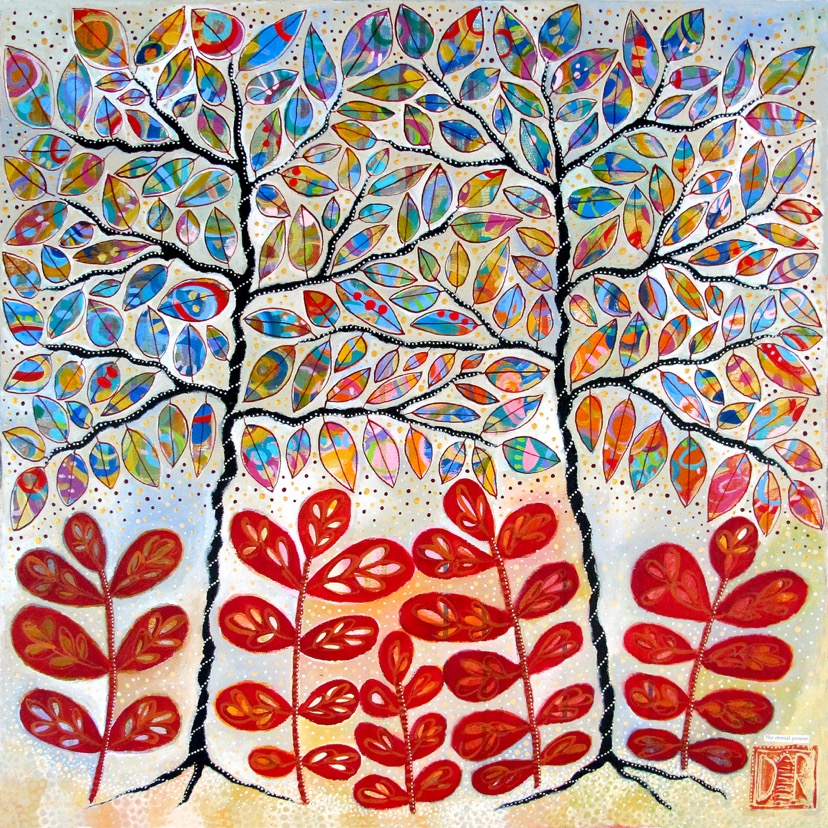
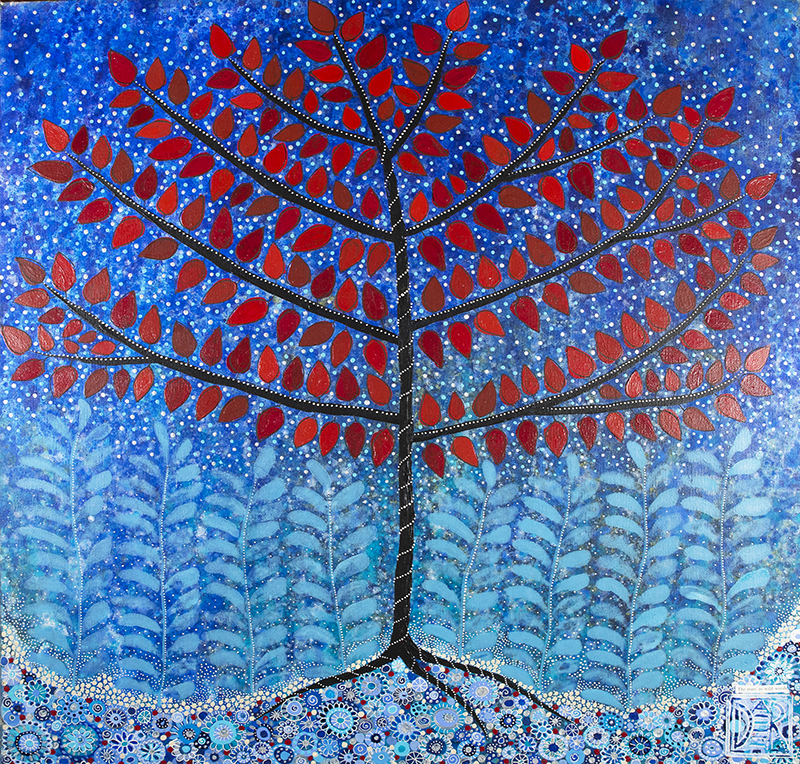
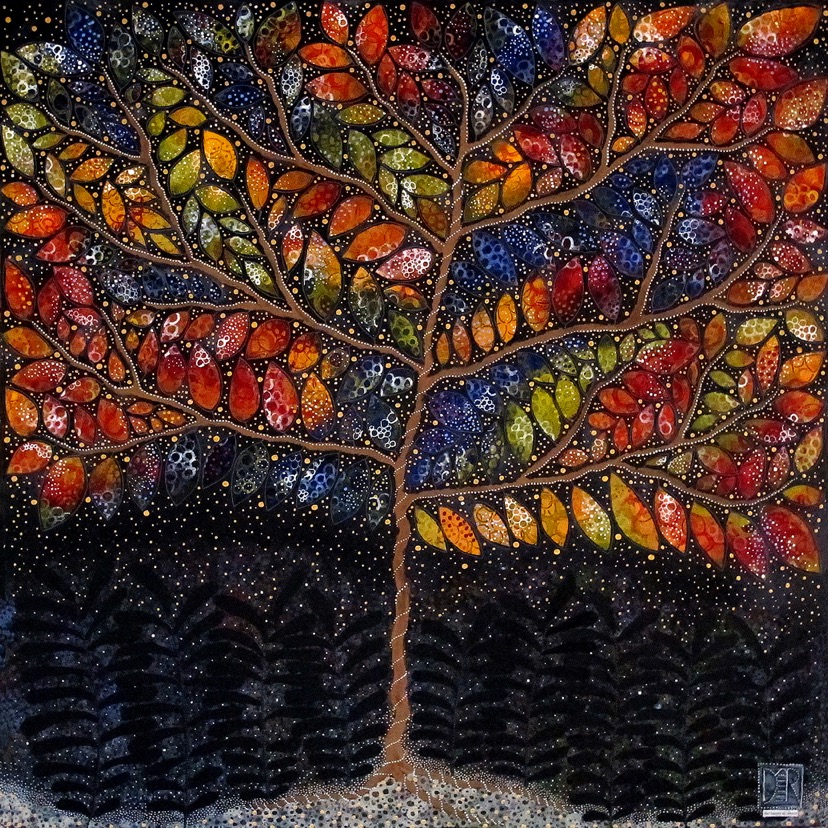
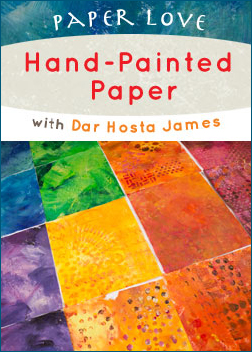
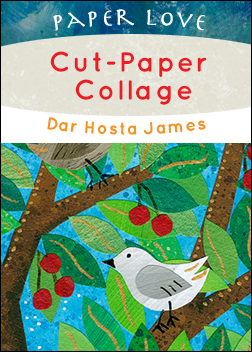
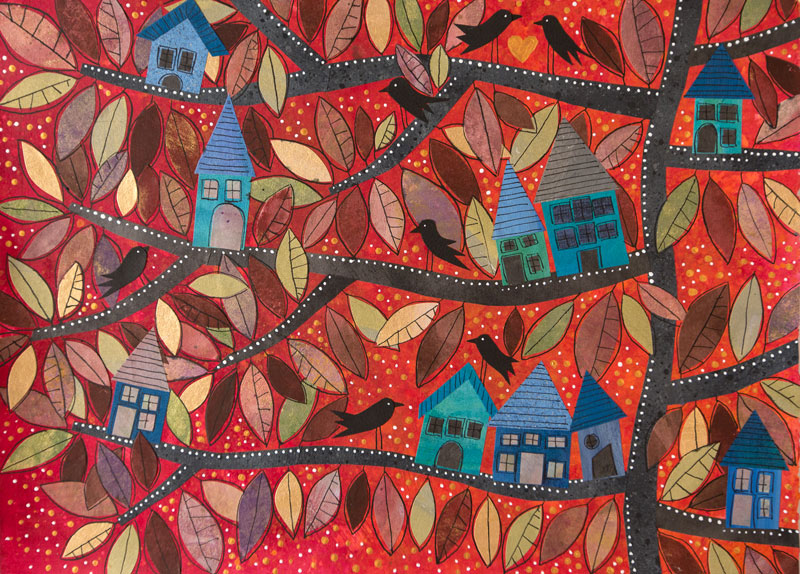
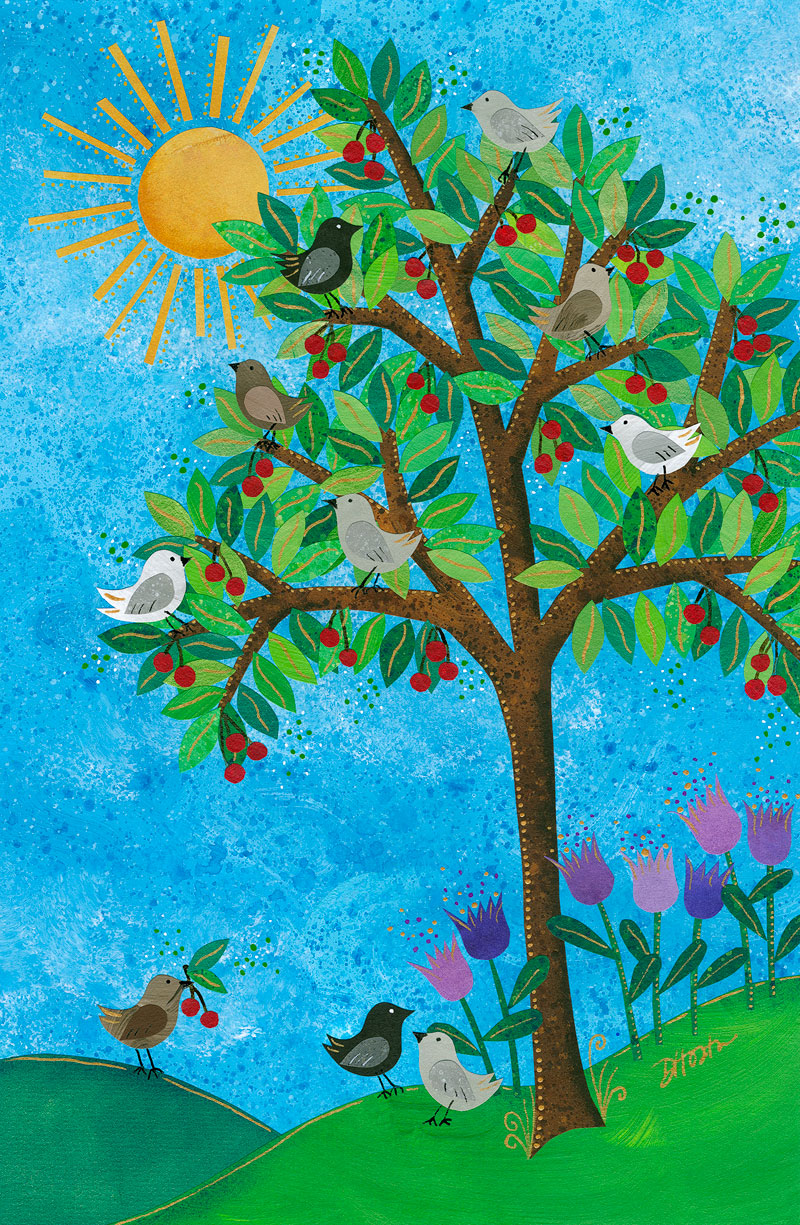
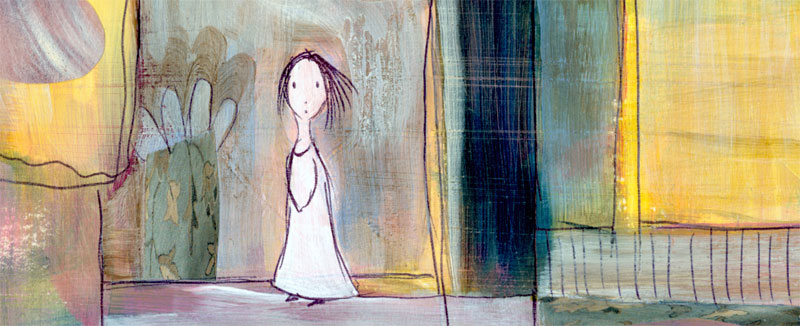
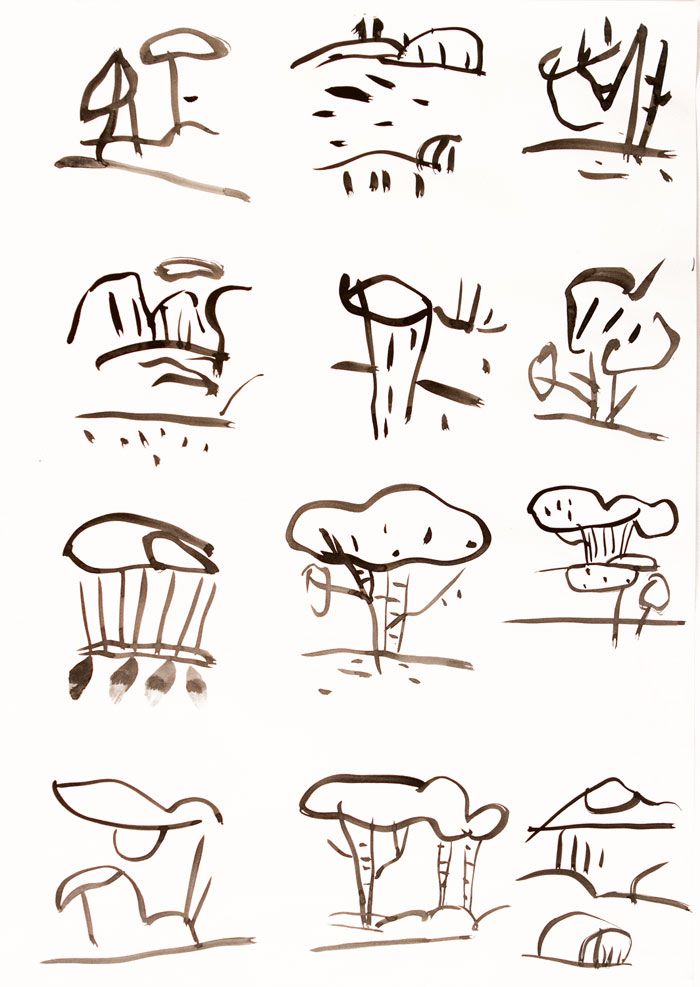
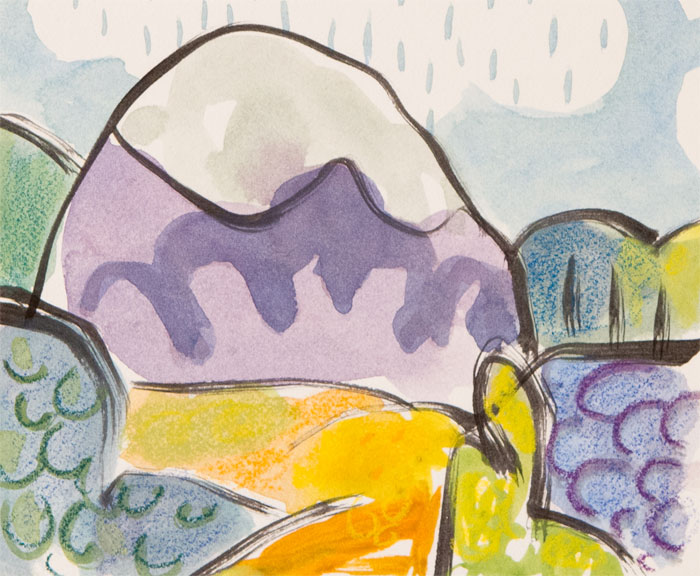
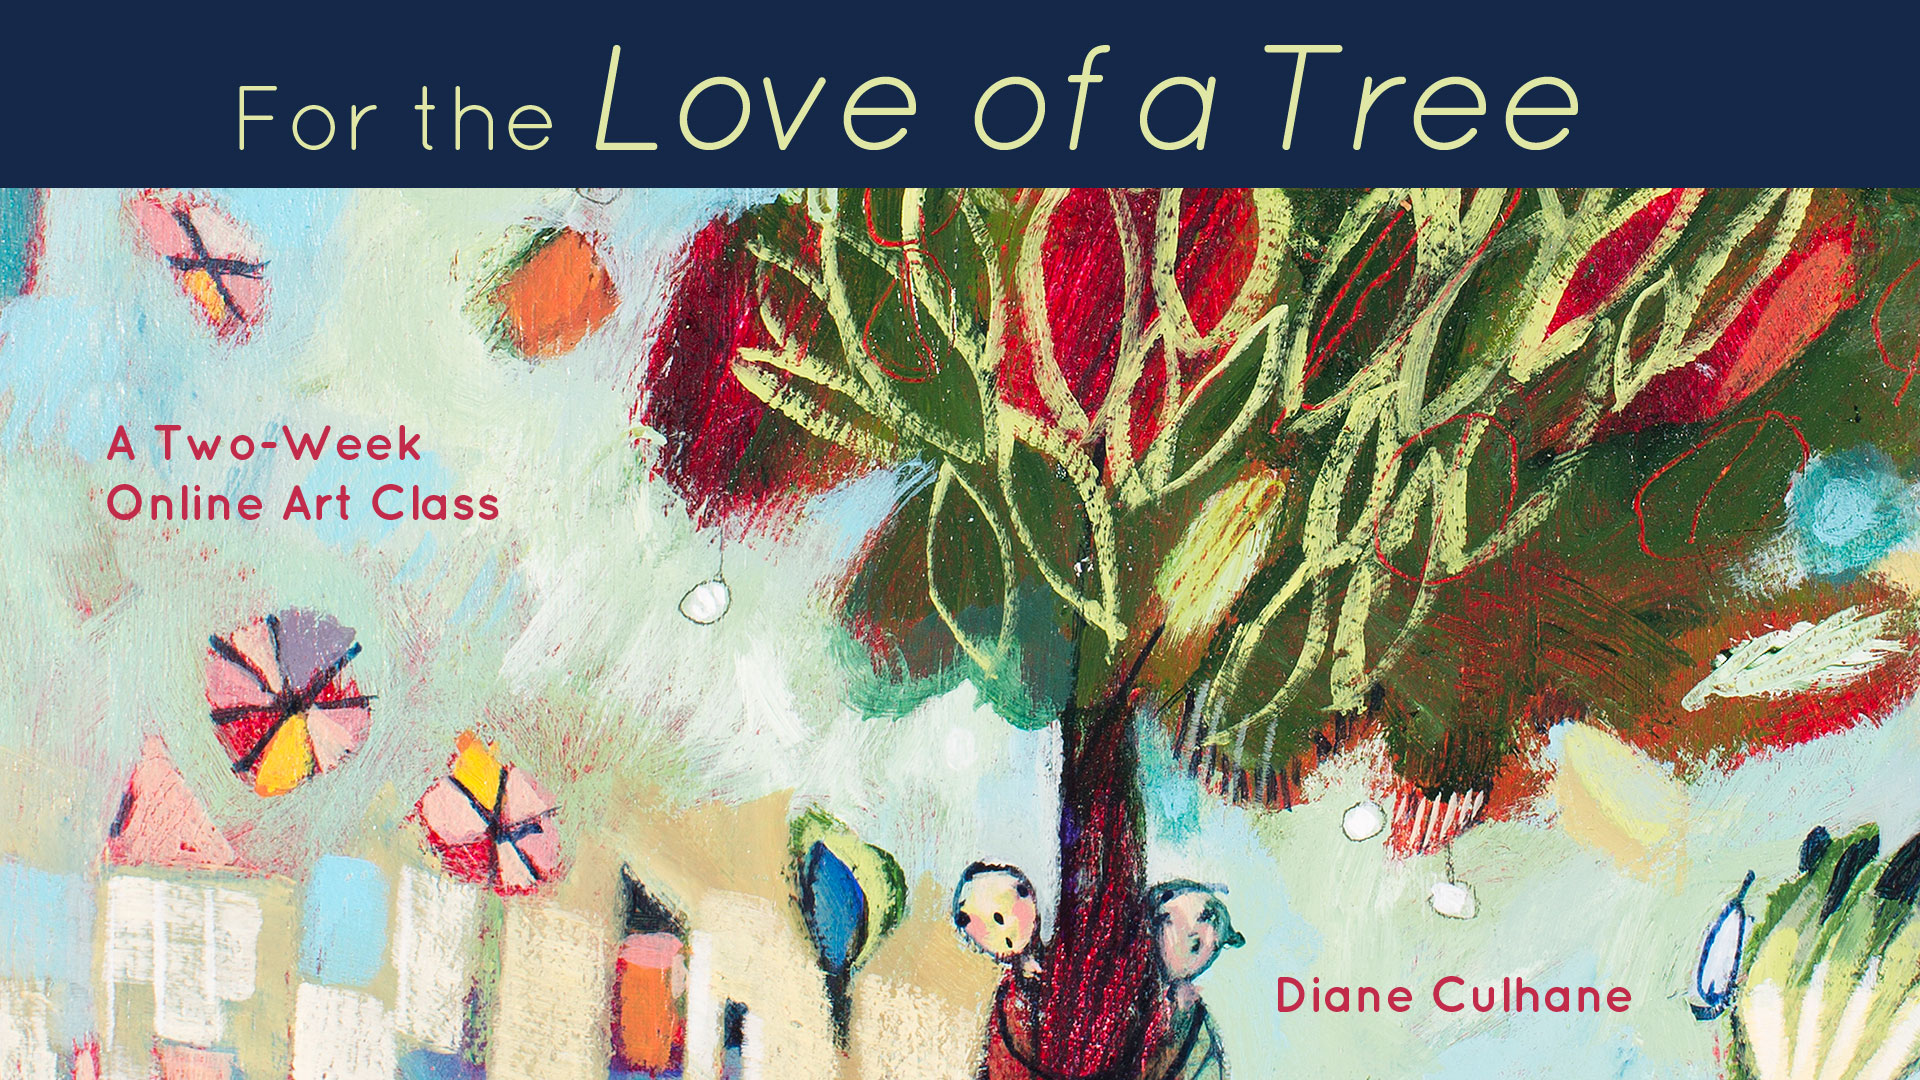
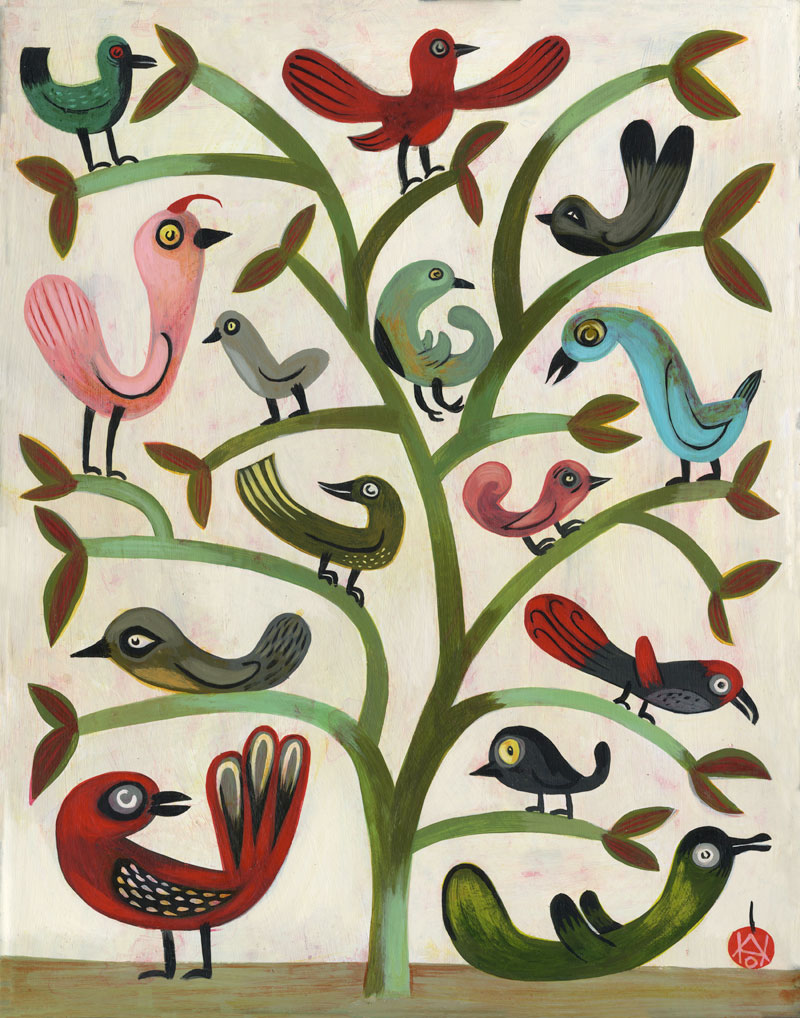
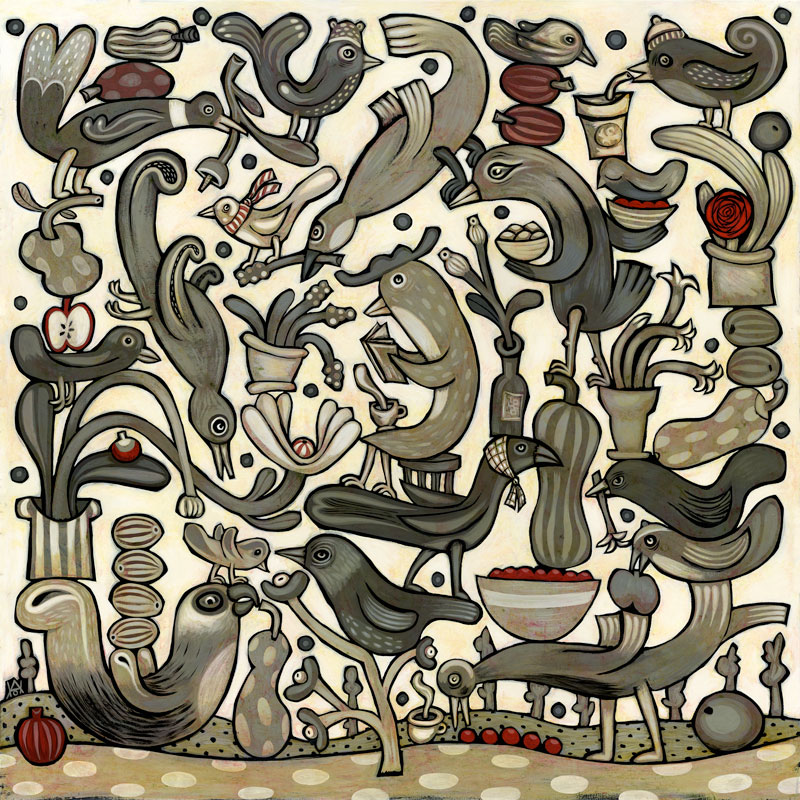
 Dar Hosta James is a collage artist, a painter of trees, a writer/illustrator of children’s books, a teacher of both children and adults, a public speaker, and a life coach.


![states-of-being[1]](https://www.carlasonheim.com/wp-content/uploads/2016/03/states-of-being1.jpg)
![fredom-of-speech[1]](https://www.carlasonheim.com/wp-content/uploads/2016/03/fredom-of-speech1.jpg)

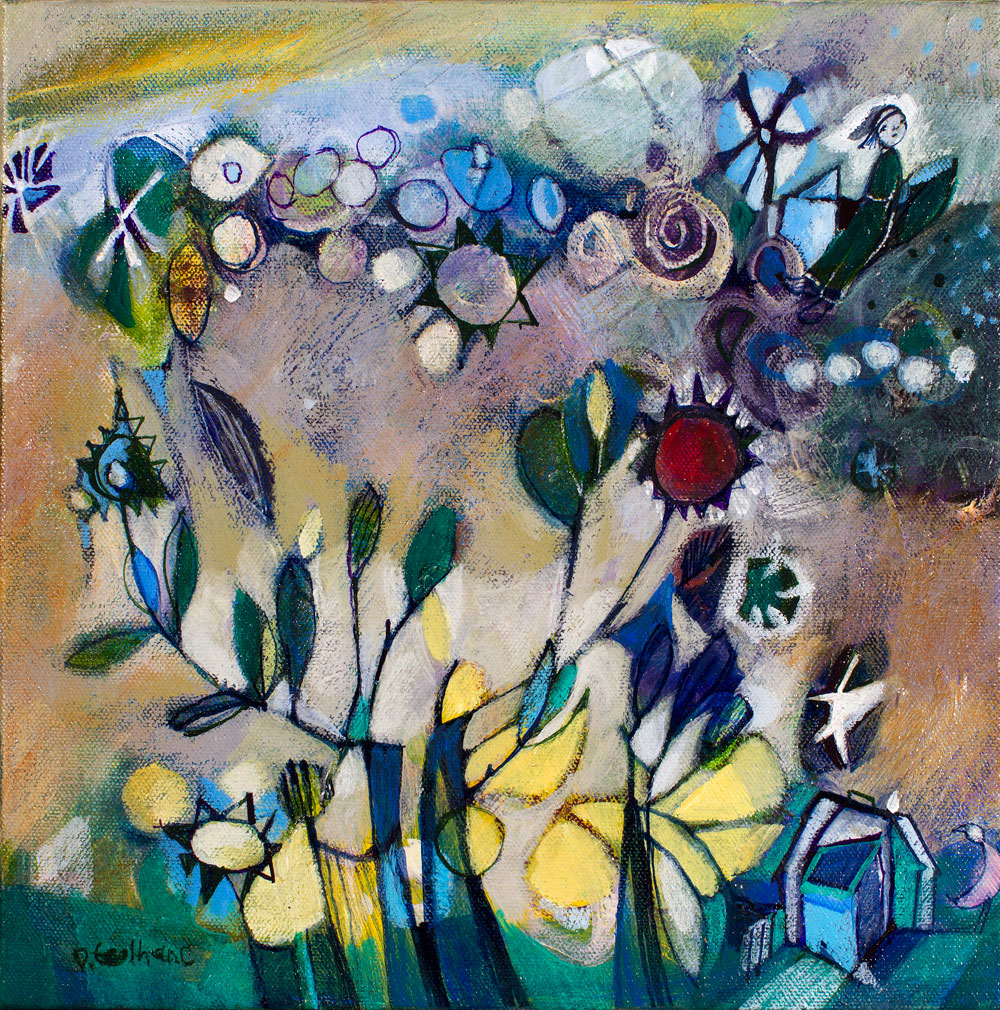
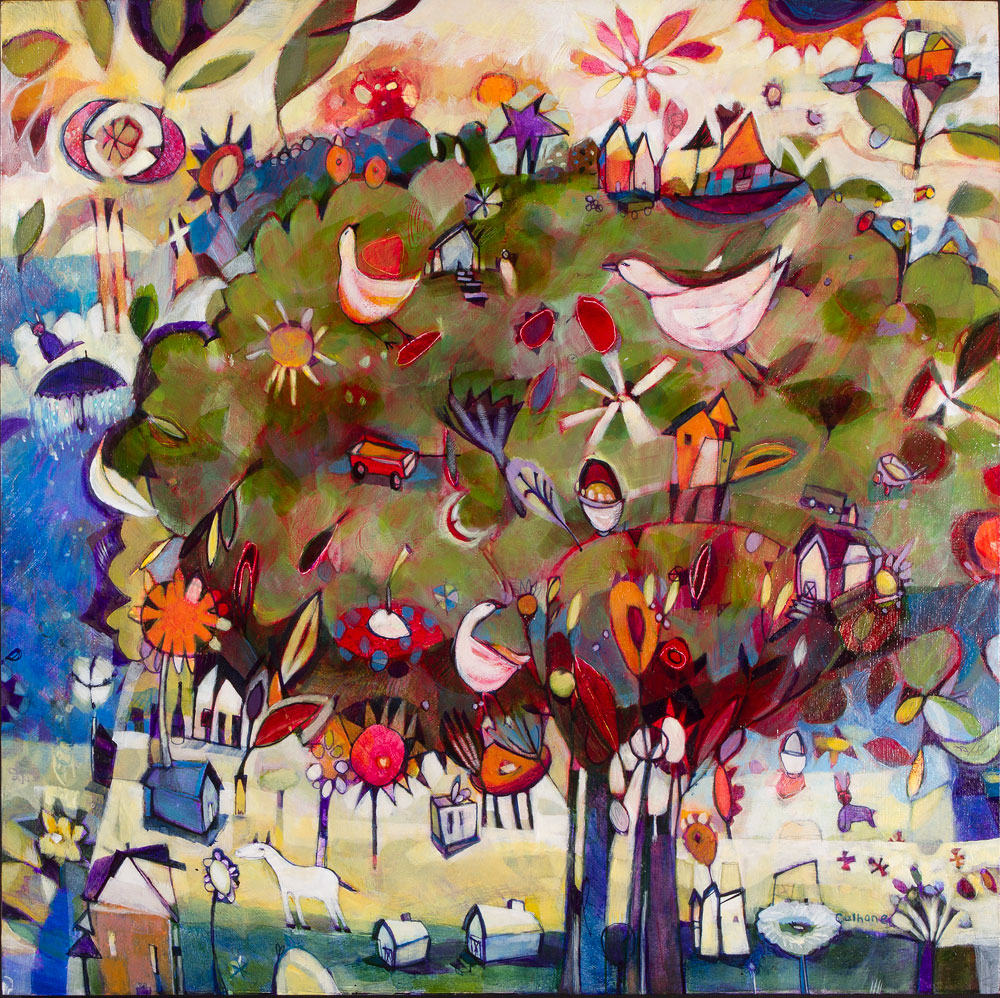
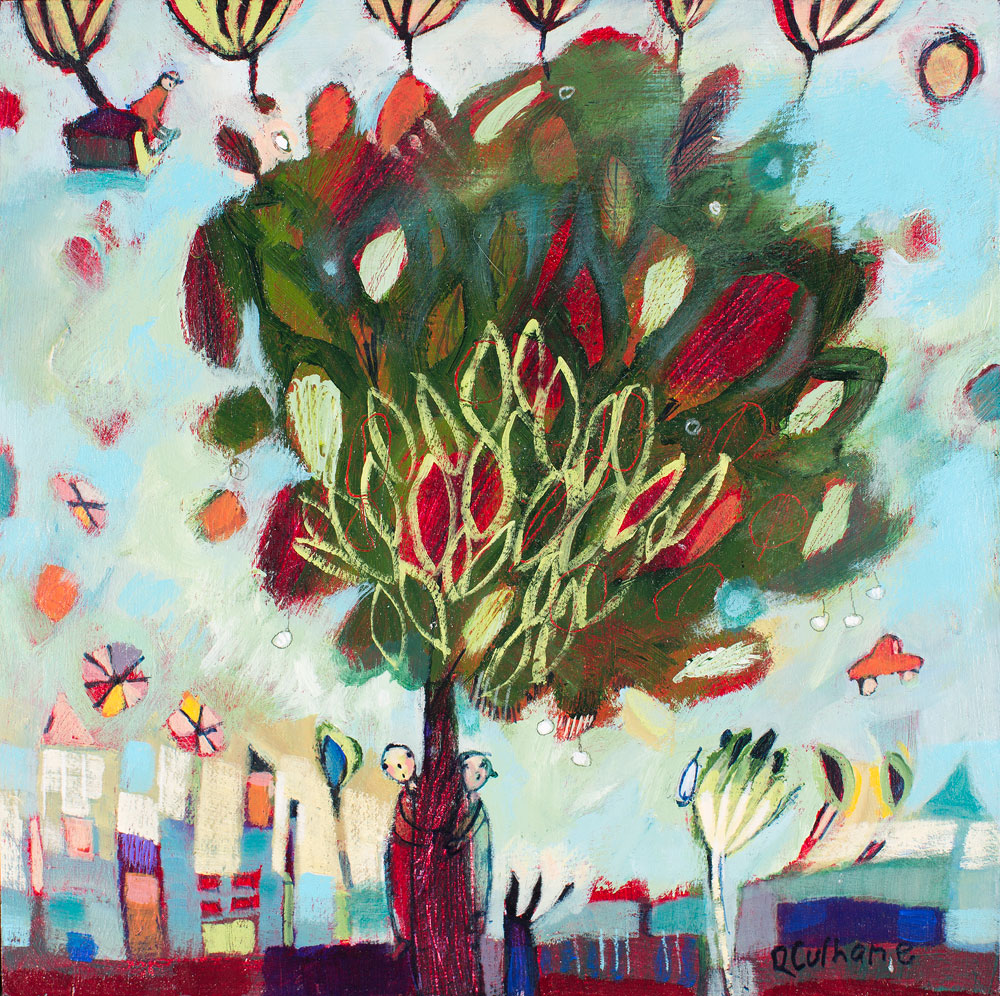
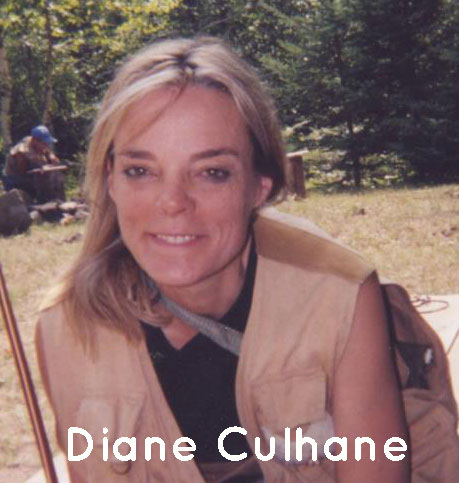 Diane Culhane is a professional artist and art educator who lives West Seattle in a 1910 home, and works out of her studio in Ballard Building C. She received her BFA from the University of Utah and Master’s Degree from Seattle University.


