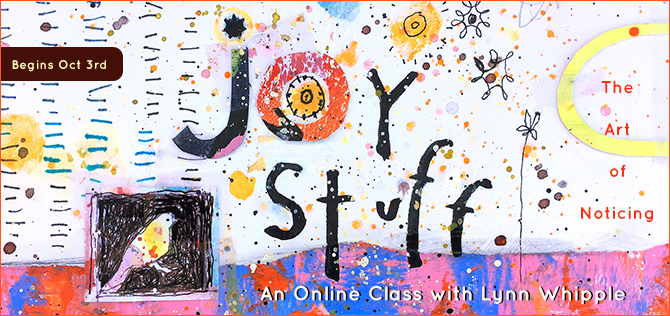
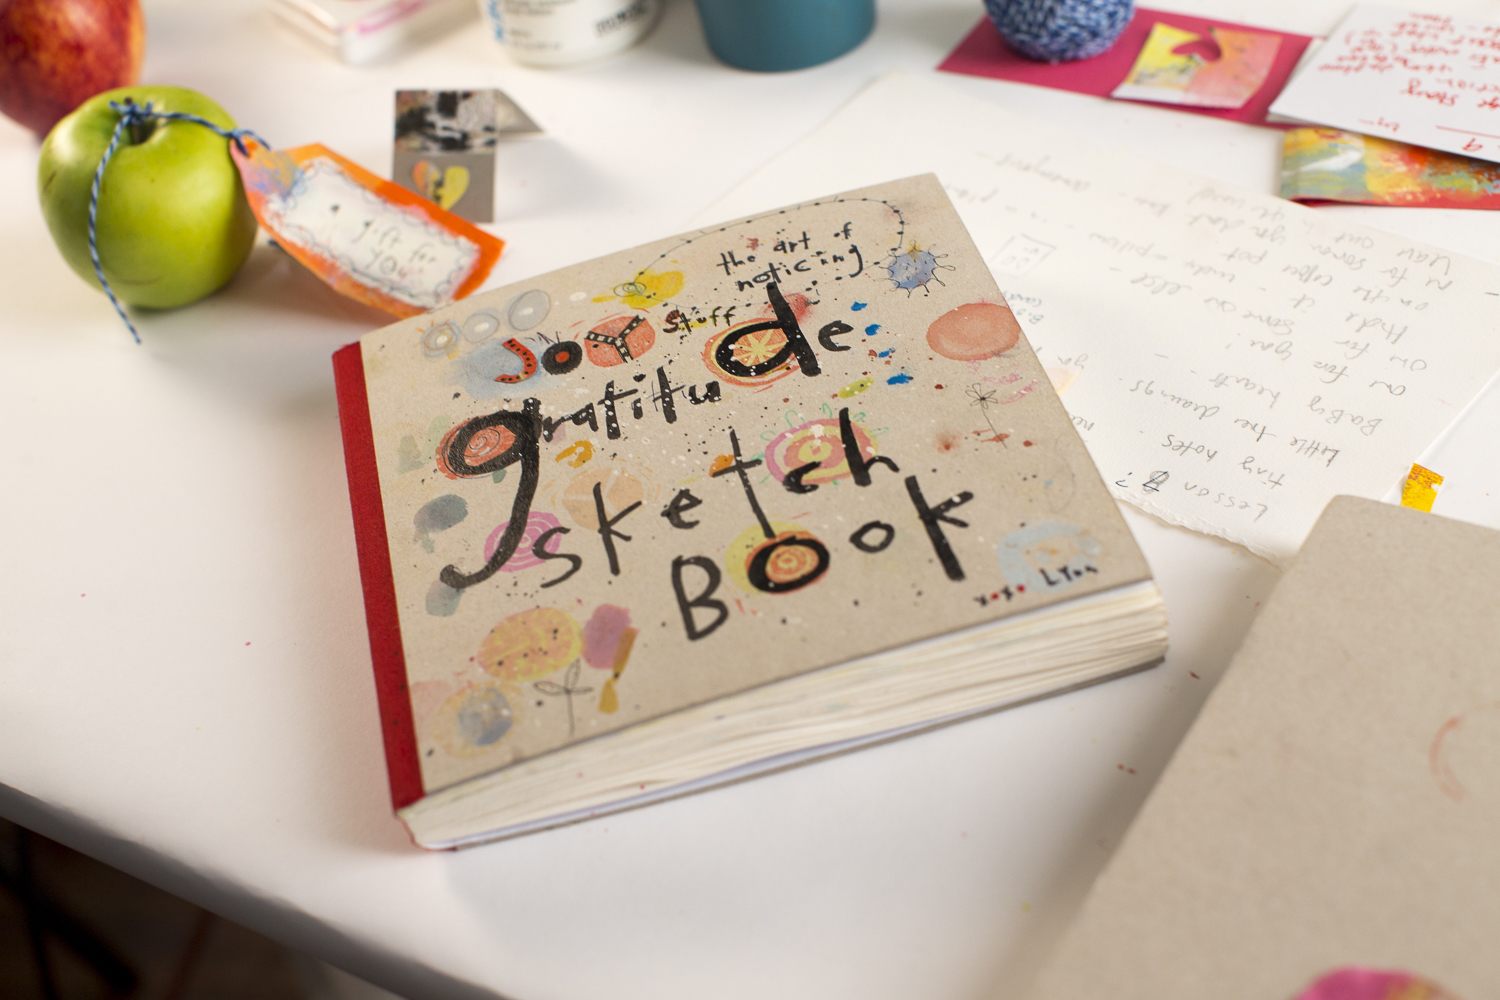
_____________
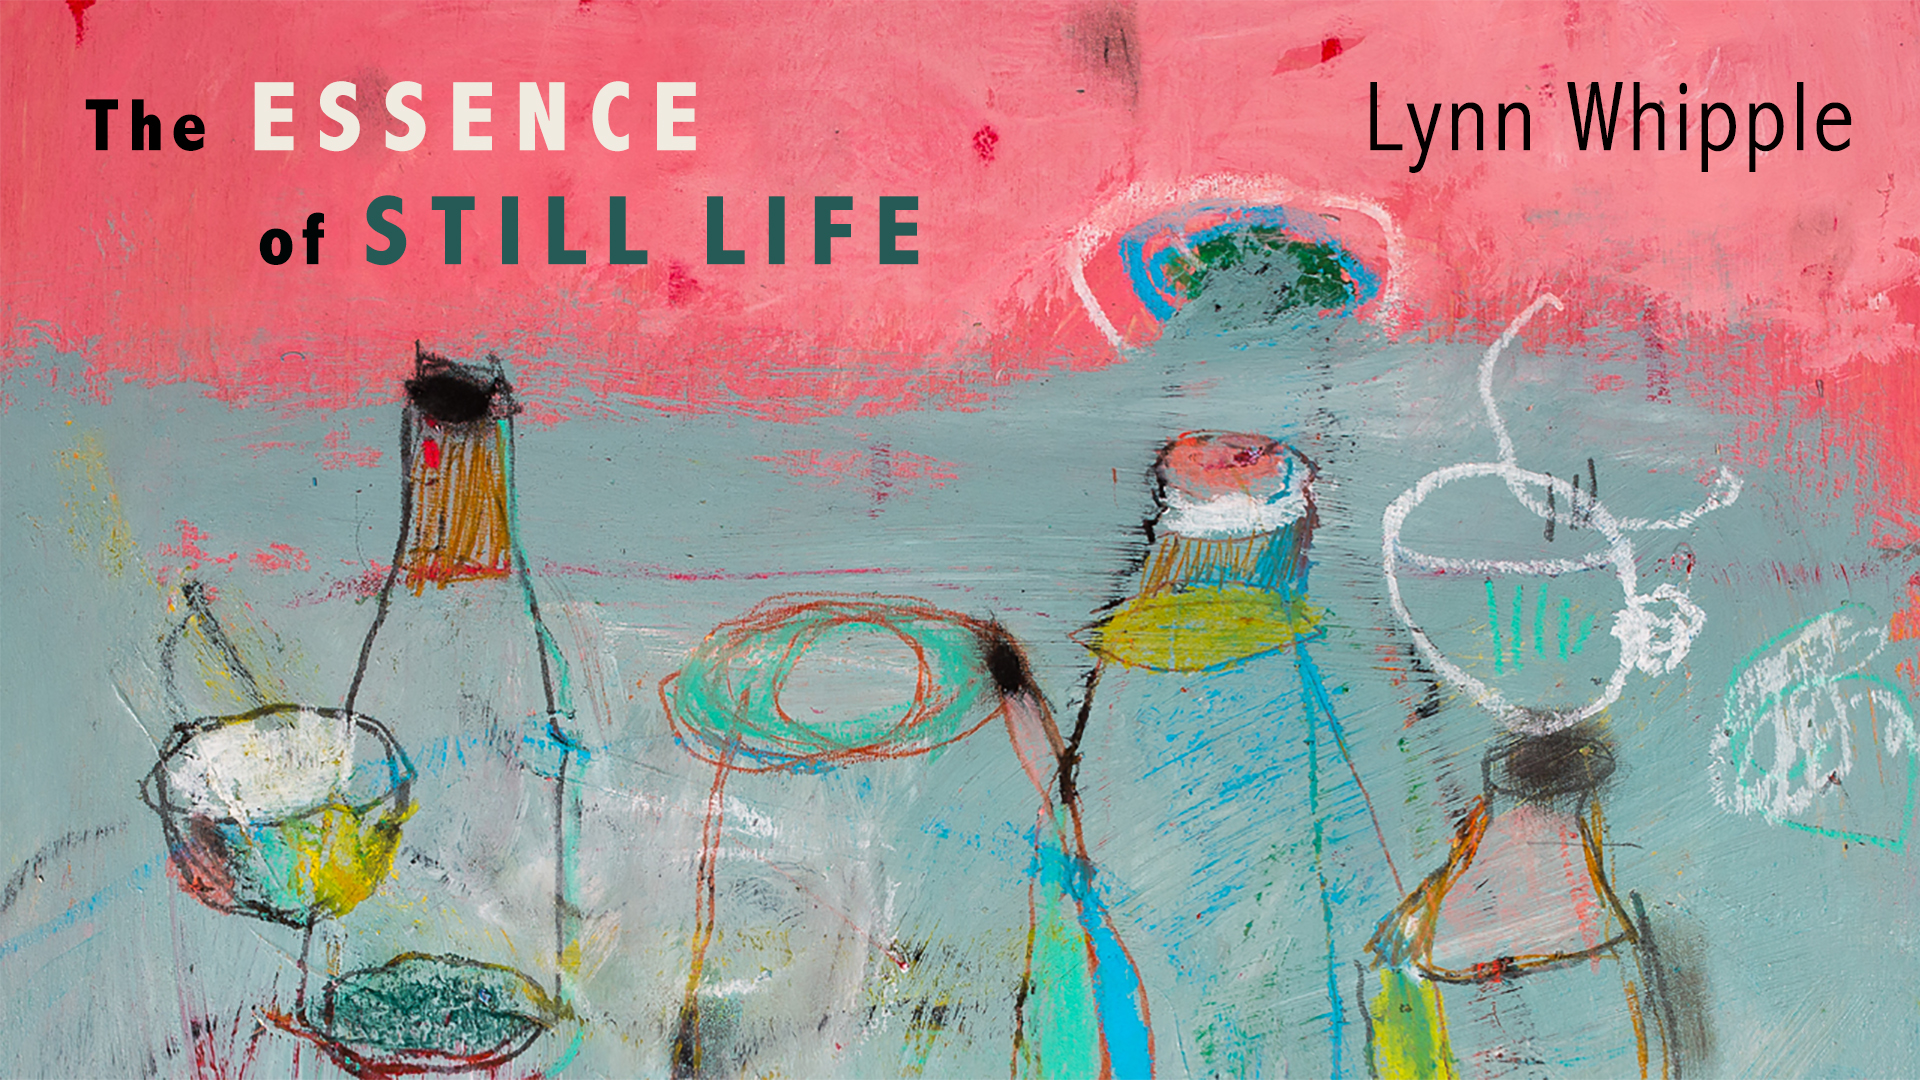
The Essence of Still Life
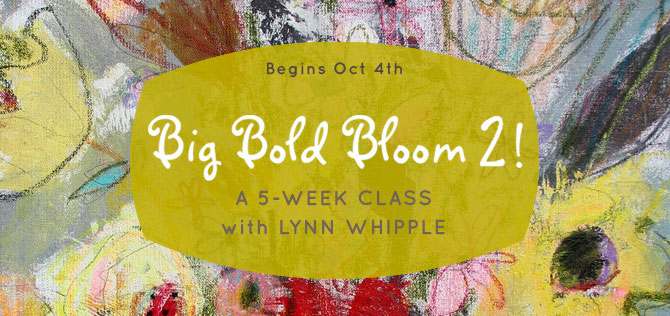
Drawing + Painting
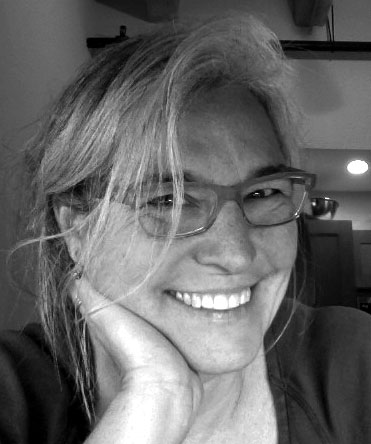
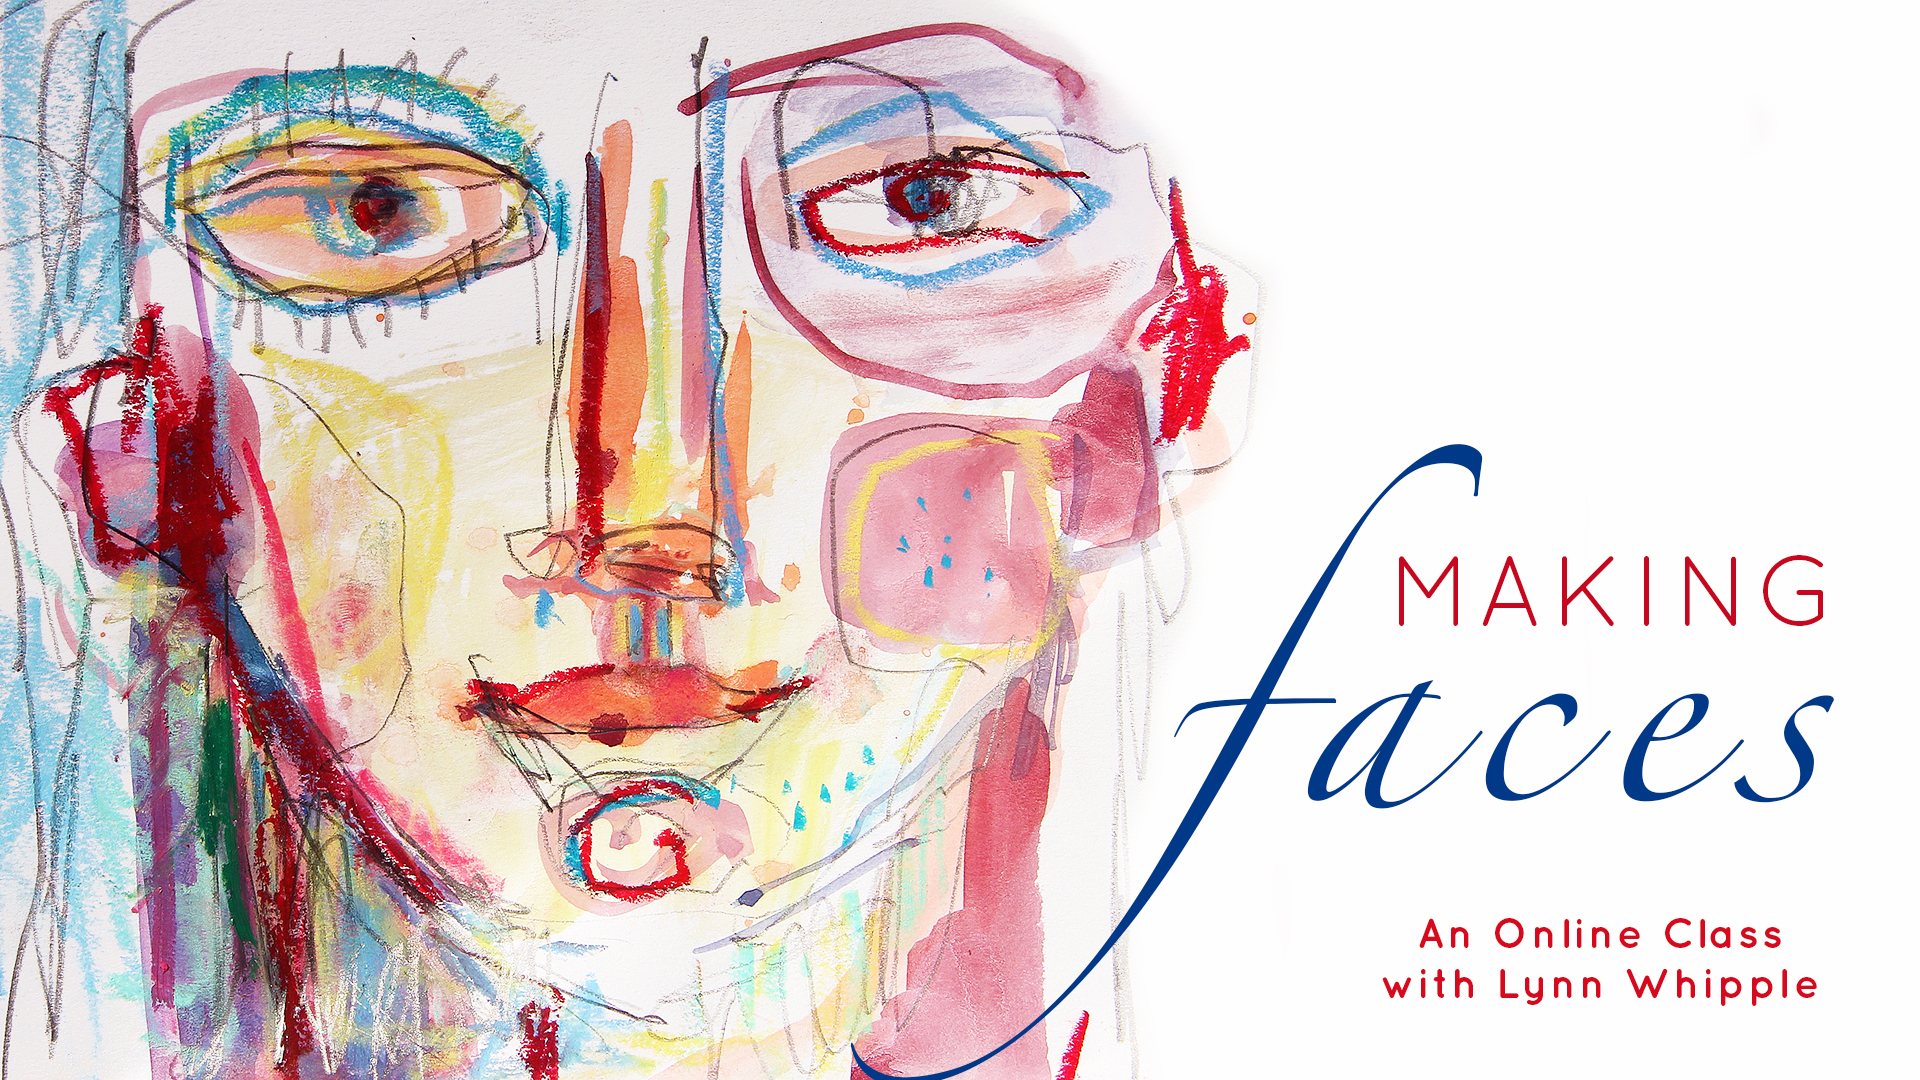
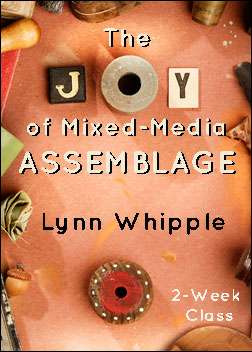
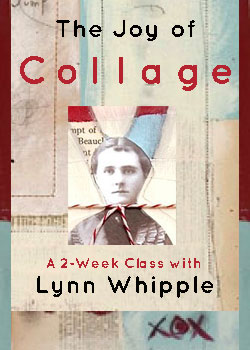
Instructor: Lynn Whipple
Three-Week Class • 6 Lessons
Now available as a self-study class.
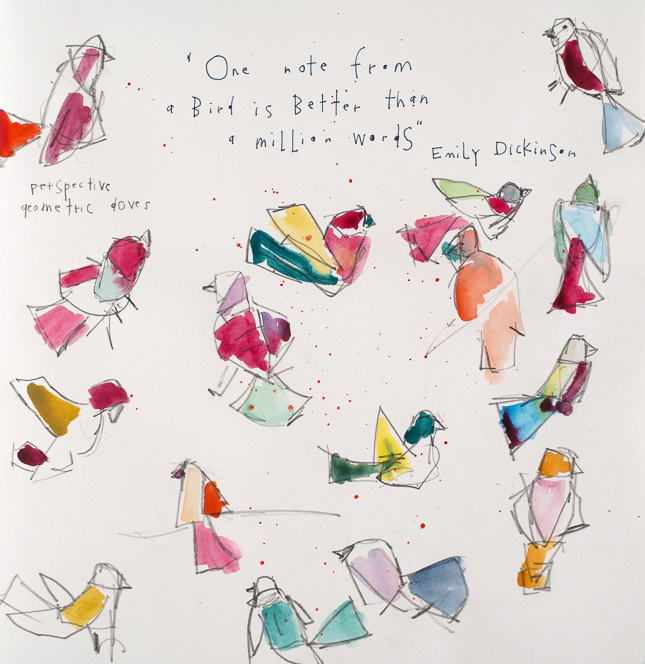
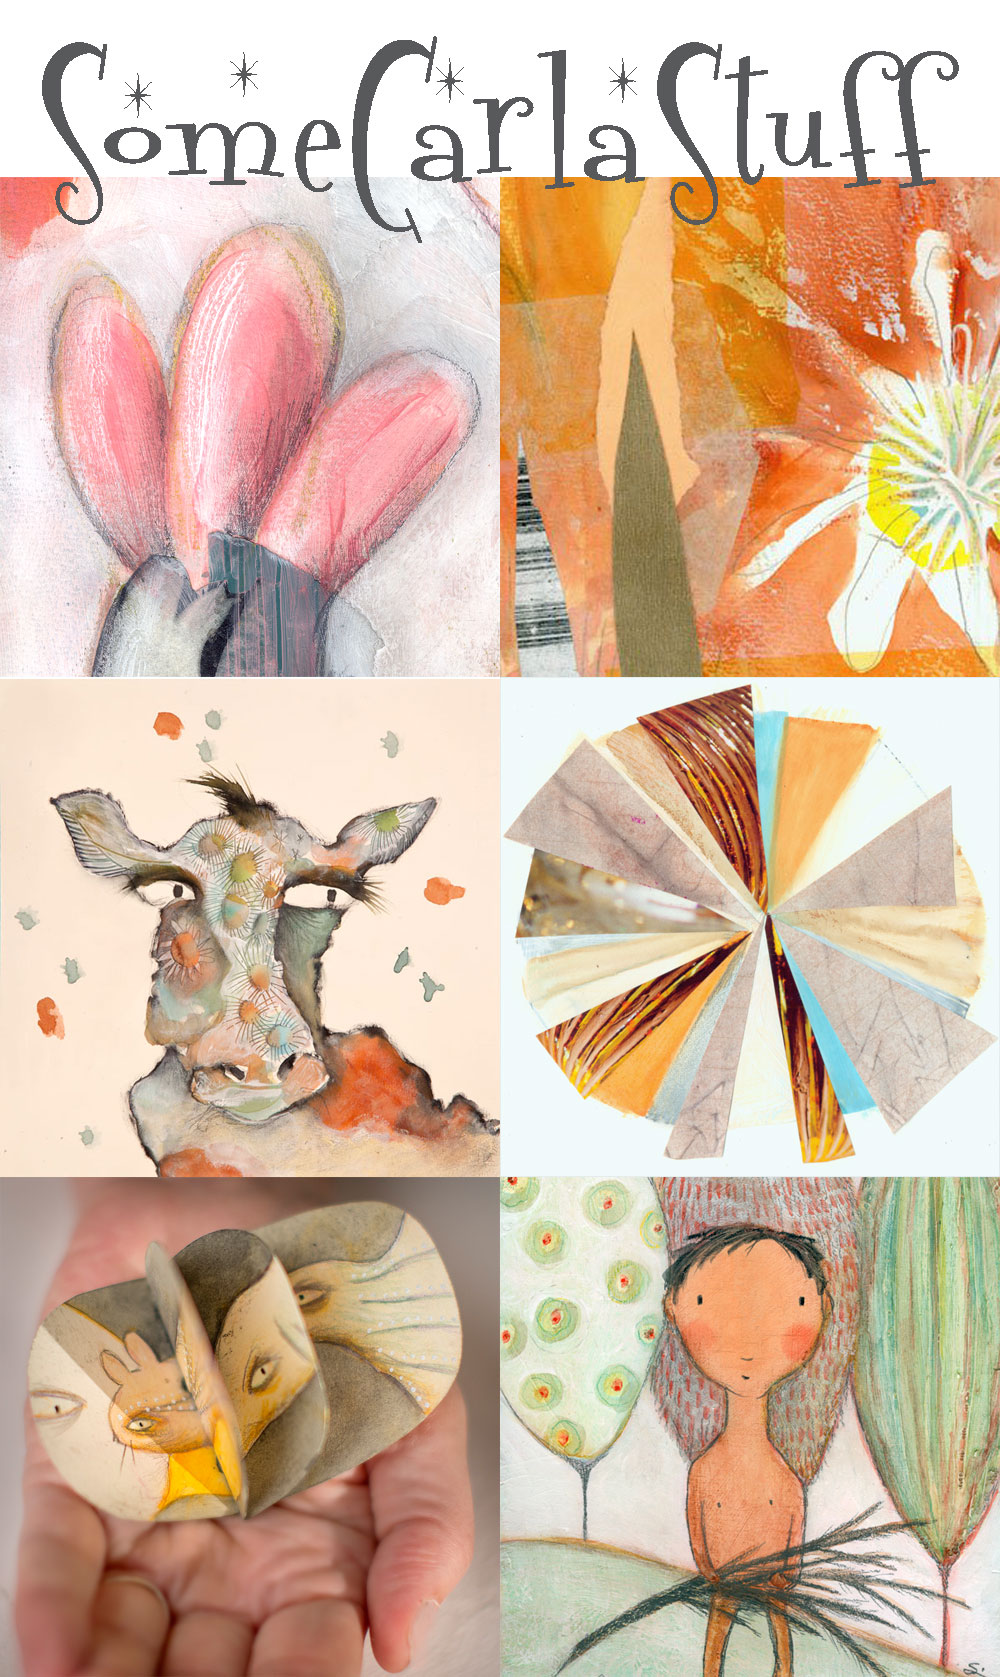
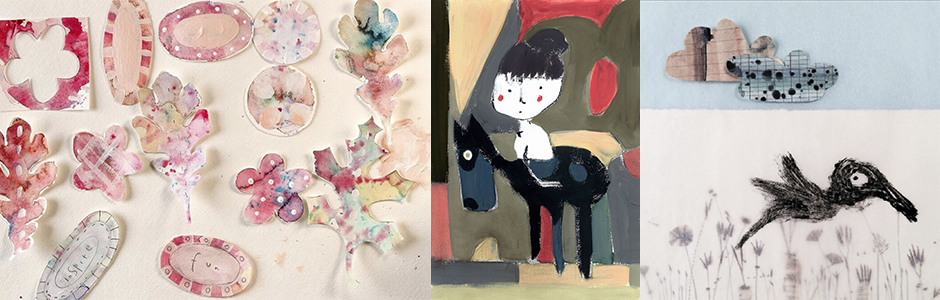
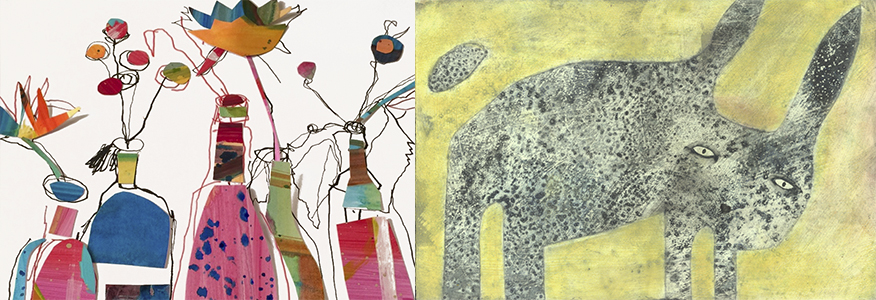
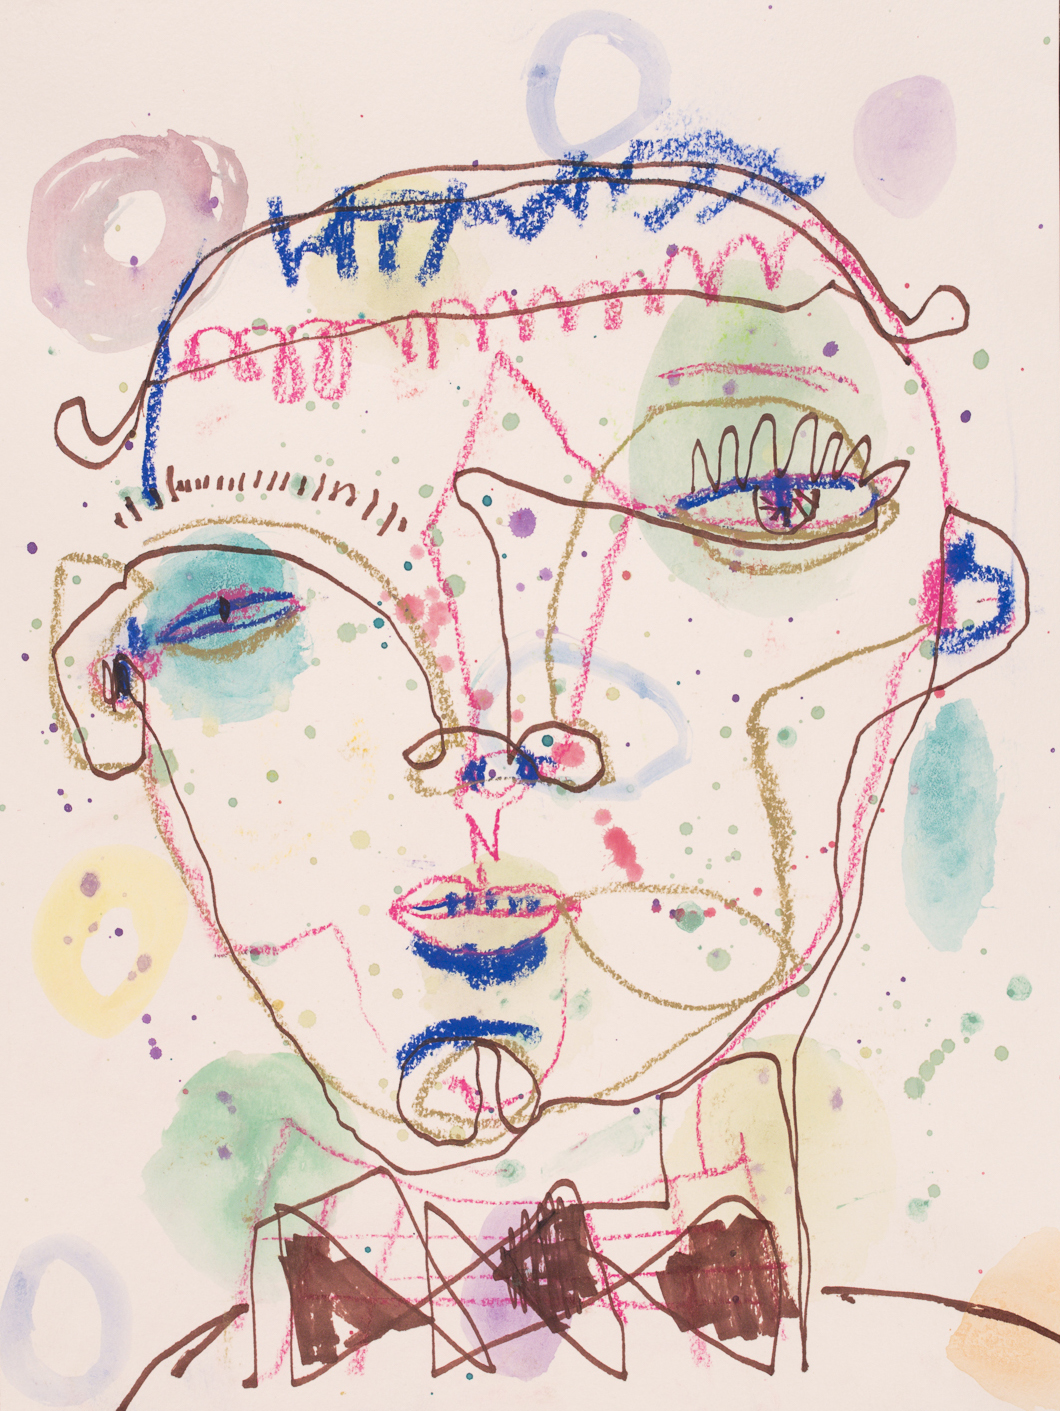
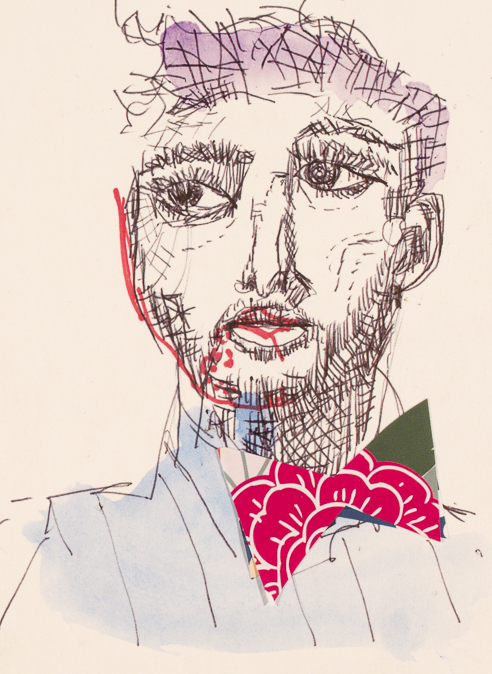
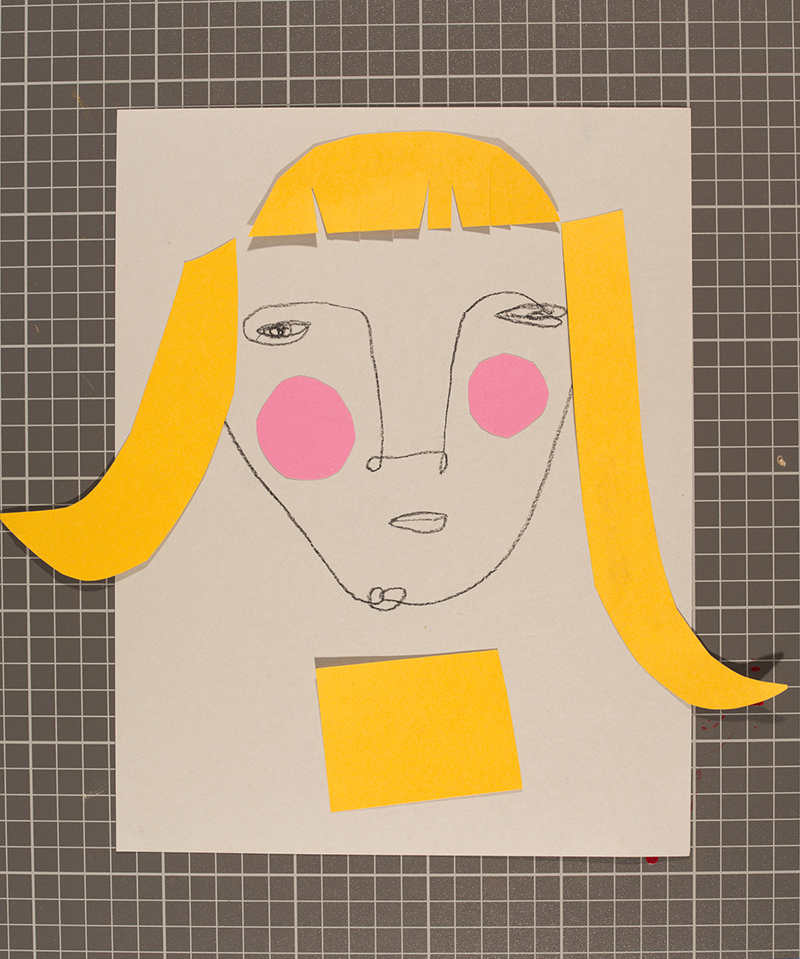
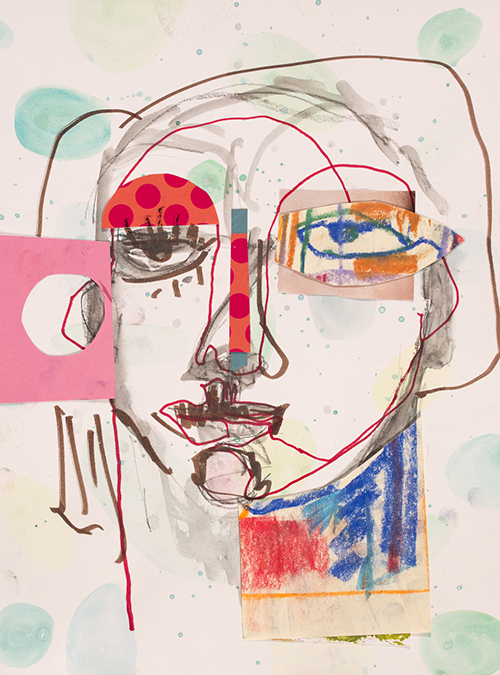
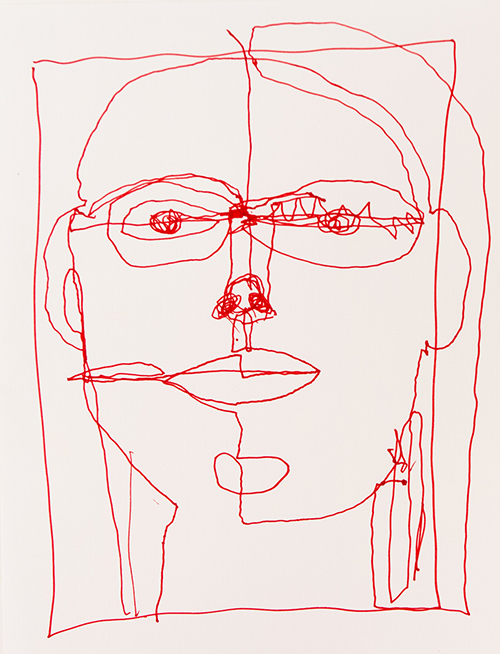
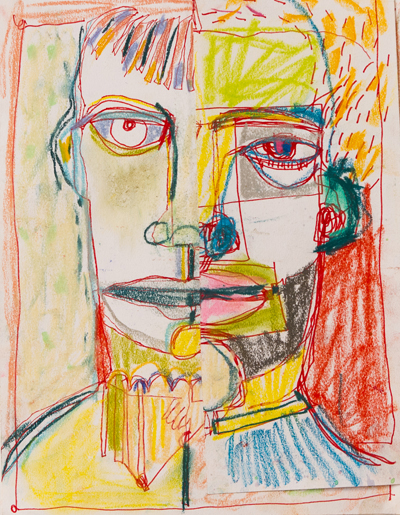
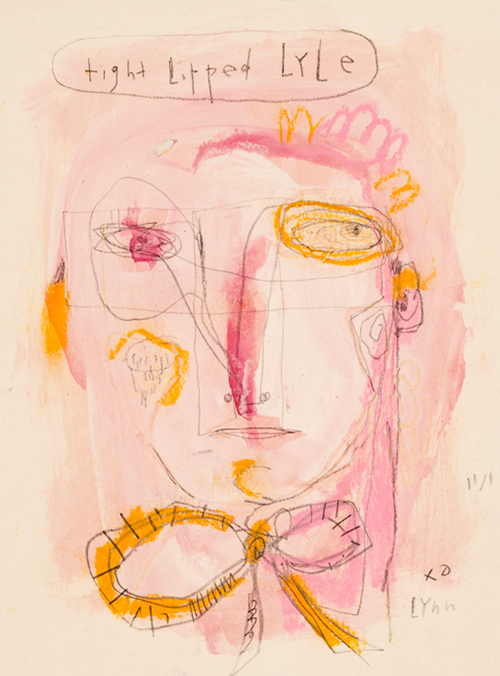
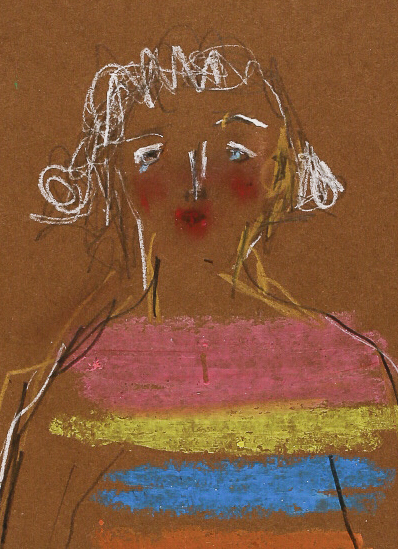
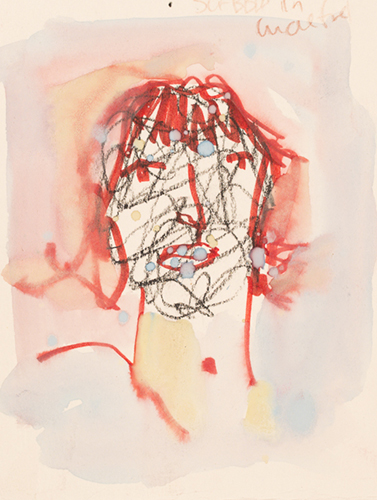
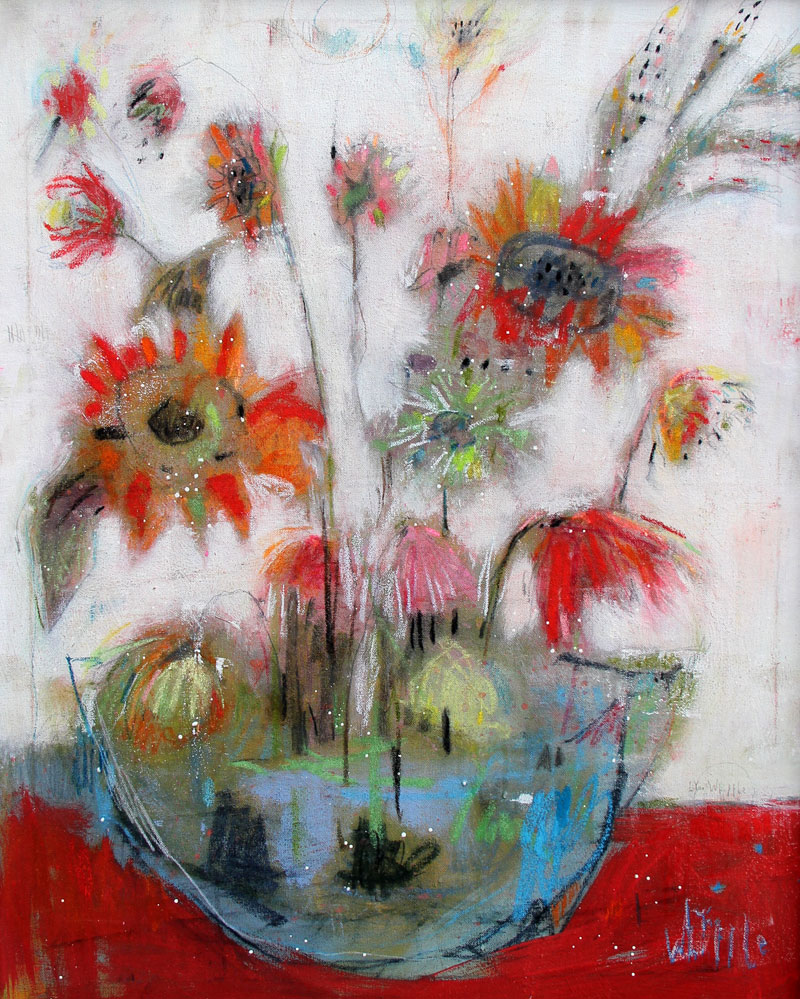
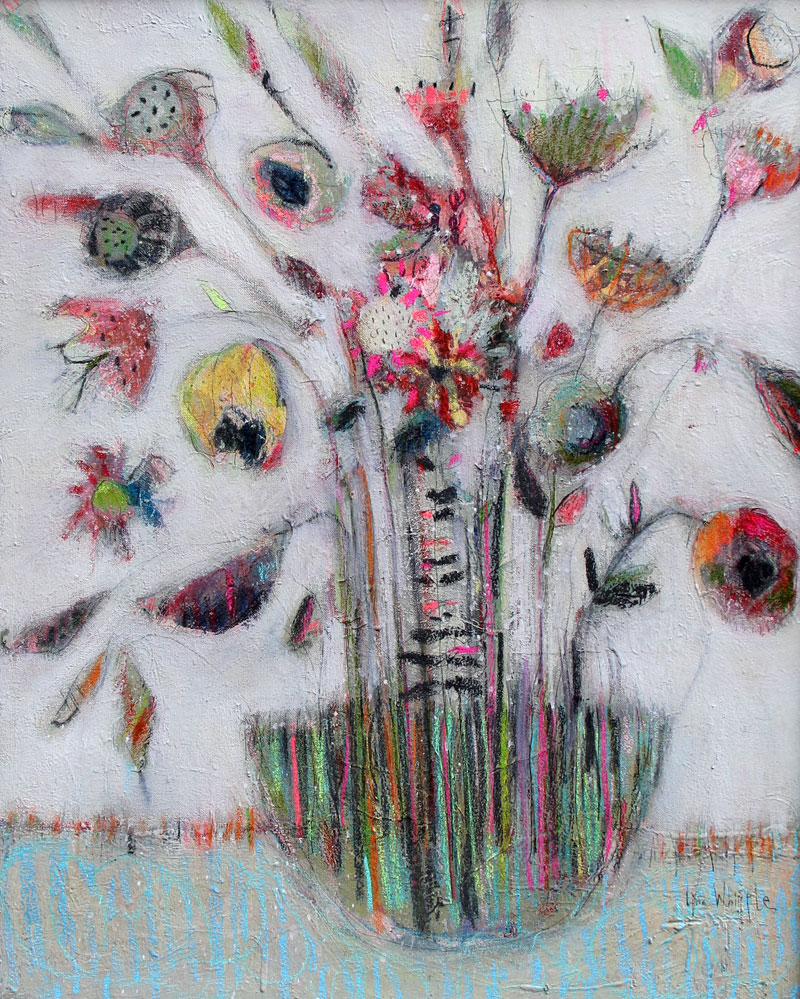
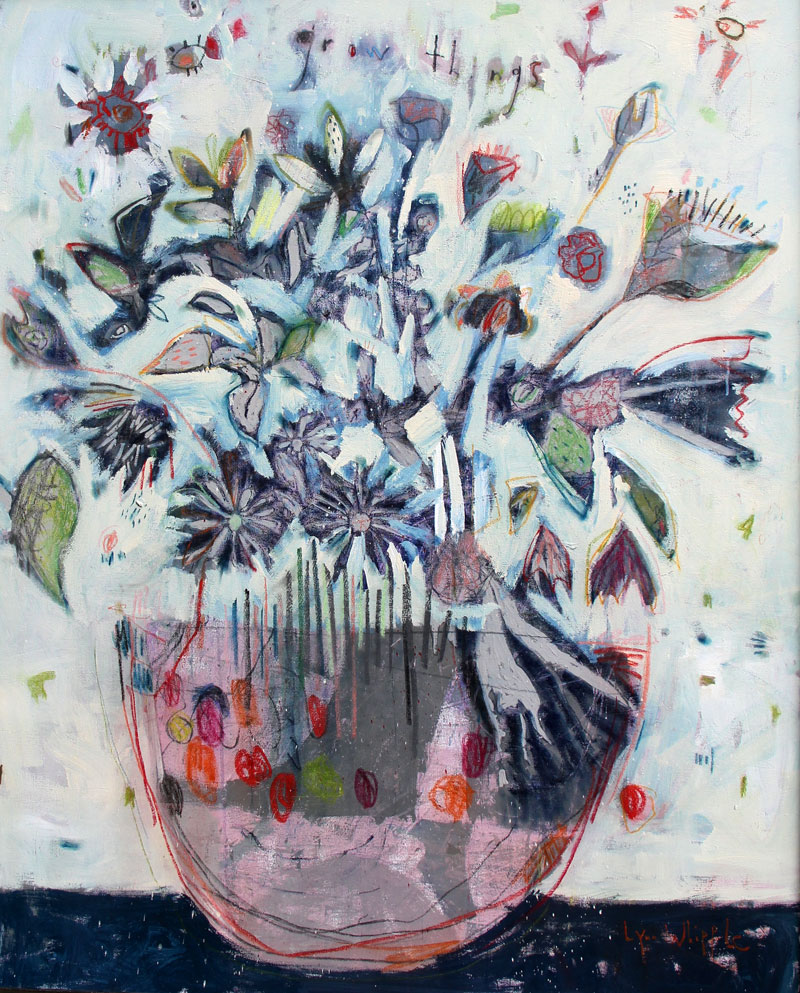
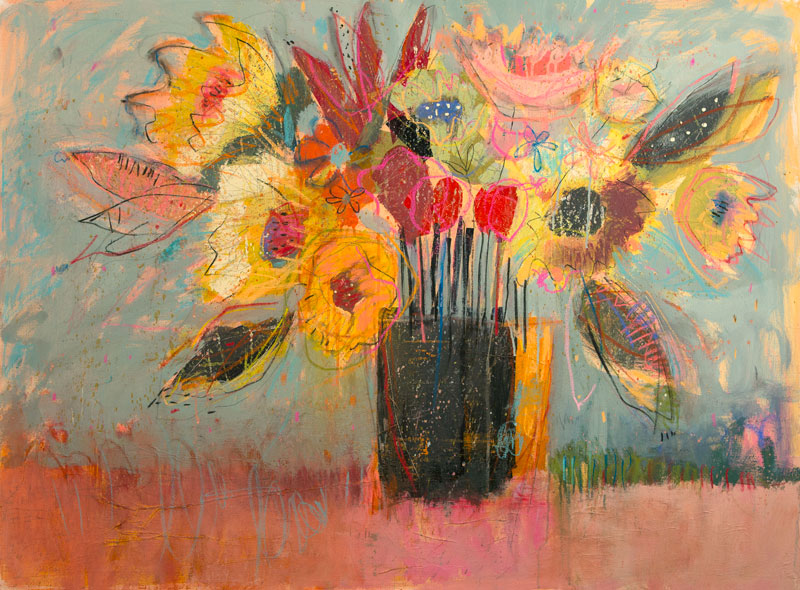
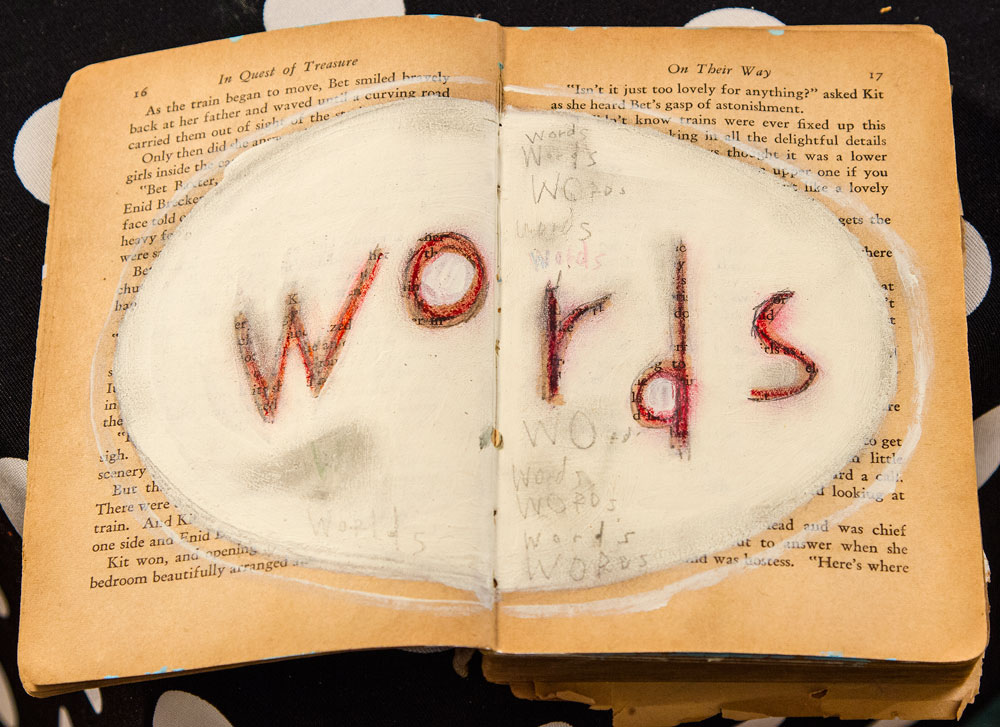
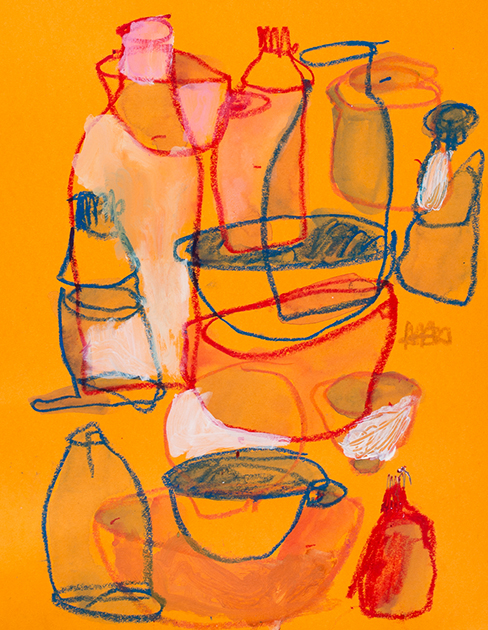
Quirky is okay!
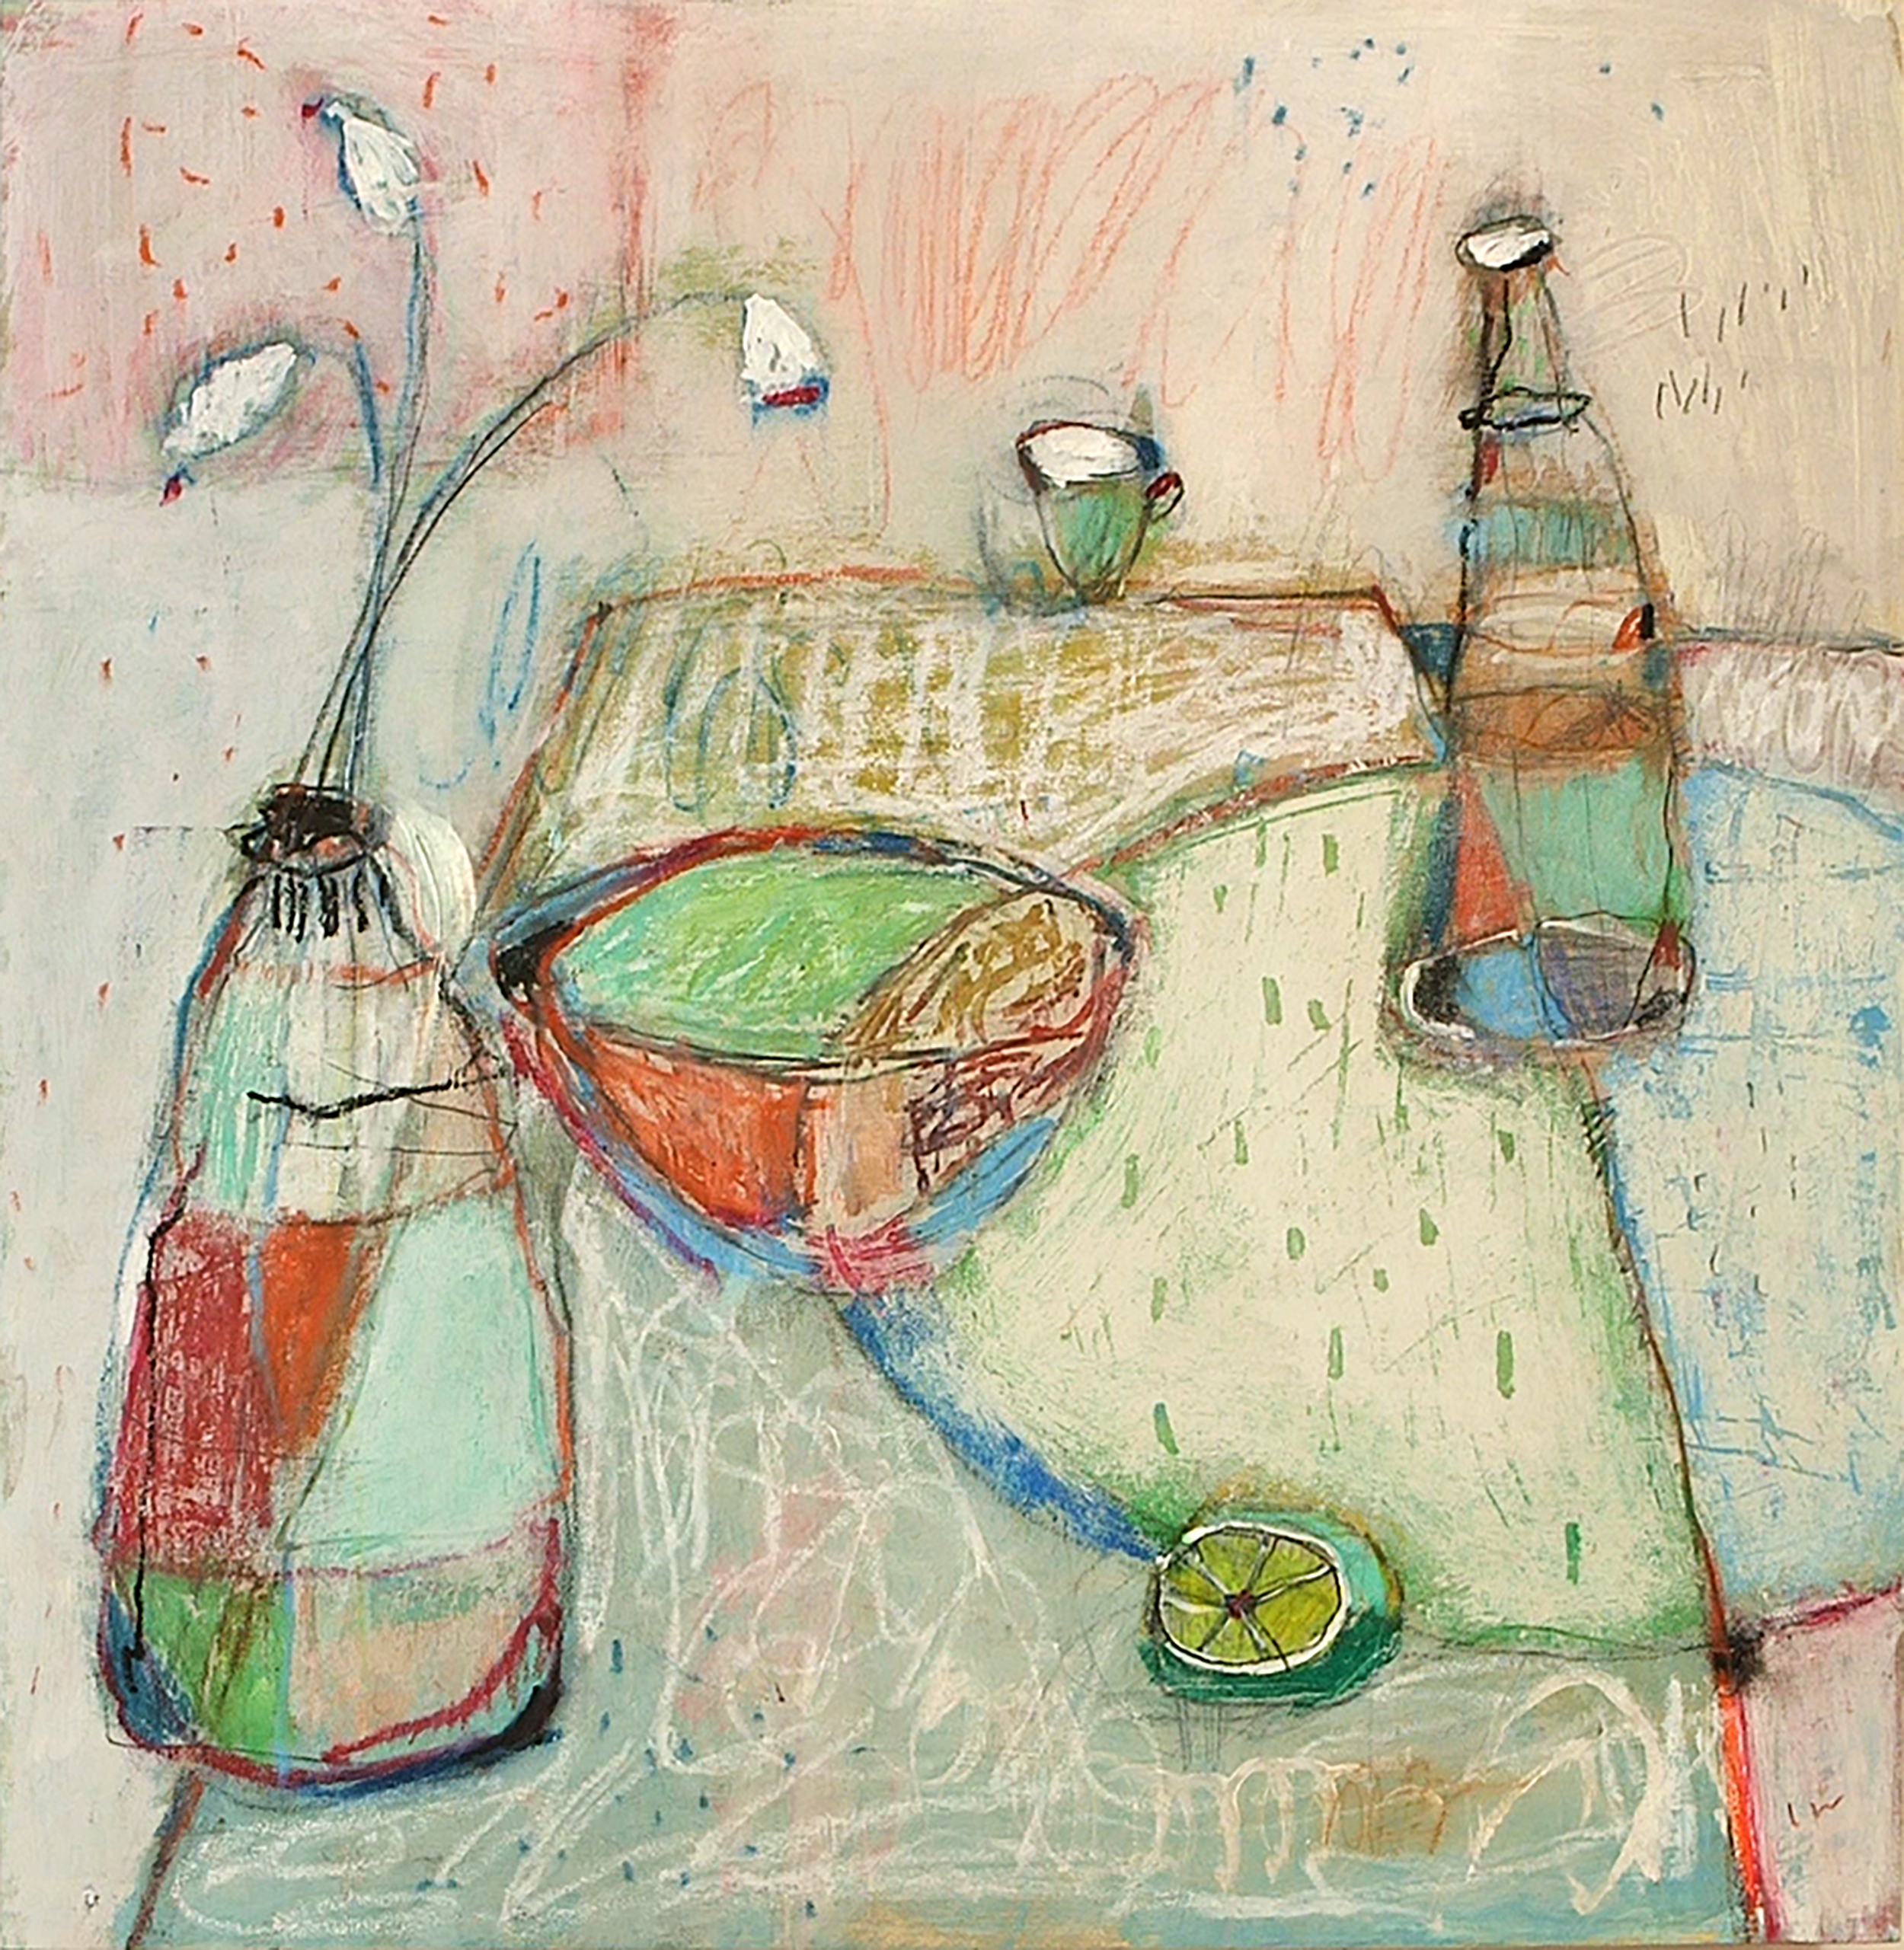
In “The Essence of Still Life,” we’ll enjoy playing with new ways to depict a traditional subject matter, the still life, as we create fresh and contemporary paintings and drawings that are infused with the core essential qualities of our favorite objects. We will surround ourselves the with wonderful things that we have collected throughout the years and the simple things that add a special spark to our everyday.
In this artful exploration, we will create three 12″x12″ paintings and one 16″x16″ painting on wood panel, starting each lesson with with a quick drawing exercise. Charming line, interesting shapes, new ways to create, cover and uncover color, abstraction, mark making and poetic editing are a few of the key elements we will explore in this class.
The best part is that we will have fun as we share our discoveries together in our special “Essence” community! I hope you will join us! I can’t wait to see what you will create!!
All my best!
xoxo
Lynn
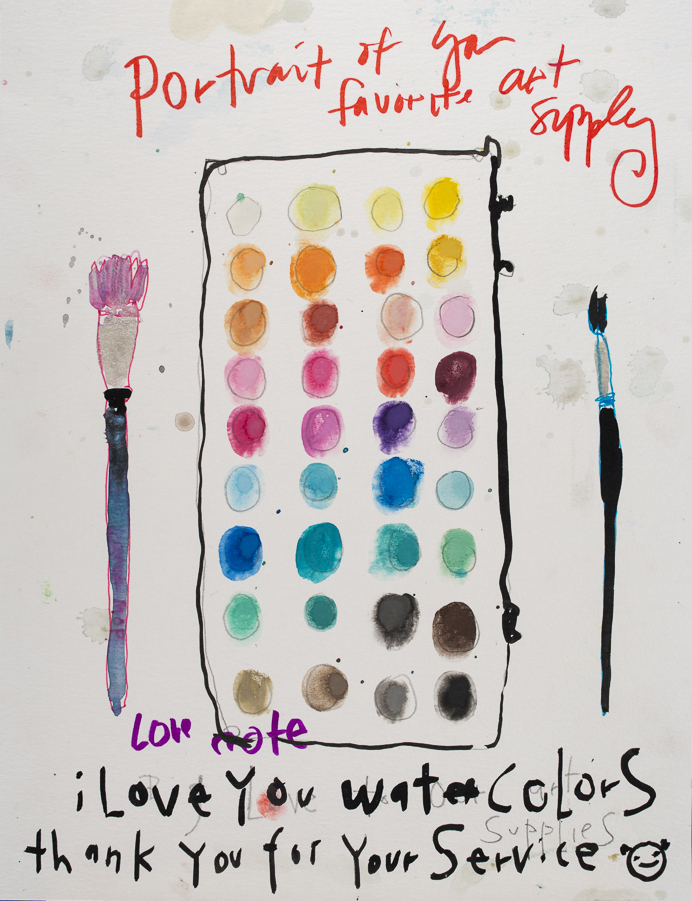
For a list of supplies needed, click HERE.
___________

Week 1
Lesson 1: Fresh Look at Favorite Things
Settle in and surround yourself with several of your favorite things! We will focus on looking at and drawing our objects today, seeing their shapes with new eyes. This collection of drawings will set the tone for our painting to come!
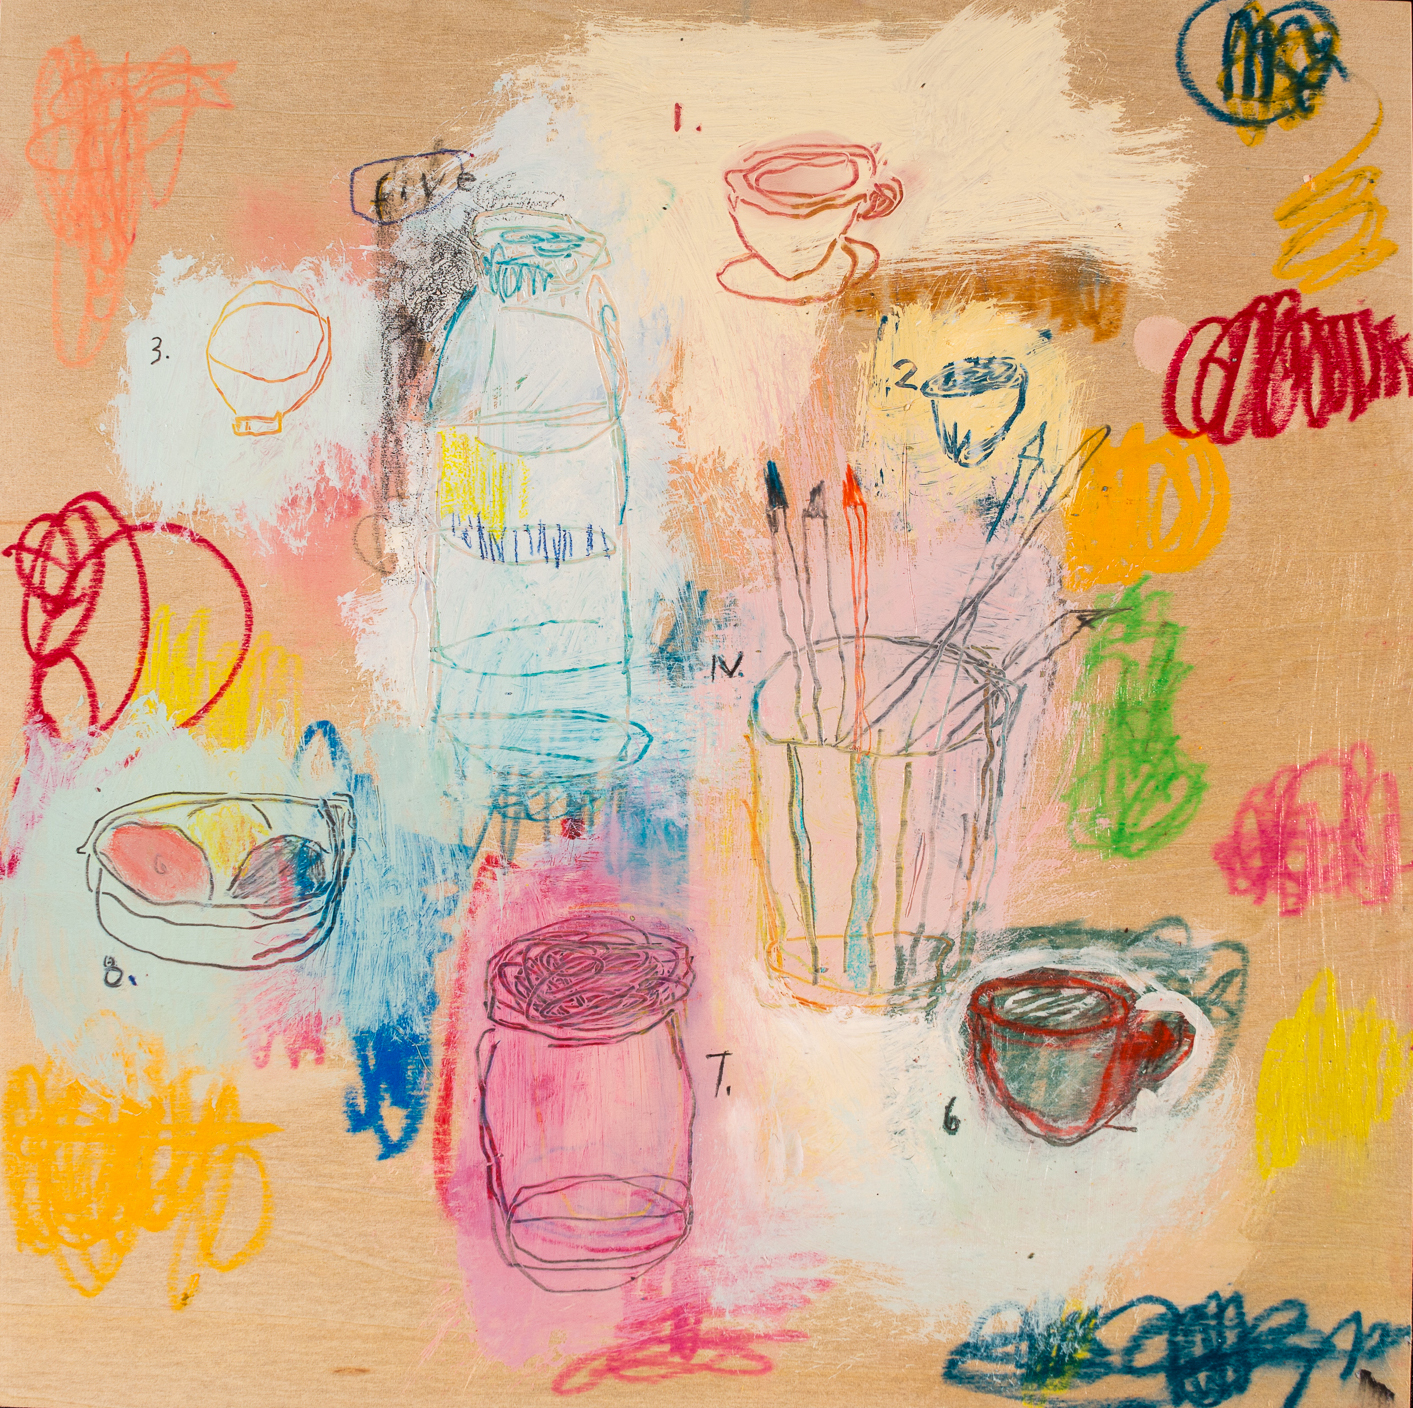
Lesson 2: Ten Things on my Table
We will begin with a quick drawing exercise: using a tender, quirky line, create a simplified version of your ten things on colored paper. Go for the essence of the item, describe the special quality, see if you can capture the simple characteristics. Next it’s time to create our first non traditional still life painting, by creating an under layer of color and drawing into wet paint.
Week 2
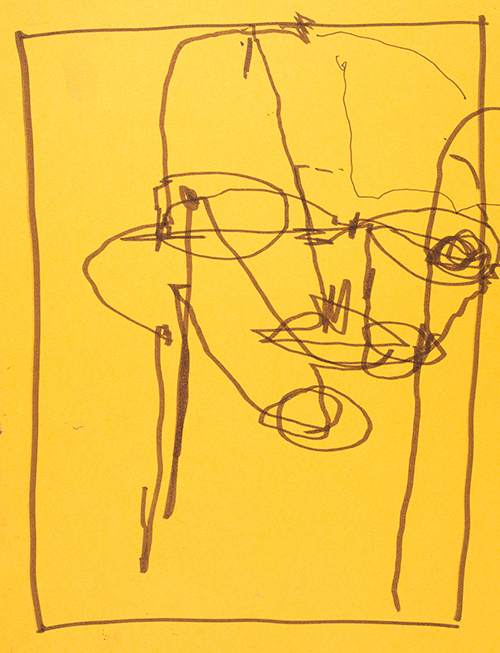
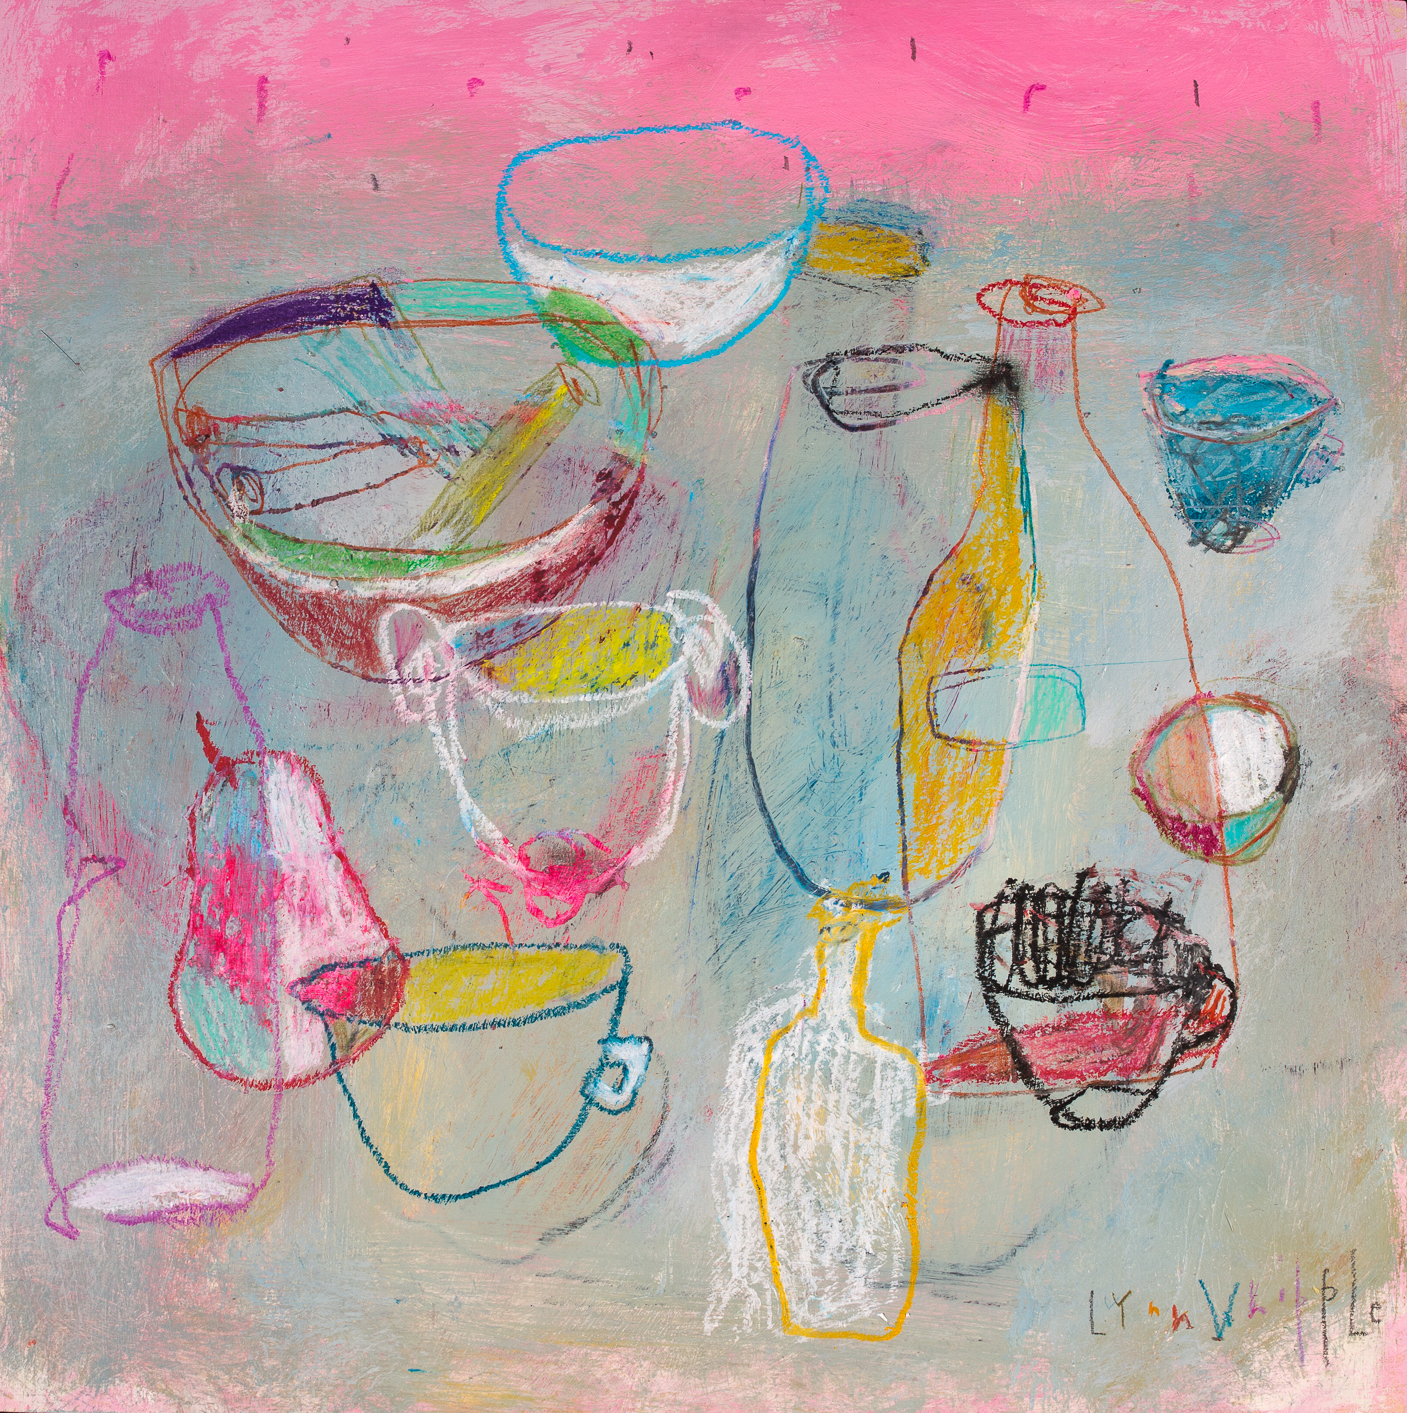
Lesson 3: See-through, Peek-a-boo and Pentimento Shape Making
Today we will begin with a drawing exercise focusing on overlapping line, then move to a 12″x12″ wood panel and create a quick underpainting. On top place a pleasing collection of drawings with a variety from small to large. Next fill in some of the overlapping shapes with color using your pencils and crayons. Notice a little of the color from underneath. Make marks, add some white and sign your name with it feels just right!
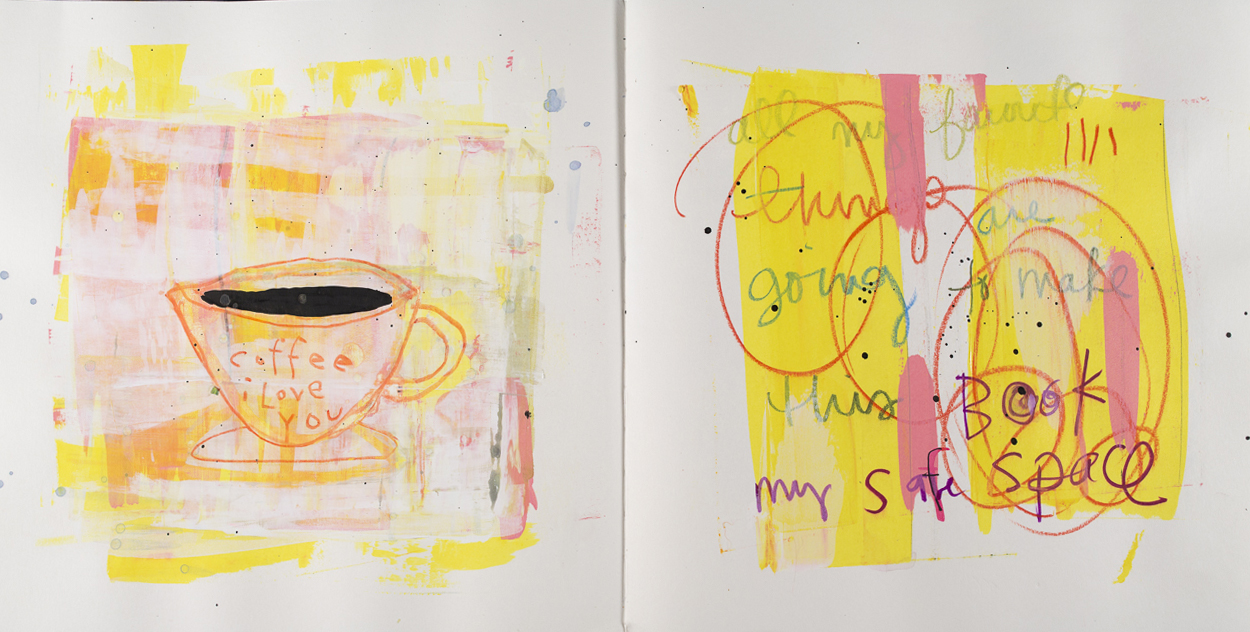
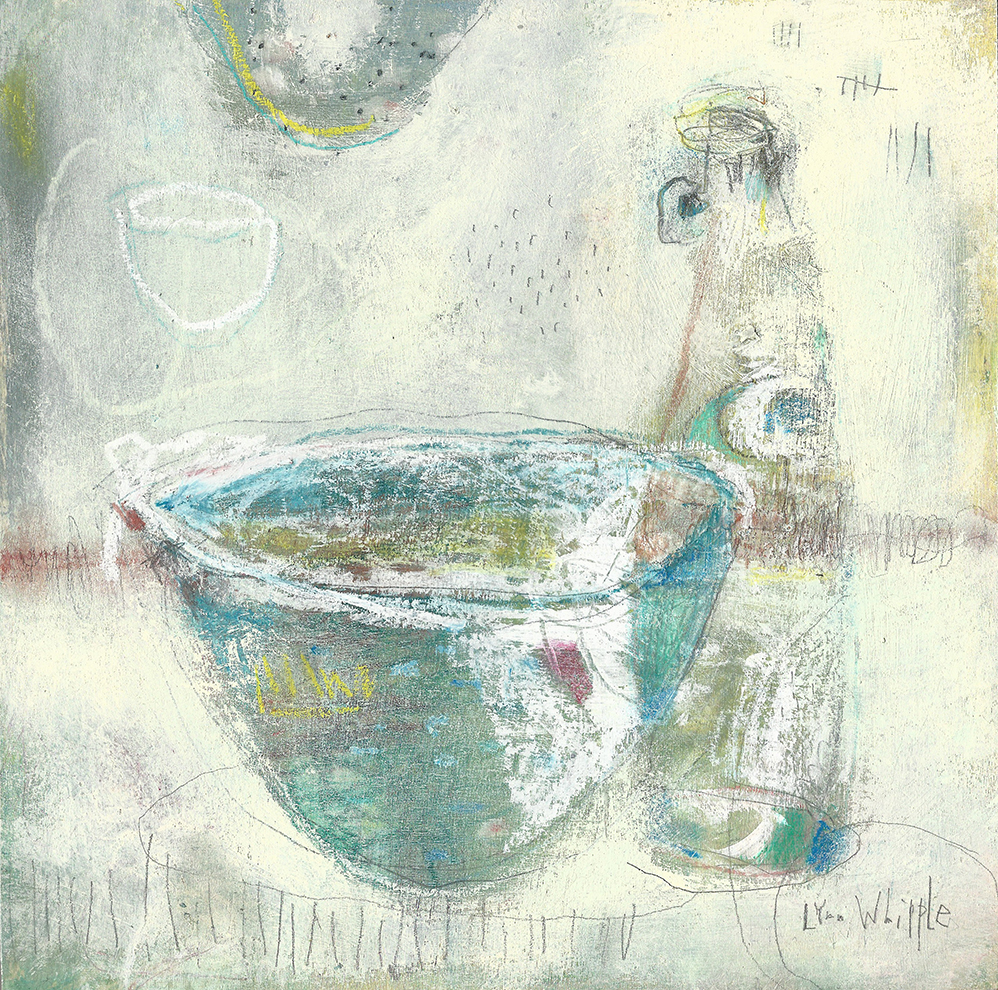
Lesson 4: Favorite Cup
We will start with a drawing exercise called Ten Cups. Your favorite cup will serve as your muse. Draw your cup ten different times using at least 4 different pencils, markers or crayons on a piece of colored paper. For our third 12″x12″ painting, we will start with the background and create an abstract, energized, field painting as the perfect backdrop for our favorite cup.
Week 3
Lesson 5: Composition and Color: Setting your table
Look at your previous drawings from class and choose at least 5 drawings of your items, with an eye for charming shapes. Next, sketch a few thumbnails or seed drawings using a different shaped table plane and a circle shape. Place items on the page, some super close to you, mid ground, and one far away and smaller. On your 16″x16″ panel, create a variety of color sections, use your scraper tool and brayer, add areas of energy and marks, some darks, thick and thin line. Draw in your table plane, items and circle shapes. Make overlaps and create a large background shape with white paint.
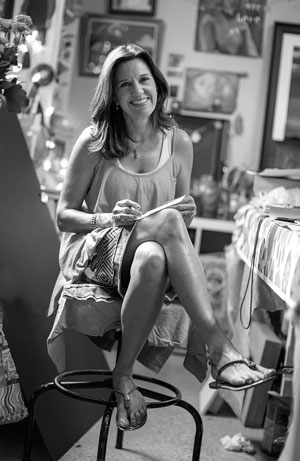
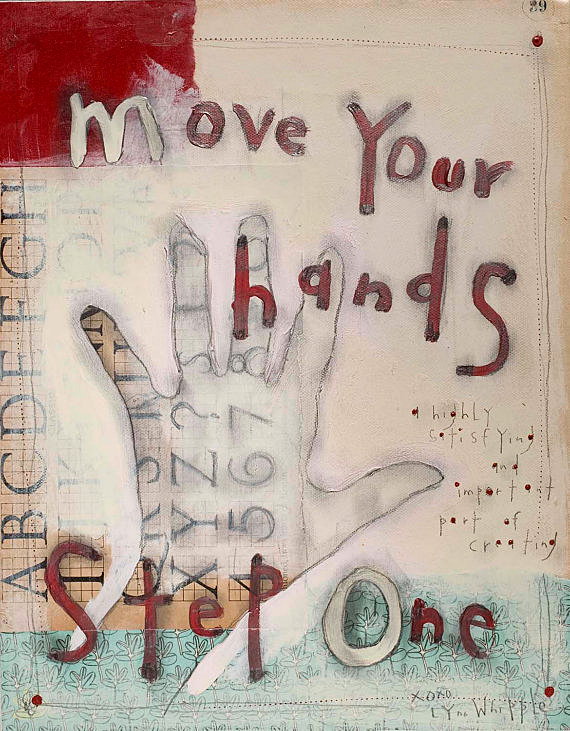
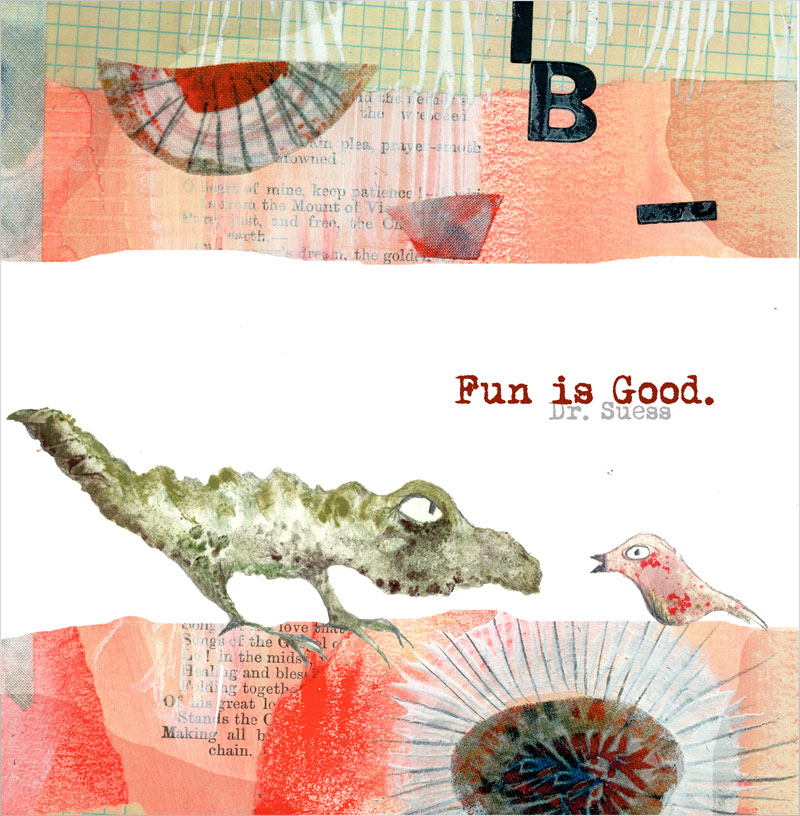
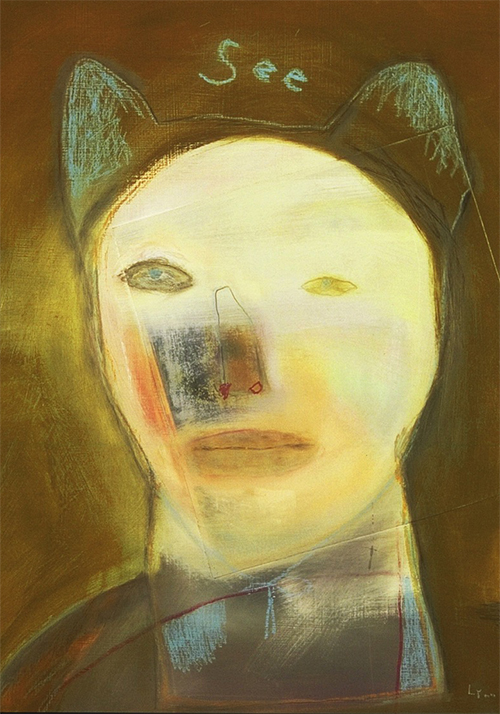
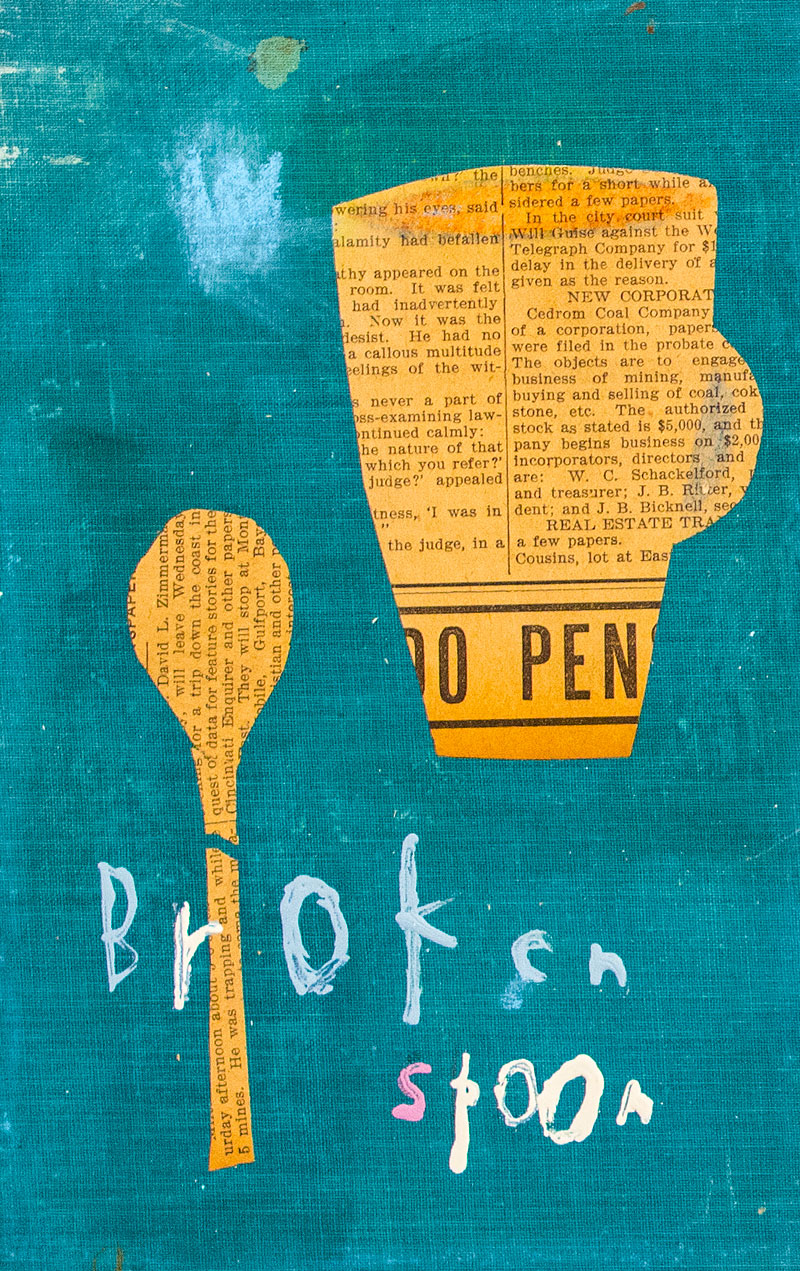
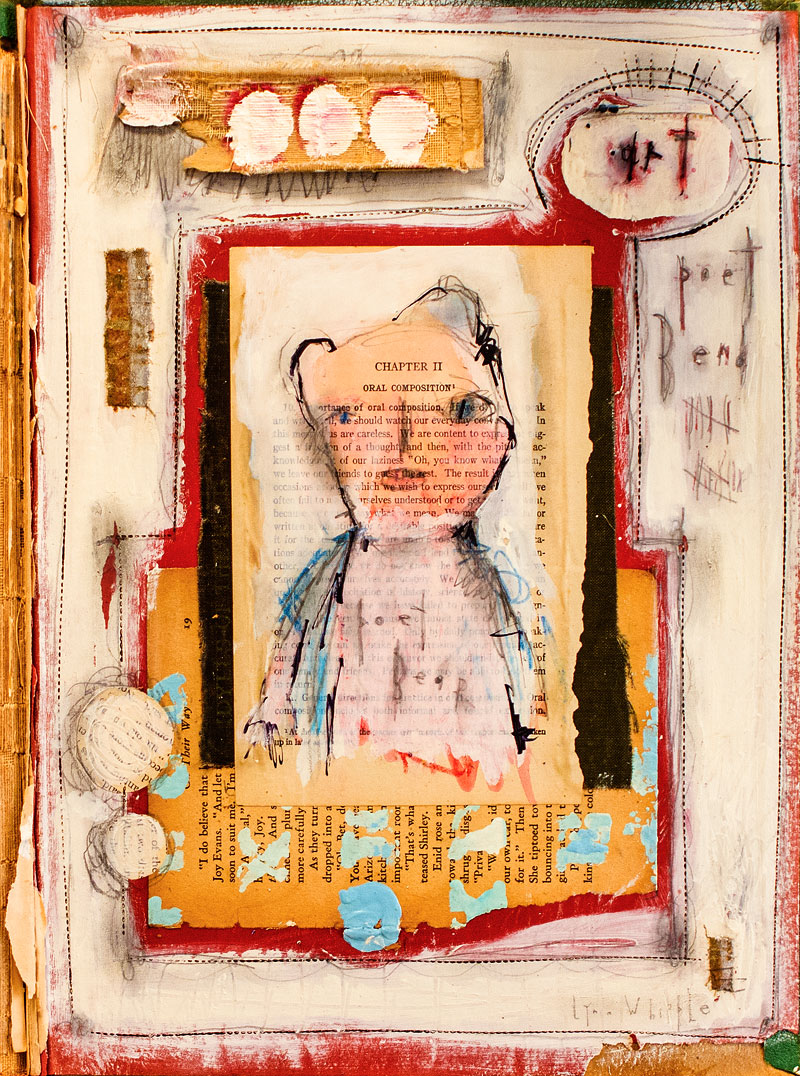
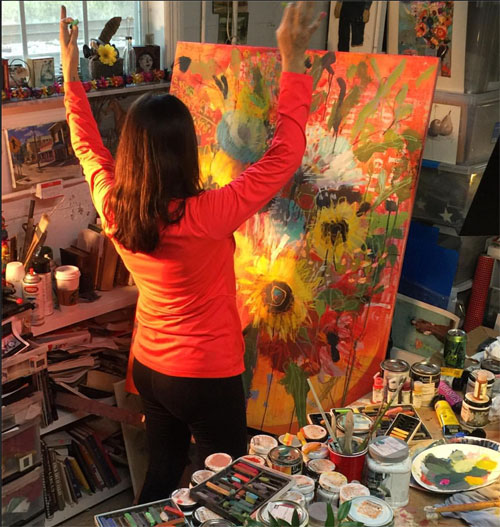
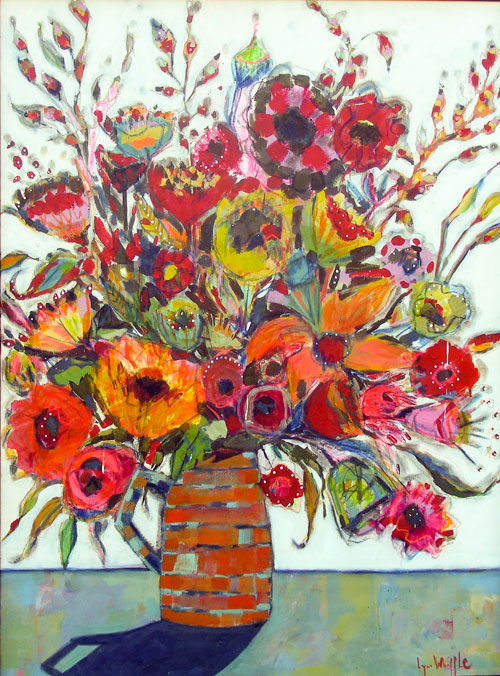
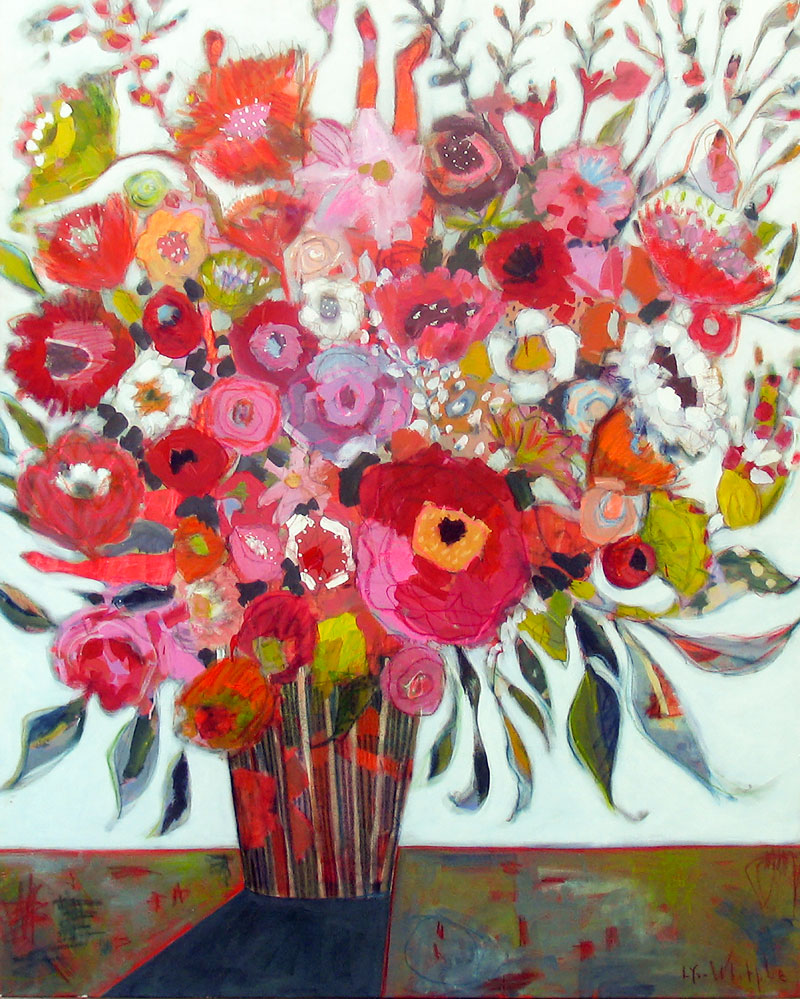
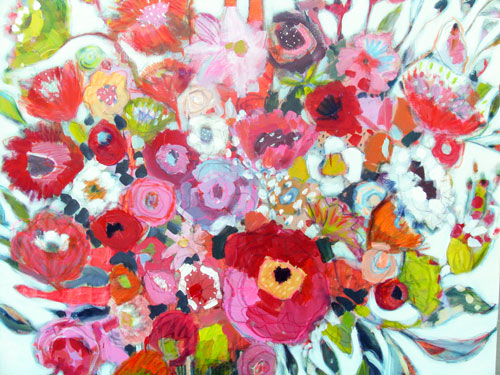
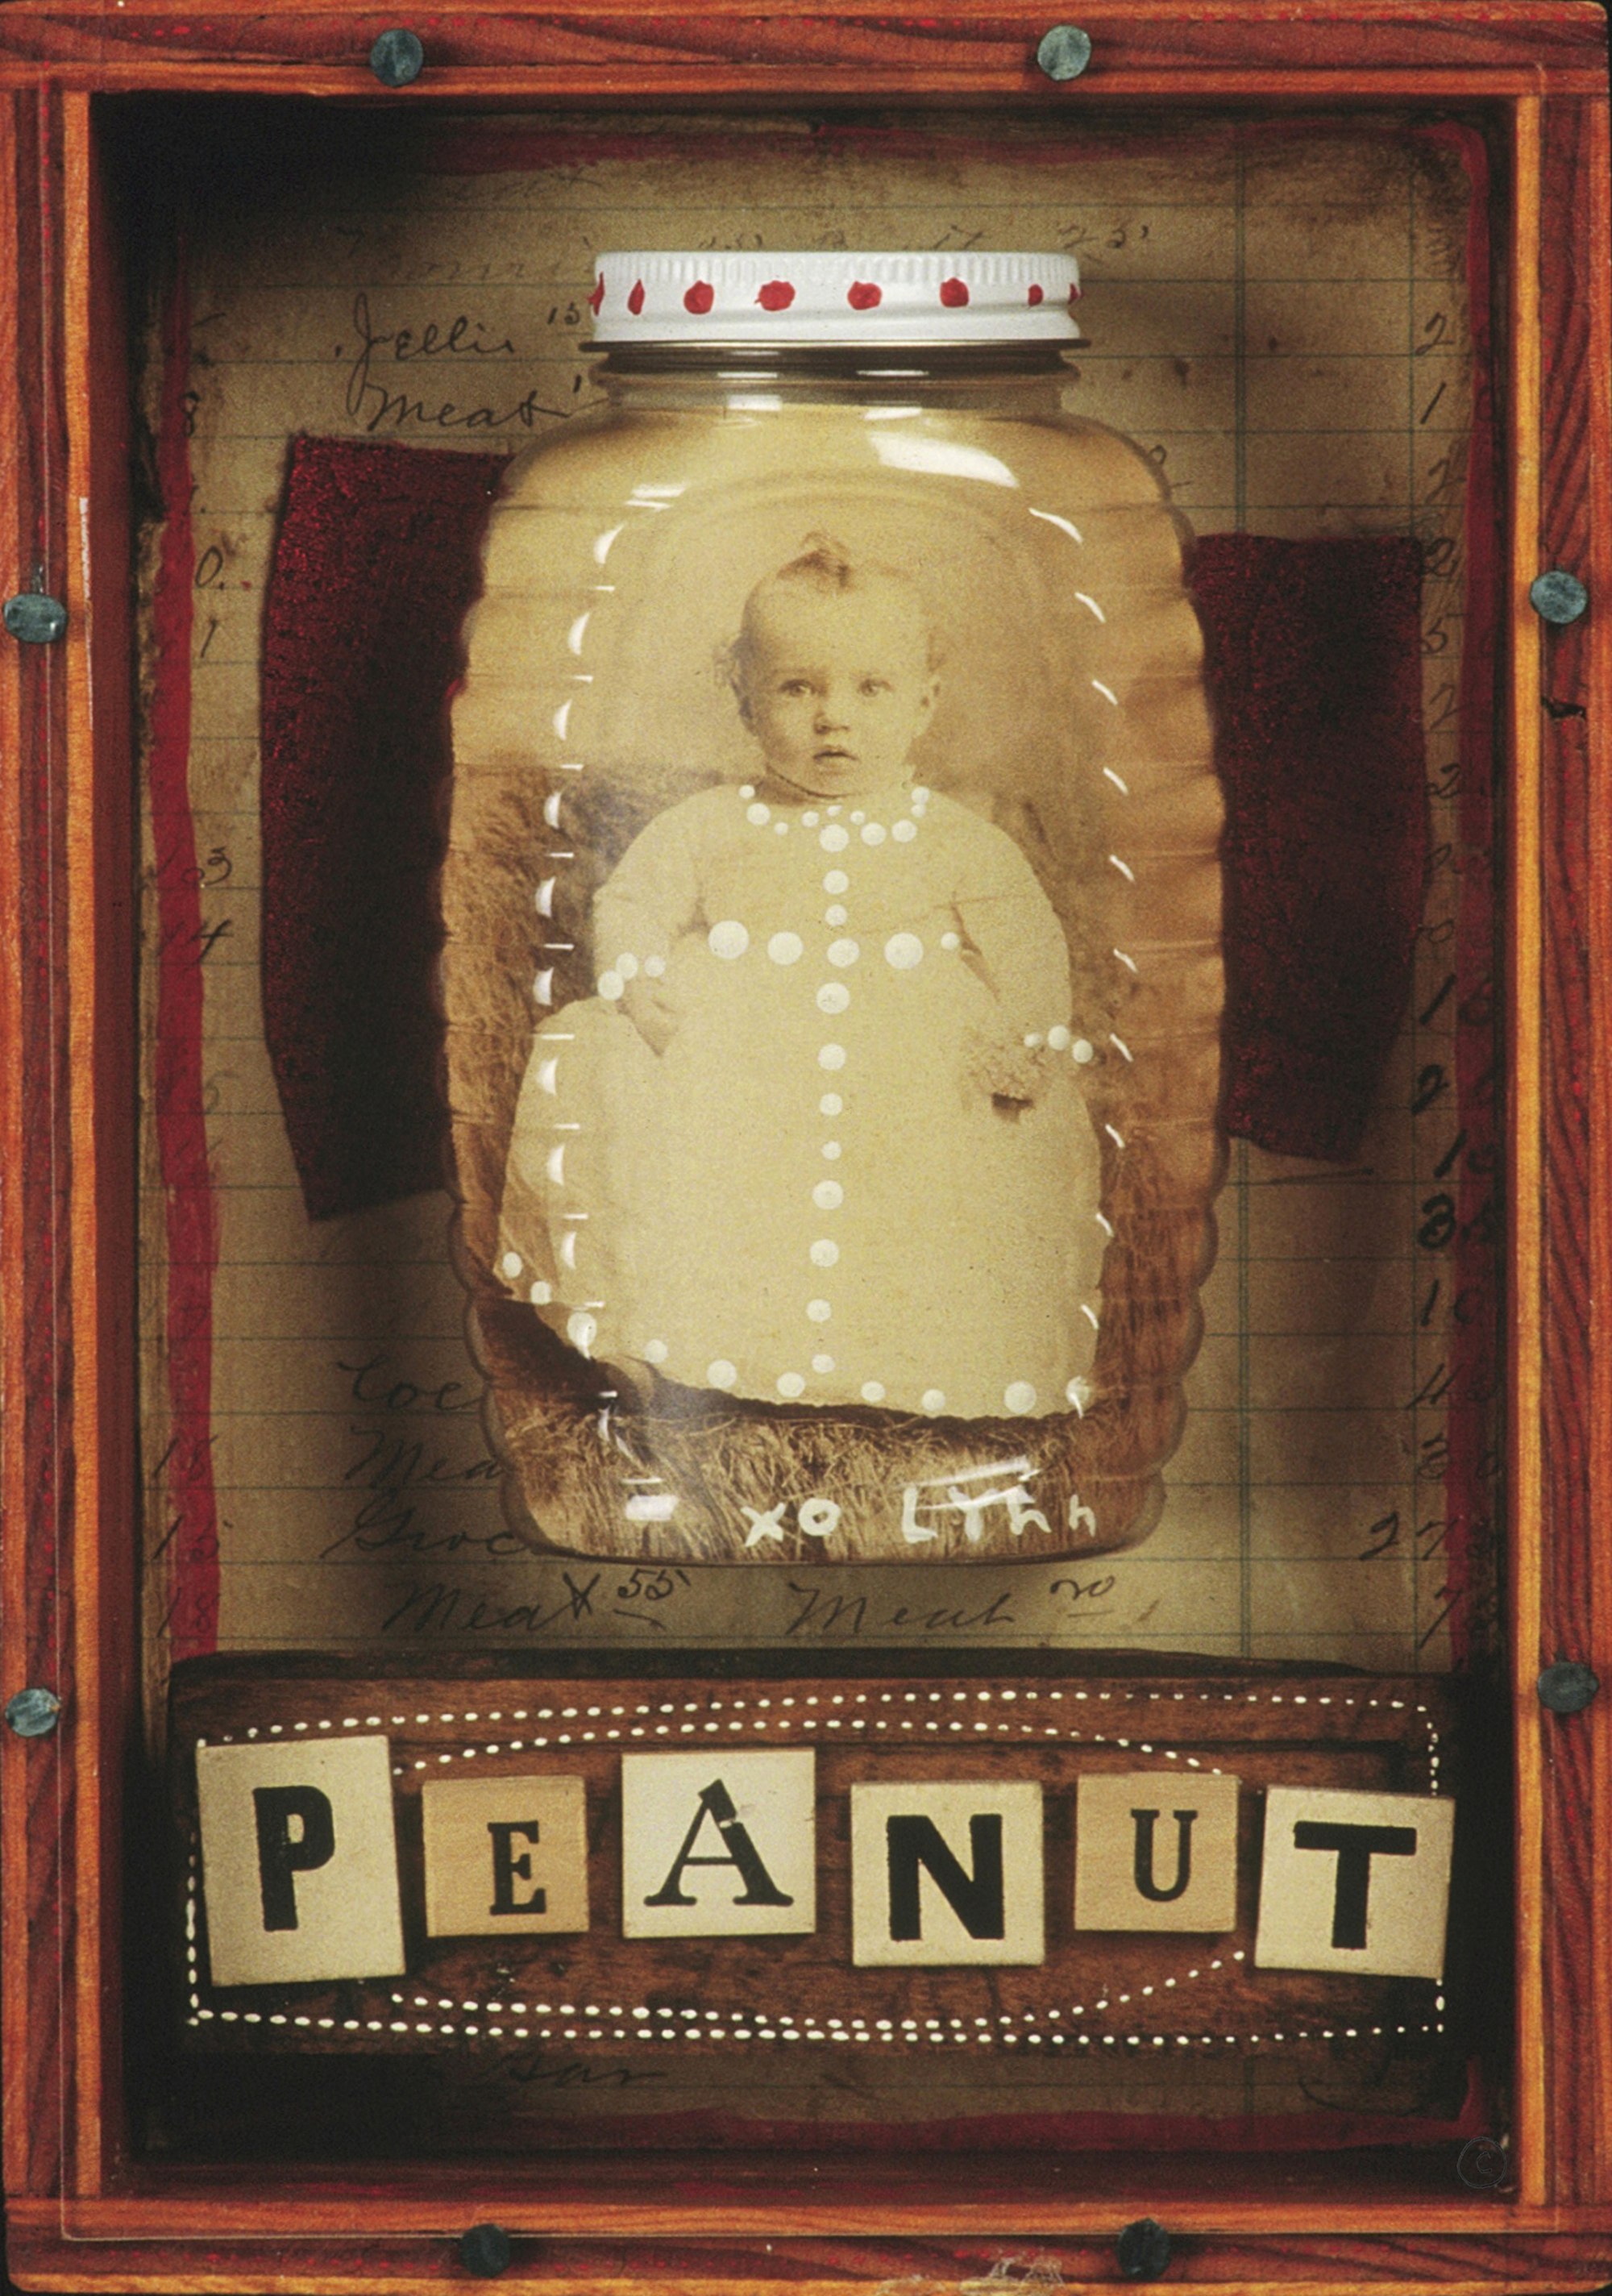
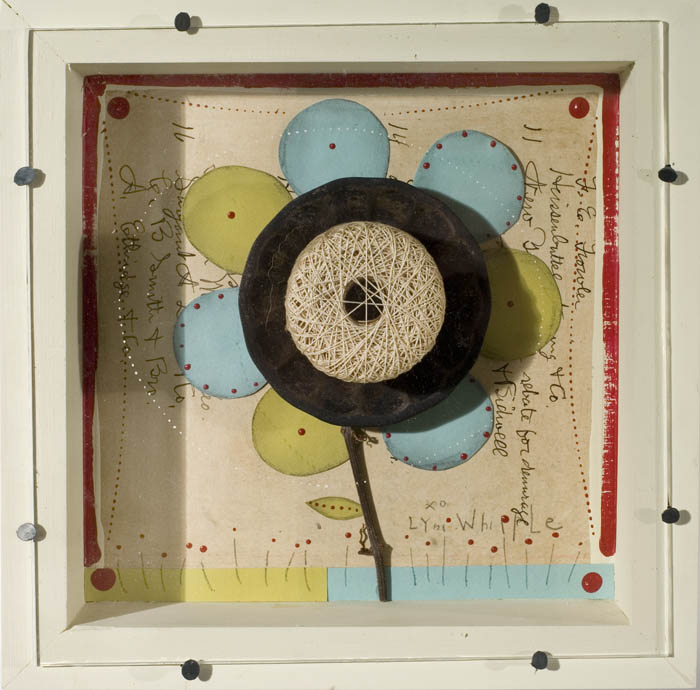
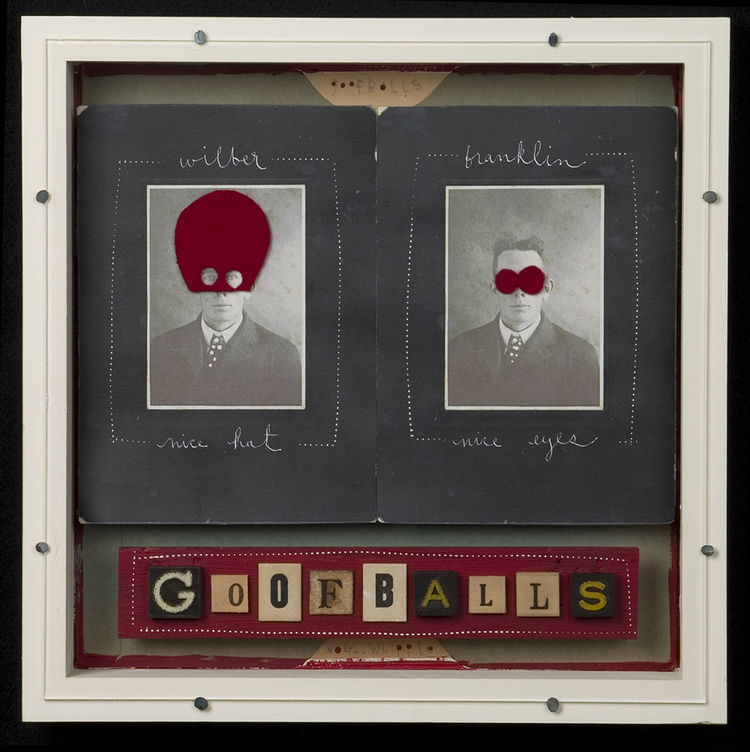
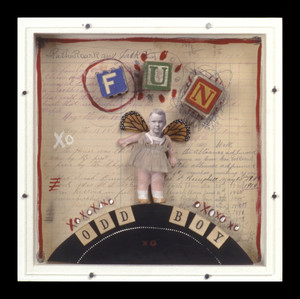
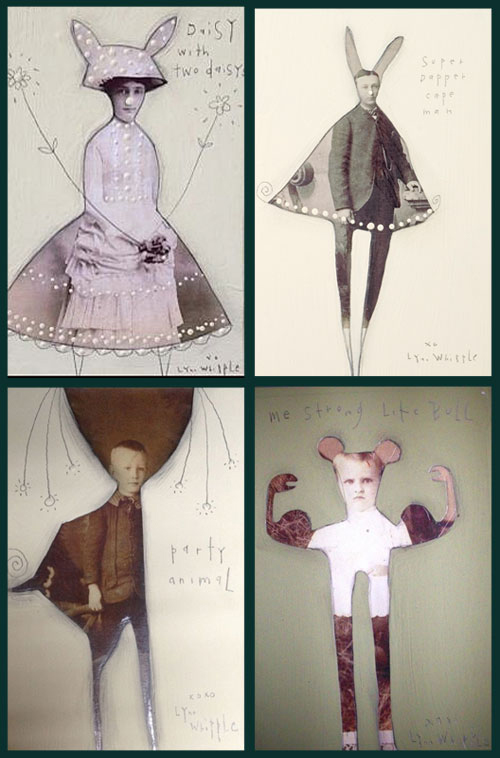
Lynn Whipple writes, “I am deeply grateful to live my life as an artist. Play and discovery are my dearest and most constant companions. There are a zillion tiny challenges in each art making experience, and so often I find, just as many small, sweet victories. Without a doubt, living creatively is the most enjoyable and satisfying game I know.”
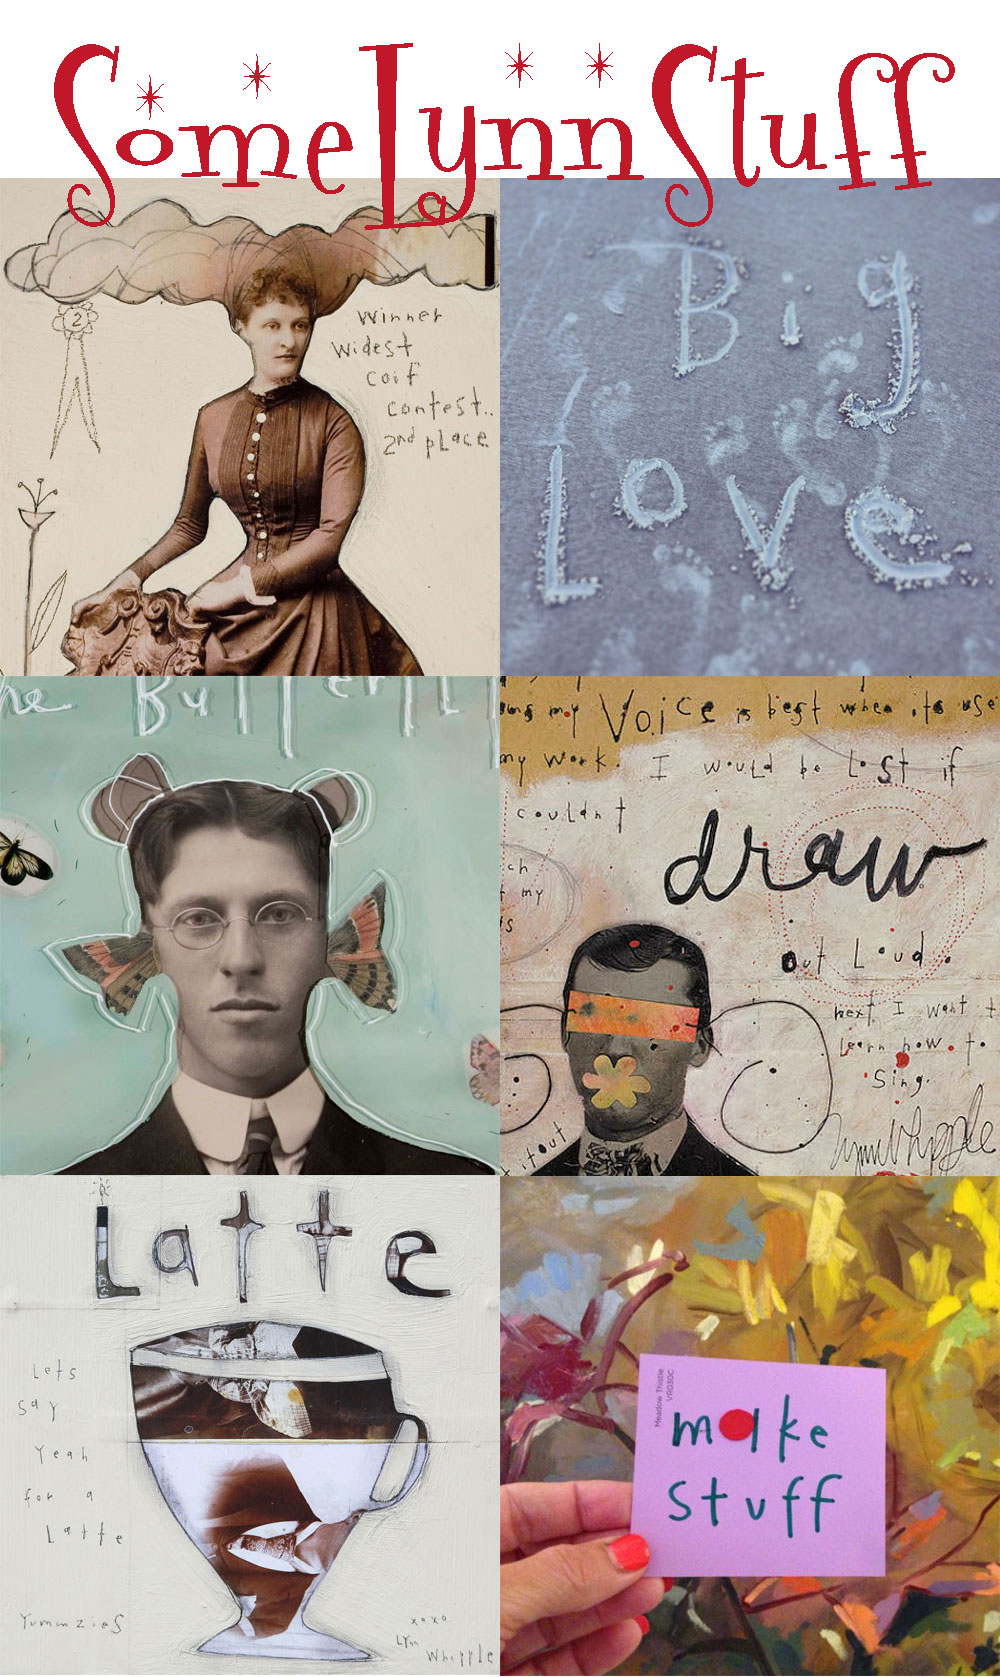
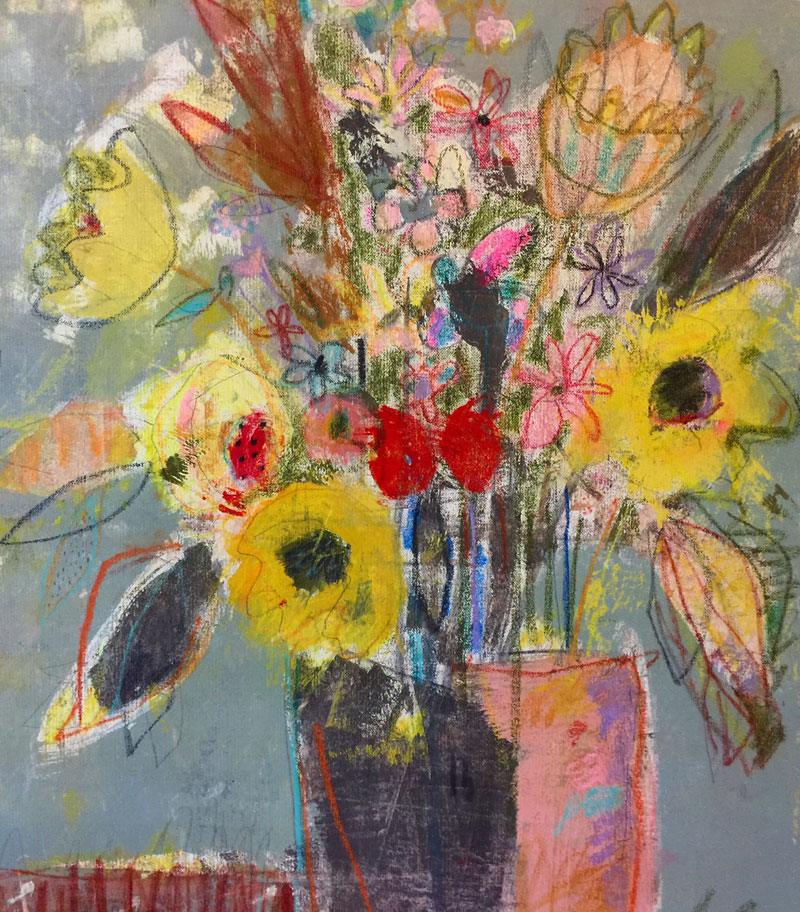
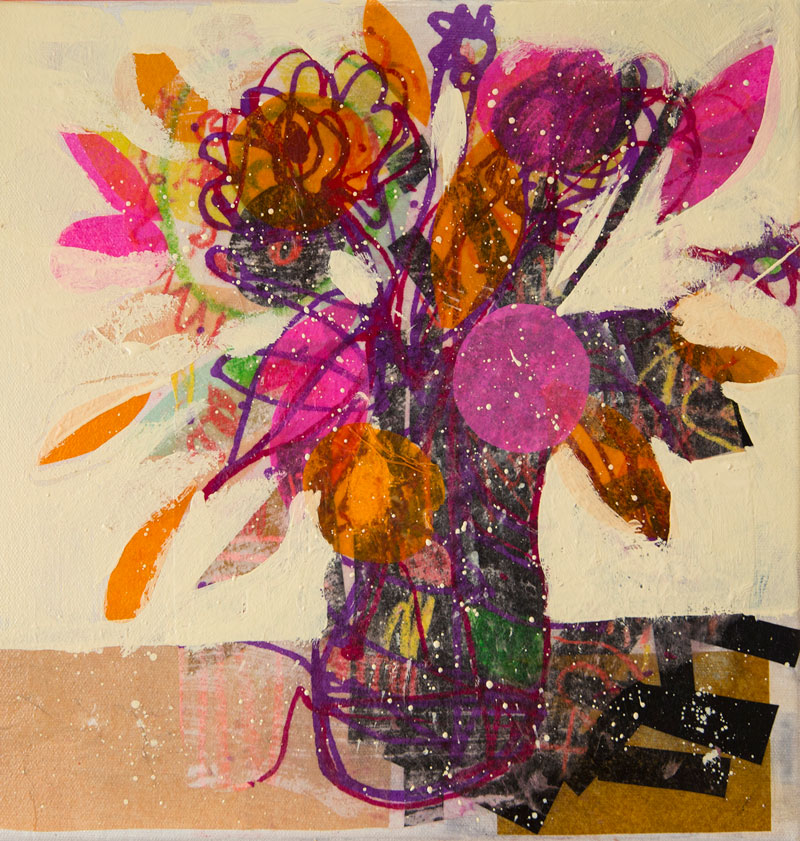
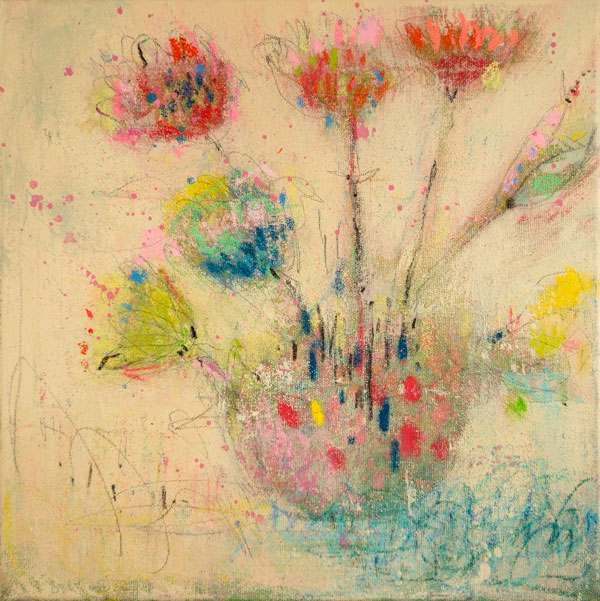
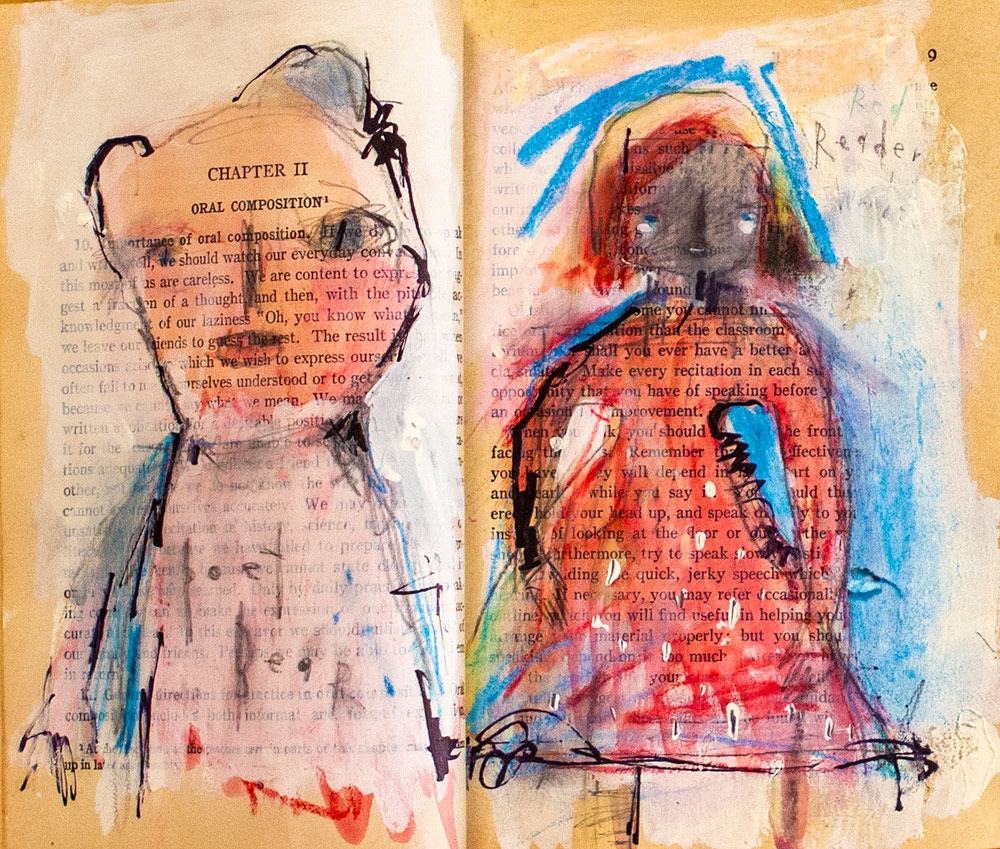
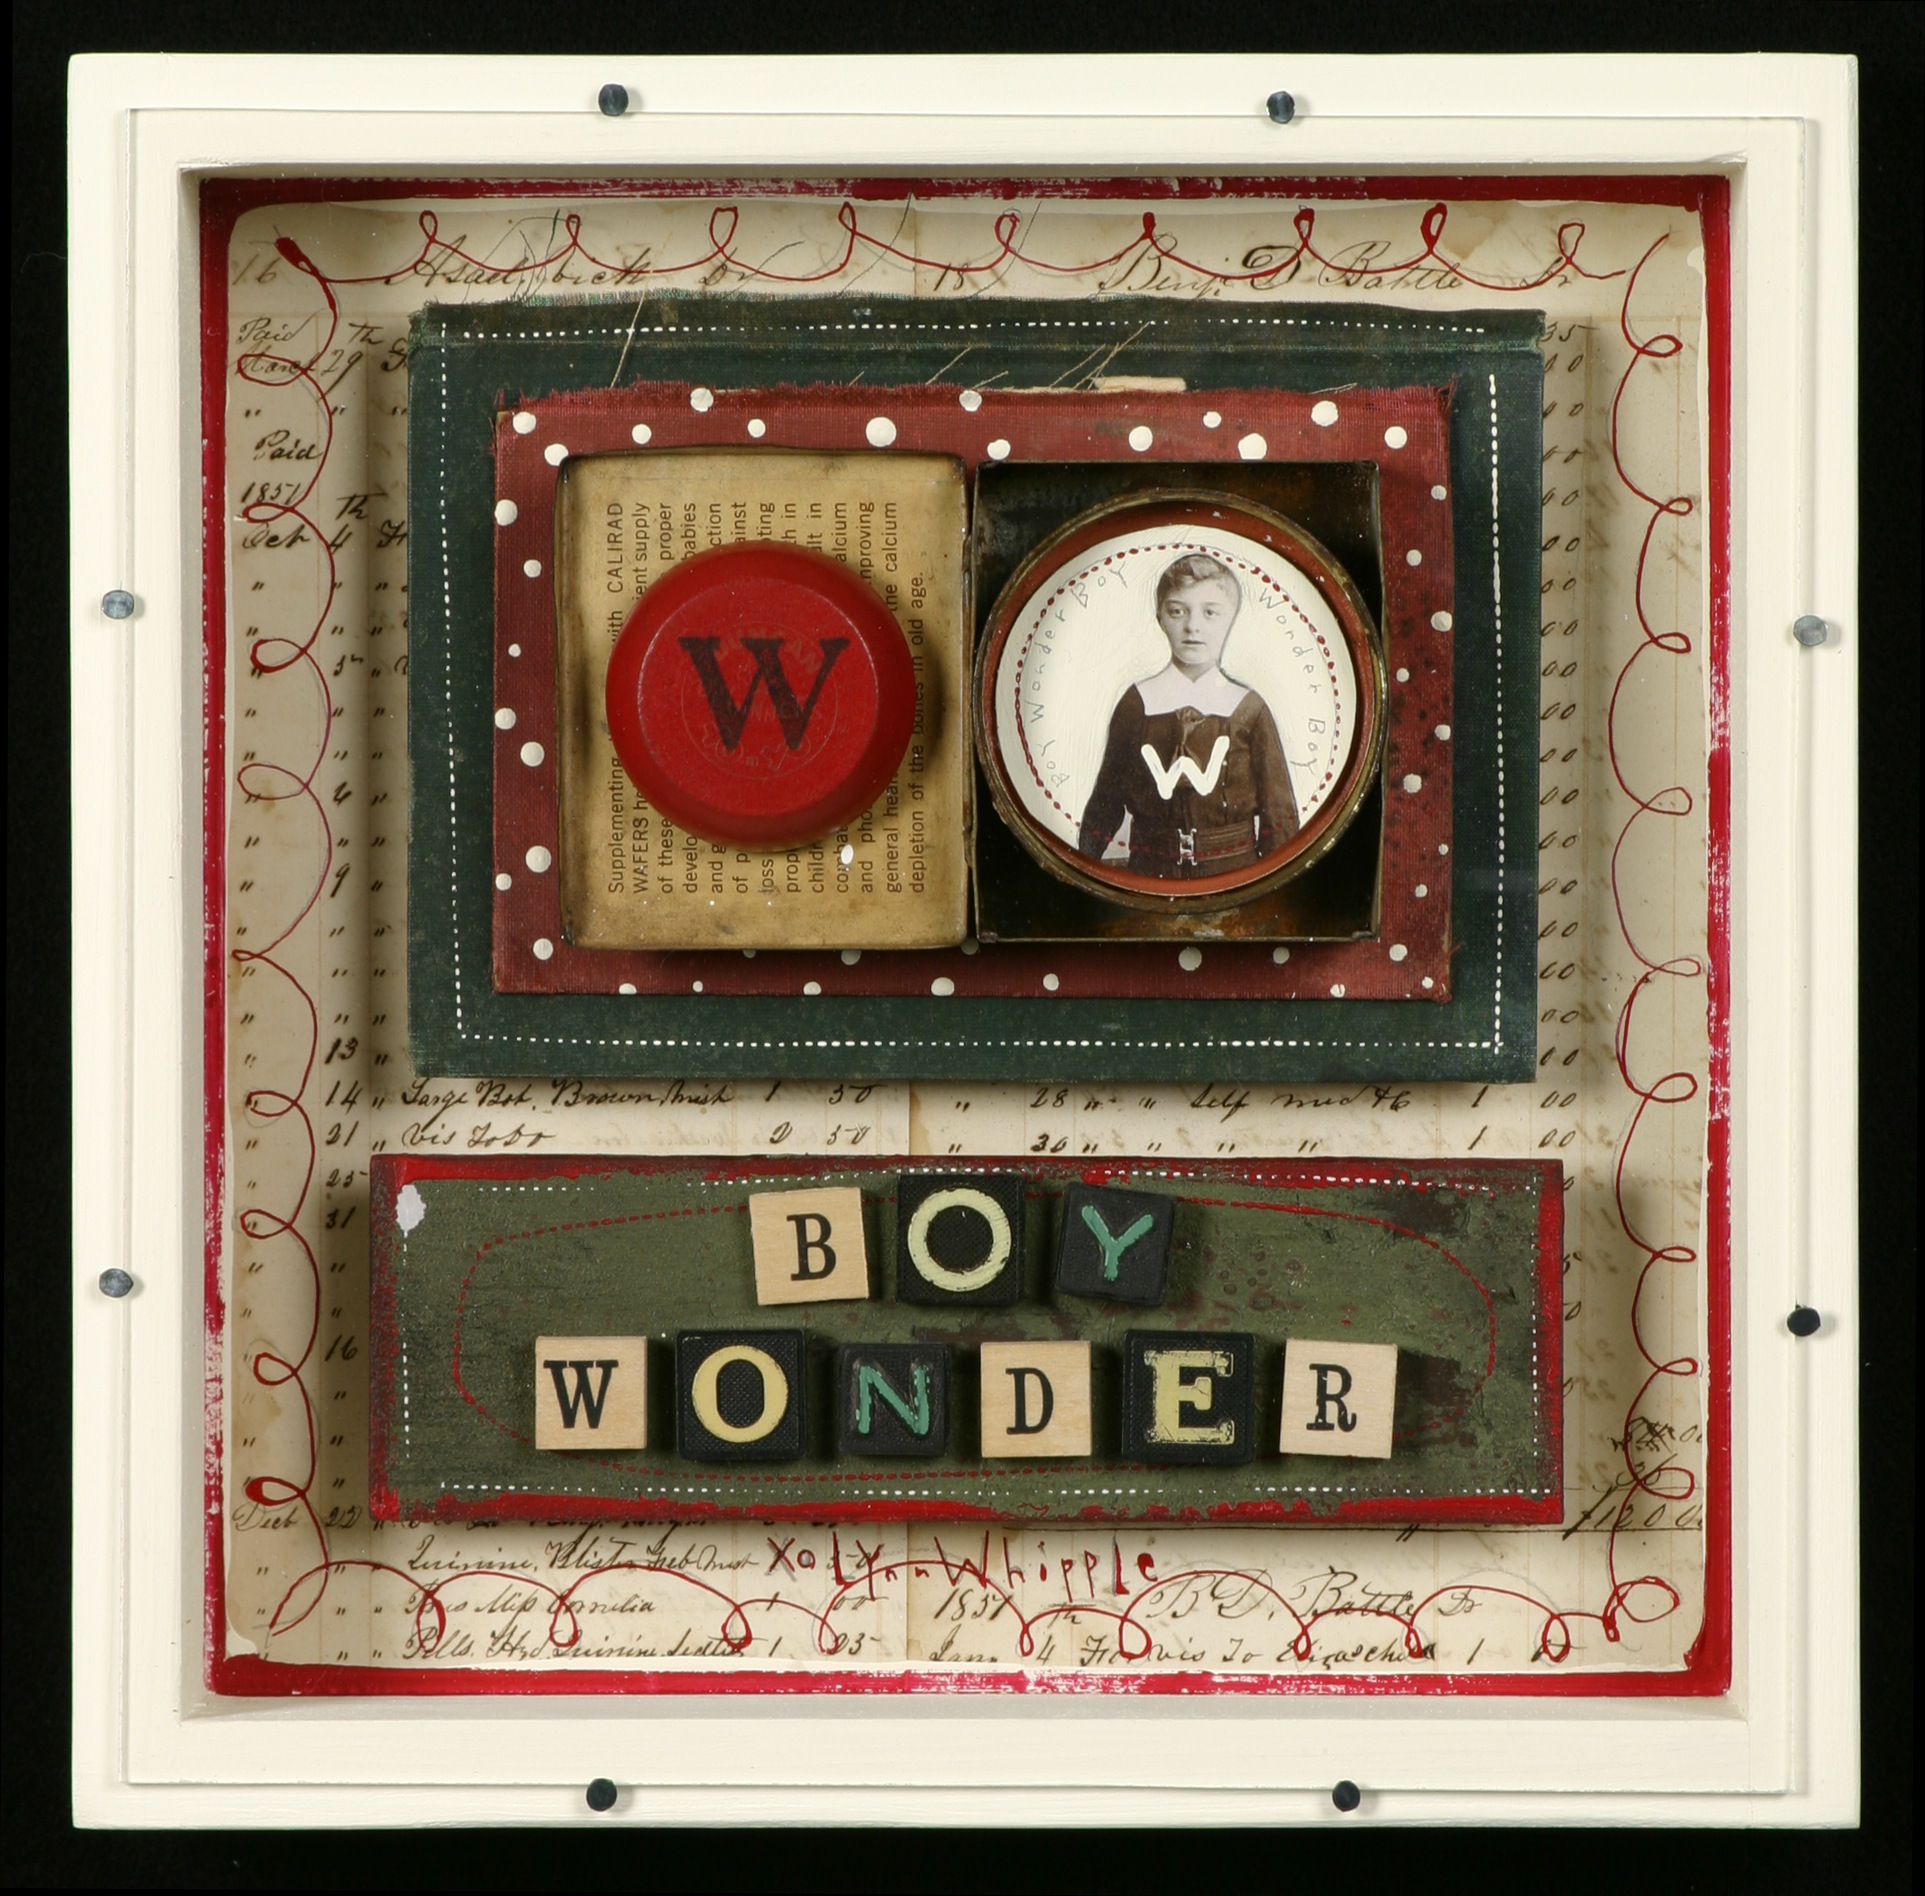
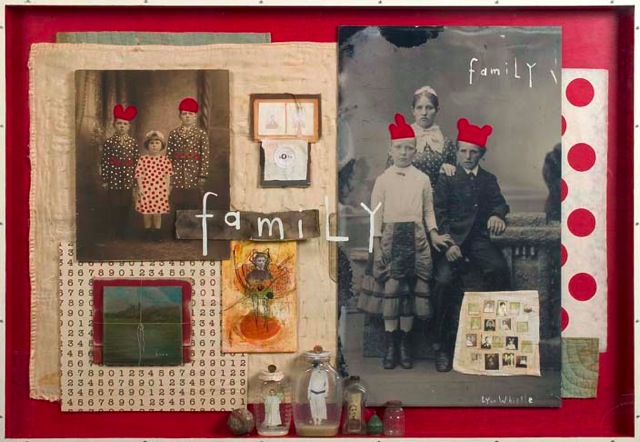
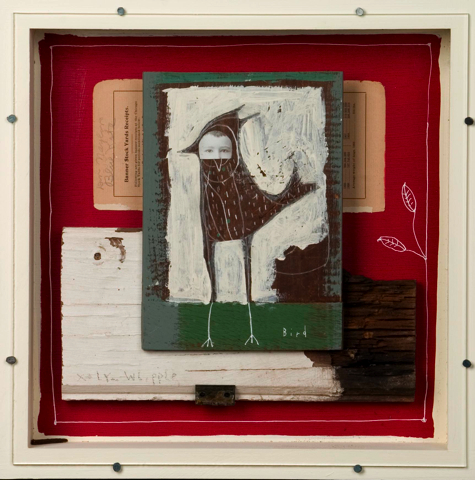
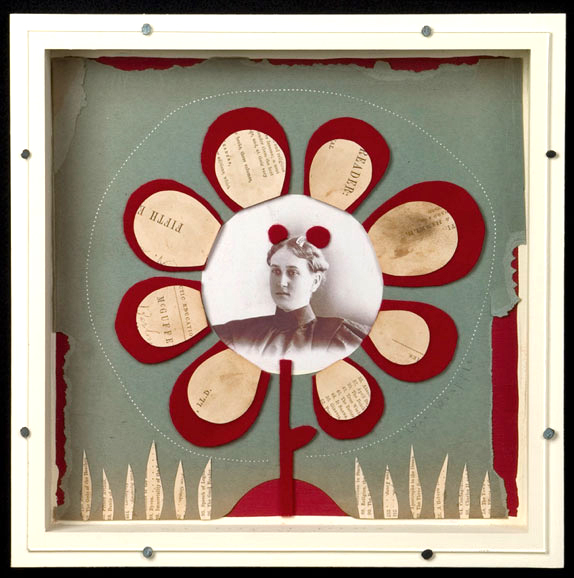
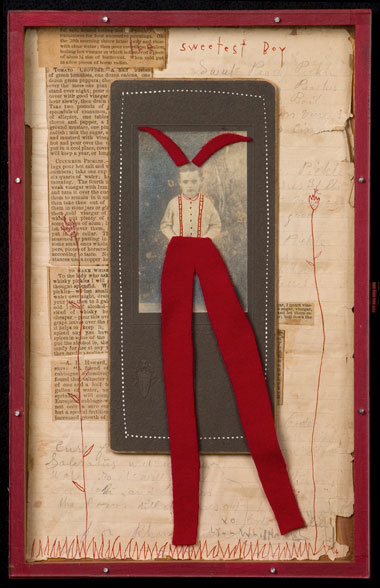
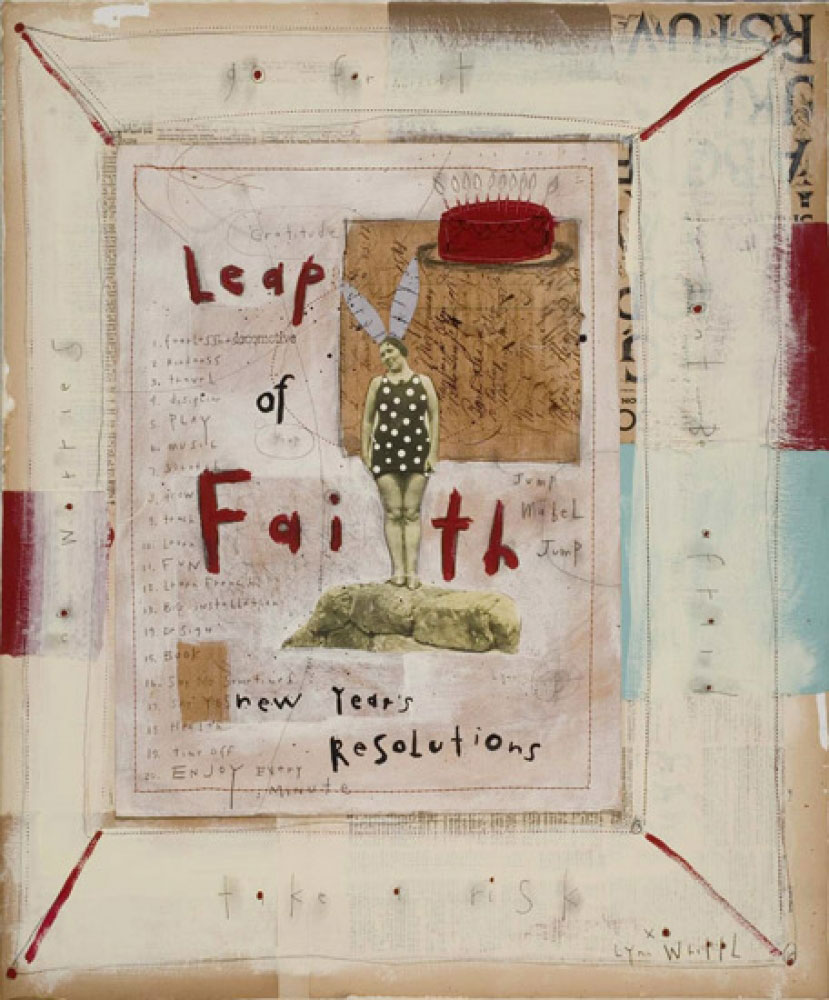
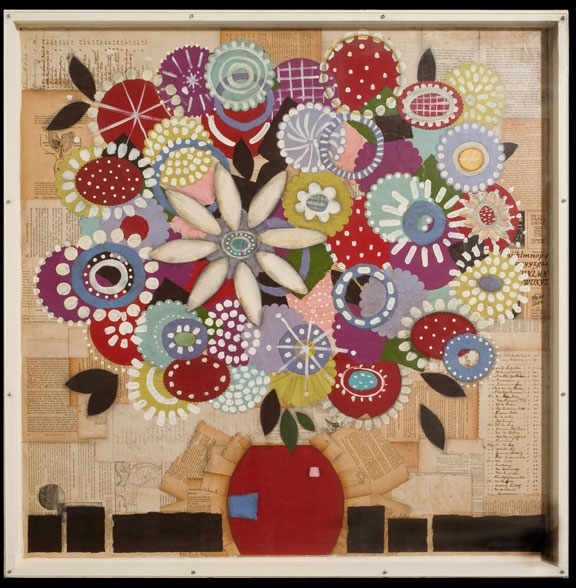
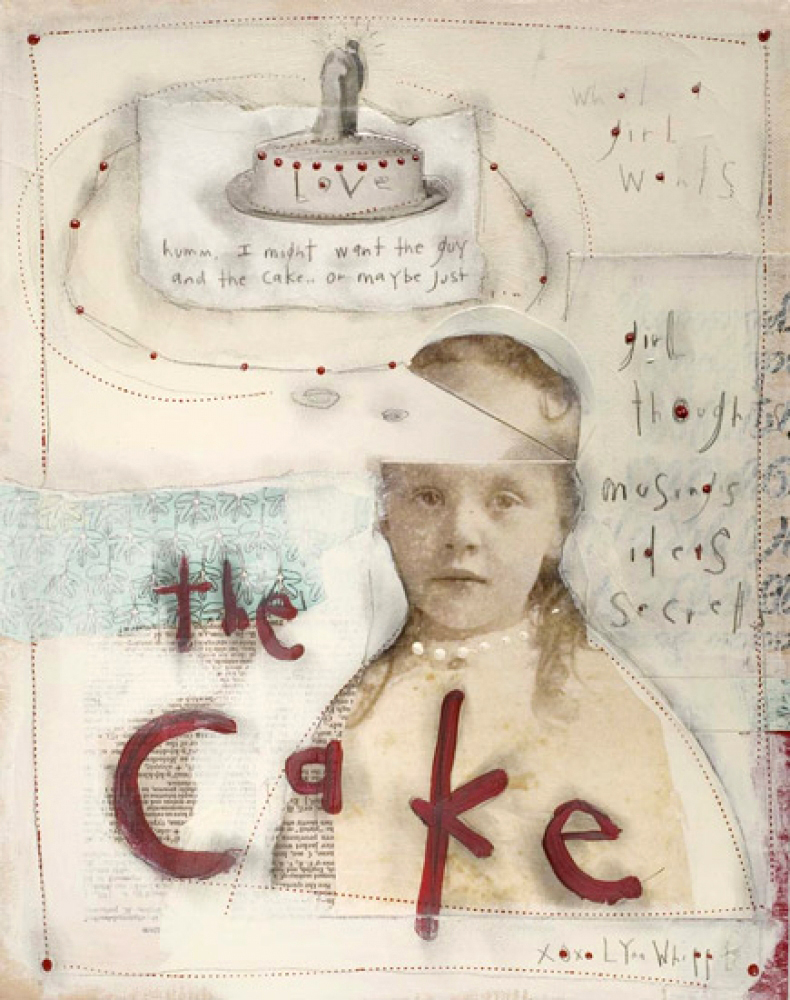
Lynn shares a warehouse studio with her husband, John Whipple, in Winter Park, Florida. Lynn’s work includes “Big Bold Bloom paintings,” found-object mixed-media assemblages; found images altered with a combination of drawing, painting, sewing and more; and her well-known Ninny Boxes, collages combined with found objects, and assembled within a box format. Her unique pieces have a playful, quirky, and often absurd, charm.
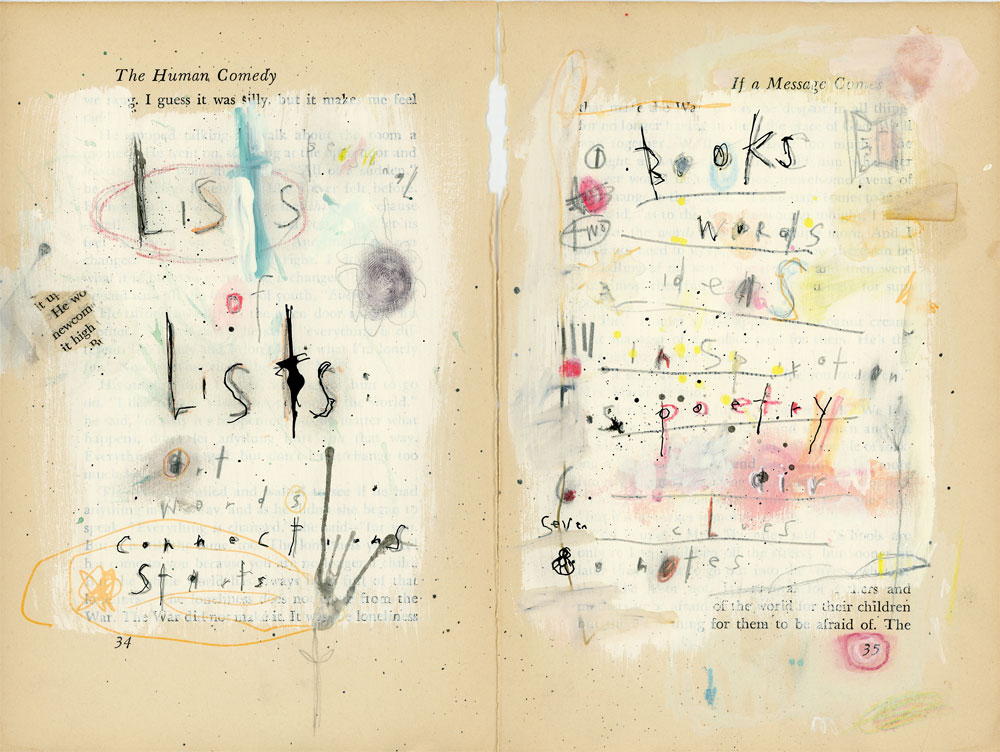
Lynn explains: “I allow myself to play and let my pieces reveal themselves to me…I have been fascinated by old books, history, and odd bits of memorabilia. I find the things that interest me the most are slightly absurd…My hope is to create something real and somehow poetic but not commonplace. My goal is to keep communicating in my language.”
Lynn’s work has been exhibited extensively throughout the United States and her new book, Expressive Flower Painting, was published July 2017. Visit Lynn’s website at www.lynnwhipple.com.
Here’s how this online class works:
• During the three weeks of class, you will receive an email each Tuesday and Thursday with a reminder to visit the class blog for that day’s lesson.
• A password-protected blog dedicated to each class will serve as our clubhouse and where you will find all the class materials as they are uploaded.
• A Facebook group will be created for you to (optionally) share your paintings, and enjoy and learn from the artwork of others. (However, if you are shy about posting your art, Lynn is always available to look at your work via email.)
• The class materials will be up and available for download indefinitely, if for some reason you need to miss a day (or a couple of weeks).
• Class fee is good for participants living in a single household.
QUESTIONS? [email protected]
FAQs – If you’ve never taken an online class before and would like to know more about our online classes, click HERE.
___________________